
Image by Zoltán Kiss from Pixabay
You’ve bought a nice new Nikon camera, you took a course on photography, or you learned it yourself. You took some amazing photos and now you want to process them, share them with your friends, and post them on social media. But how? You have no idea how to get your photos from your Nikon camera to your Mac. This is a common problem for many new photographers.
You can import photos from your Nikon camera to your Mac by inserting your camera’s SD card into your Mac’s SD card slot. If your Mac doesn’t have an SD card slot you can use an adapter. A drive will appear on your desktop with your cameras photos inside, drag the photos of your choice onto your desktop.
SD Card
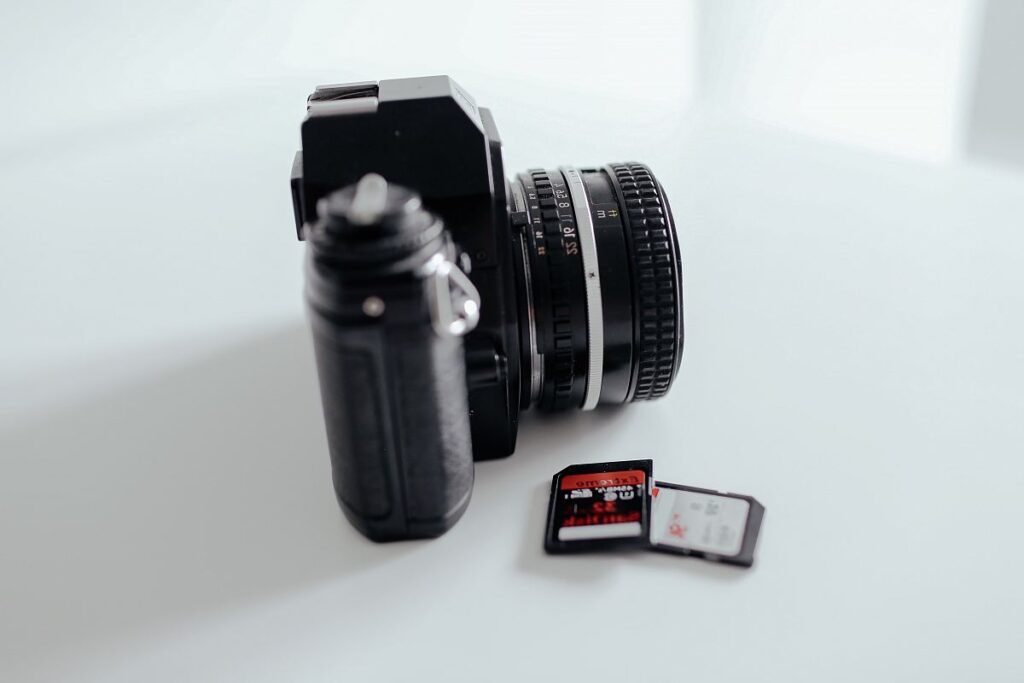
There are actually three methods to transfer photos from your Nikon camera to your Mac, but the easiest method is to use an SD Card. Your Nikon camera has an SD card inside of it that stores all your photos. It’s inside a compartment of your camera labeled “card”. Press down on the compartment and you can slide it open. Your SD card should be visible, press down on it and it will simply pop out. Once you’ve done that you may gently pull out the card, make sure not to touch the metal part as this can damage the card.
Now find the SD card reader on your Mac. If you’re using an iMac desktop, the SD card slot should be on the back of your computer. If your using a MacBook then your SD card slot should be on the side of your computer. However, depending on when your Mac was manufactured, you might not have an SD card slot at all. If this is the case you should use an SD card adapter. This will allow you to read an SD card from another type of port. You can order these online or buy them at most tech-related stores.
Carefully insert your SD card into the SD card slot. Don’t force it in as this could damage it. An icon that looks like an SD card will appear on your dock. If it doesn’t appear on your dock, then check if it appeared on your desktop.

If it hasn’t appeared on your desktop. Then you can find it in your Finder app under a section labeled “devices.”
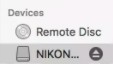
Double click this device and a finder window will open with folders inside. You’ll see folders starting with a number than the name of your camera. These folders are in chronological order. A photo you took recently is in the greatest numbered folder. You can now click CMD+A to select every photo within the folder, CMD+C to copy them. Then click CMD+V in your desired location to upload the photos from the SD card to your computer.
Make sure to right click the device on your desktop and click “eject” before you remove the card from your Mac. If you don’t do this you could break your SD card.
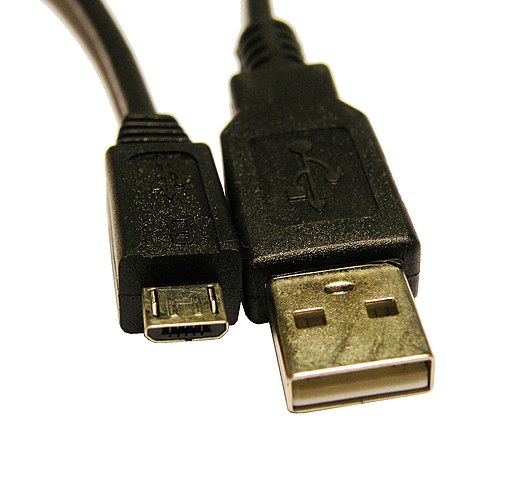
USB Cable
If your Mac doesn’t have an SD card reader, and you can’t get a hold of an adapter. Don’t worry there are still two more methods to import your photos to your Mac. The next method uses the USB to micro USB cable that came with your camera. If you don’t have it, check the box that your camera came in, or you can order it on amazon. Turn off your camera, connect the micro USB with your camera, and the USB to your Mac. Again, if you don’t have the proper ports required, you can find an adapter on Amazon.
A device will appear on your desktop or in finder like before, but this time you need to install certain drivers and software to properly download your pictures to your Mac. These are installed with Nikon ViewNX 2 also known as Nikon Transfer 2. You can install it here. Pick “MacOS” as your operating system, accept the terms of service, select your region, and hit download. Open the executable file that is downloaded onto your Mac, an installer will open, hit install. Installing Nikon ViewNX-2 will automatically install all the required drivers to transfer your photos. Turn off your camera, unplug and replug the USB cable back in, and Nikon ViewNX 2 should automatically import the photos from your camera to your Mac. But if the program didn’t work, or you didn’t have the required USB cable, there is one last method that only requires a mobile device.
Snapbridge
Nikon has an app called Snapbridge that lets you transfer photos from your camera to your mobile device. Now you might be thinking but I want my photos on my Mac, not my phone. Don’t worry, your going to move your photos from your Nikon camera to your phone to your Mac.
You can download the Snapbridge app from the App Store or the Google Play Store. Launch the app and select the type of camera you own. On your Nikon, go to the Setup Menu and select “Connect to Smart Device.” Choose Bluetooth and click start pairing. On your phone, the serial number of your camera will appear, click it and then follow the instructions on your camera. Once you’ve done this, your Nikon camera should be paired with your phone. If you have trouble pairing your camera see this article.
Next click connect to camera and your photos should download onto your phone one by one. This may take quite a while so if you only want to download one photo specifically, click on it, and click save to photos. Now that you have your photos on your phone, you can upload them from your phone to a cloud storage service like Google Drive, OneDrive, or Dropbox. Finally, download them from that cloud storage service to your computer.
Congratulations, you have your Nikon photos on your computer. Now you can process them, share them with your friends, or post them on social media.
Thanks for tips for downloading one photo specifically.
Your welcome
This really helped me out! I’ve had my Mac five years and didn’t know I had the SD card slot on it!!!