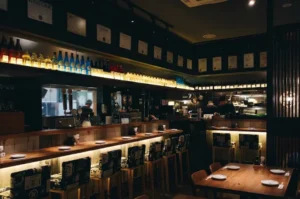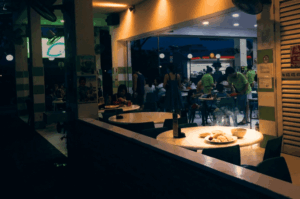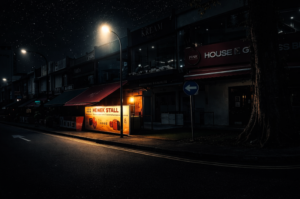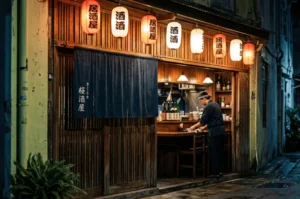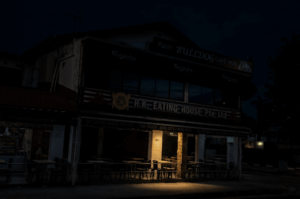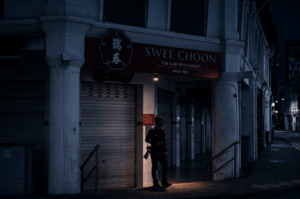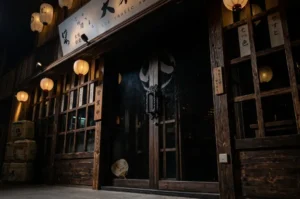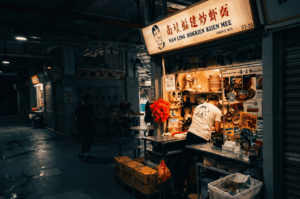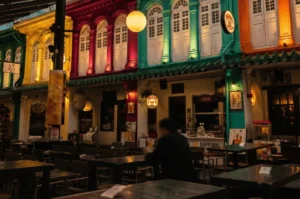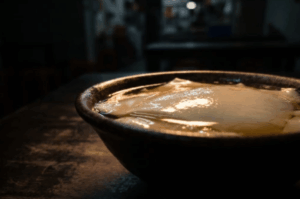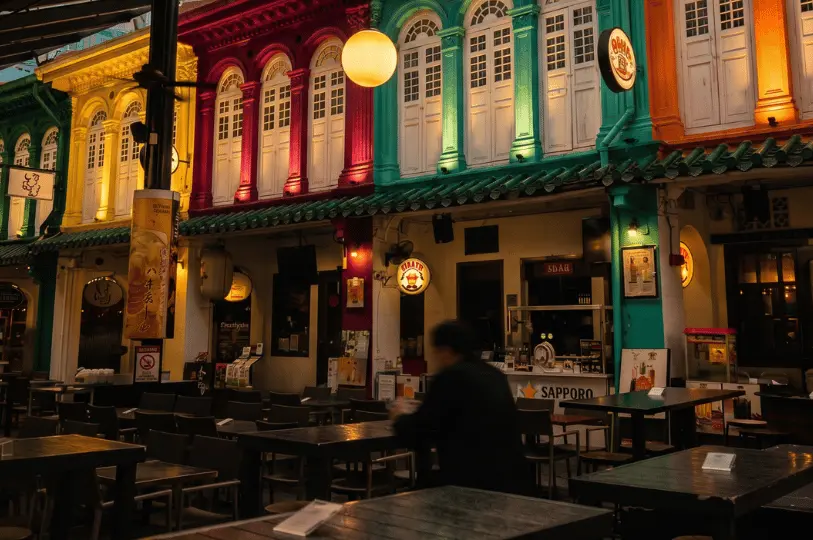
I was sitting at a cramped counter in Cuppage Plaza, surrounded by the incredible smell of binchotan charcoal and roasting chicken fat. The mood was perfect. The dim tungsten lamps cast a beautiful, moody glow over the dark wooden planks of the counter, setting the quintessential izakaya in Singapore ambiance.
But when I looked at my camera screen, my heart sank.
My food photos were a disaster. The rice looked neon yellow, and the yakitori chicken skin was a blurry, orange mess. The shadows were entirely crushed. Over the years, I’ve learned a hard lesson. It is about learning which parts of the darkness to keep to create great photos with interesting textures and distinct style.
If you have ever struggled to capture the quiet, cinematic atmosphere of a late-night yakitori spot without your photos looking like a blurry, orange mistake caused by camera shake, this guide is for you.
The Reality of Shooting in Izakayas Singapore Prides On
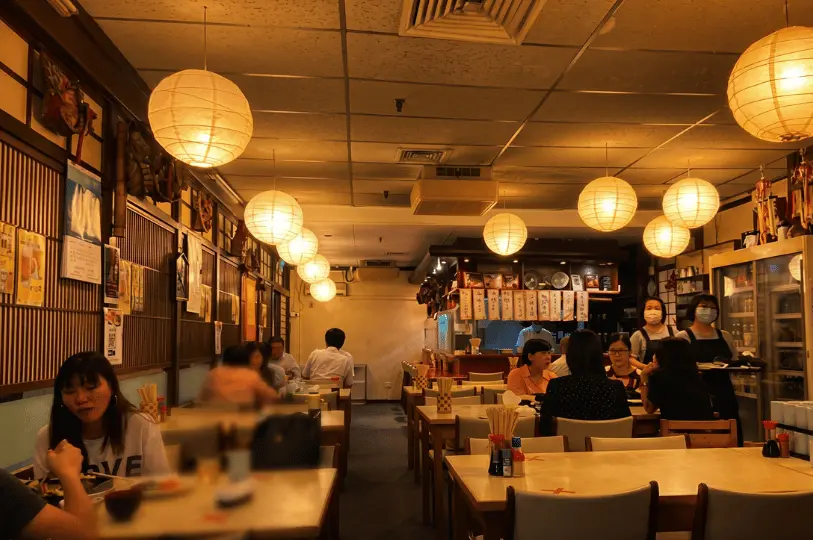
Before we get into camera settings, let’s talk about the environment. Izakayas in Singapore has a brilliant late-night culture, but these spaces are almost never designed for food photography by professional photographers.
You can expect narrow seating, warm overhead lamps, reflective tables, and a chaotic mix of lighting from neon signs and kitchen grills. On a Friday night, places like Zenryoku Izakaya and Public Izakaya are packed. You simply cannot act like you are in a spacious photography studio.
From An Amatuer Photographers’ Perspective
If you are just practicing your personal photography, expect to spend around S$30 to S$80 per person on a casual night. (For context, if you ever start doing this commercially, professional food photography rates in Singapore often start around S$200 per hour).
Your goal here is to be low cost and low impact. You want to capture the atmosphere, the izakaya favourites on the menu, and the after work drinks vibe without ruining the dinner. If you are looking to explore and find the best izakaya photo spots in Singapore, sites like Best Izakaya offer great info and resources to help you discover top spots.
Step-by-Step Food Photography Process Using Natural Light and Camera Angle
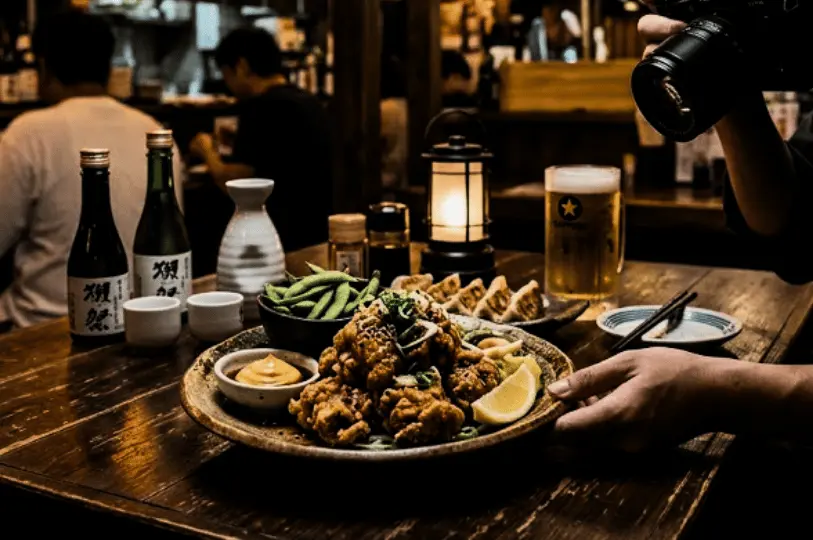
I break my shooting process down into simple, manageable steps so I don’t panic when the food hits the table.
Step 1: Choose the Right Seat at a Public Izakaya
The best lighting in an izakaya is almost never the brightest table. I always ask for a counter seat if possible. Look for a spot where a lantern or wall lamp provides natural light or warm side light. You want side light, not top light, to create more depth and highlight the main subject.
Avoid sitting directly under harsh ceiling downlights. They create ugly, shiny reflections on glossy sauces, ramen broth, and the rim of your beer glass. If you sit at the counter, you also get the added bonus of the grill’s glow behind your food, which is an awesome element for eye catching photos.
Step 2: Dial in Your Camera Settings Before Ordering
Do not wait until the dish arrives to mess with your settings. The food will die on the plate while you fumble with buttons.
If you are using a camera:
- Aperture: Open it up for a shallow depth of field. I usually shoot at f/1.8 to f/2.8 for single skewers or drinks to isolate the subject. For a larger table spread, I might push to f/4 to capture more of the composition.
- Shutter Speed: Keep it at 1/60s minimum if the food is sitting still. If you are photographing the chef’s hands, pouring sake, or grill action, bump it to 1/125s or faster to avoid camera shake.
- ISO: Do not be afraid of ISO. I regularly push my camera to ISO 1600 or 6400. Yes, there will be grain, but a sharp, grainy photo is always better than a clean, blurry one.
- White Balance: Set it manually to around 2800K–3800K, then adjust by eye. This is the most important thing to get the warmth right without making the rice look neon yellow.
- Format: Always shoot in RAW. You will absolutely need to tweak the colors later.
If you are using a phone:
- Wipe your lens. (Seriously, do this first).
- Turn off the flash.
- Use the 1x or 2x lens. Avoid the ultra-wide lens; it distorts food terribly.
- Tap the screen to lock focus on the food, and drag the exposure slider down slightly to protect the bright highlights on the glaze.
Insider Knowledge: Ordering Strategy
Do not order your entire meal at once. Izakaya food is meant to be eaten in small plates. I prefer to stagger my orders. This gives you distinct, separate moments to shoot instead of panicking over a crowded table where everything gets cold at the same time.
Step 3: Read the Dish and Compose Quickly with Negative Space and Camera Angle
Different izakaya dishes demand different camera angles and composition styles.
- Yakitori and Kushiyaki: Shoot these at a 45-degree angle or a low side angle. Focus on the front skewer. Look for blistered skin, the shine of the tare glaze, salt crystals, and char. Use negative space around the subject to make the main dish pop.
- Sashimi: Use softer light and shoot from 30 to 45 degrees. You want to catch the translucency of the fish and highlight fresh, quality textures.
- Karaage (Fried Food): Side light is your best friend here to emphasize the rough, crispy texture.
- Drinks: Sake cups and highballs need edge highlights. Place the glass where a lamp creates a rim of light along the edge.
Shutter Speed and Other Issues: Tips for Food Photographers
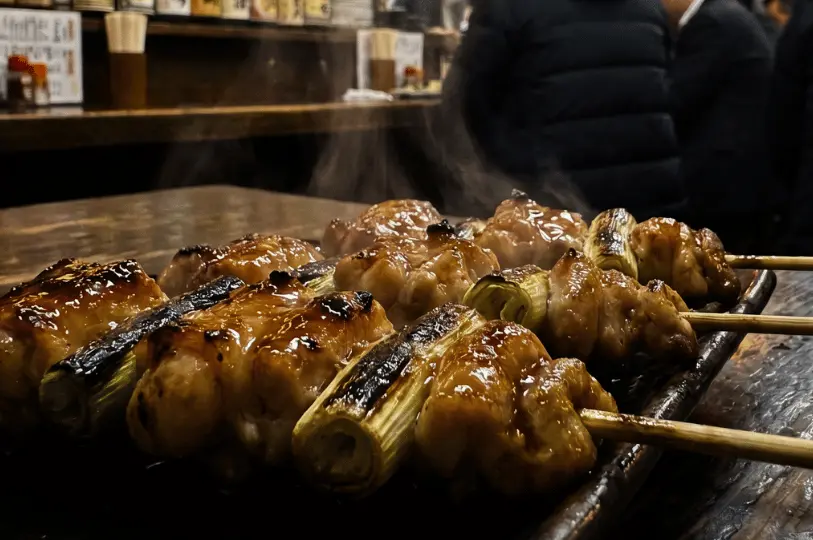
I have made every mistake in the book. Here are the red flags I see most often, and how you can avoid them.
Using Direct Flash
Just don’t do it. Direct flash flattens the beautiful textures of the food, reflects harshly off lacquer plates, and completely ruins the quiet vibe for the diners next to you.
Shooting Flat Overheads
We are conditioned by social media to shoot everything from straight above. But izakaya food is highly textural. Skewers, ramen bowls, and highballs have height and gloss. Overheads flatten out the steam and the grill marks. Stick to 45-degree angles or the same angle you find most flattering for your subject.
Editing the Atmosphere Away
The biggest mistake I used to make was trying to achieve perfect, clinical white balance in post-production. If you remove all the warmth, the izakaya feels like a hospital cafeteria. Cool the balance just enough so the rice doesn’t look neon yellow, but keep that beautiful amber warmth in the background.
Pro Tip: What to Wear
Wear dark clothing. If you wear a bright white shirt to an izakaya, you will see the reflection of your own shirt bouncing off the glossy tare sauce, the beer glasses, and the dark ramen broth.
Exploring New Things: Inspiration from Zenryoku Izakaya and Beyond
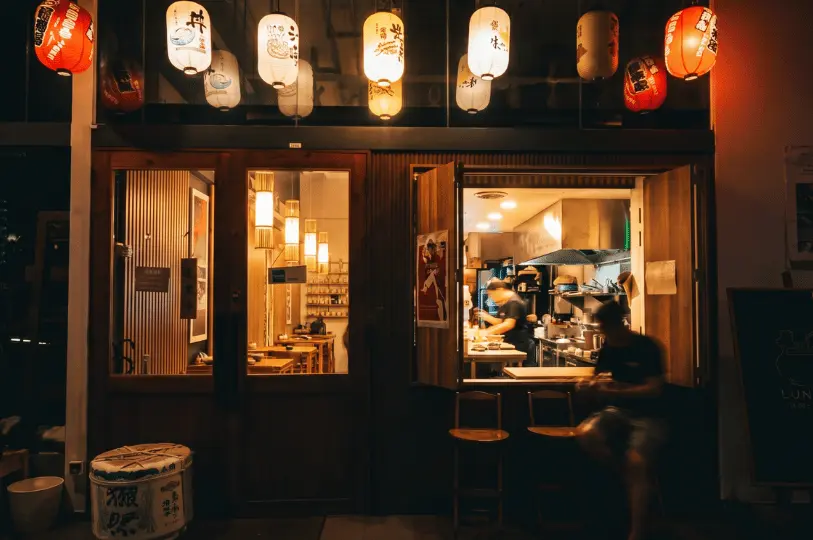
Zenryoku Izakaya is a great example of an izakaya in Singapore that offers a lively atmosphere with a menu built for sharing, featuring izakaya favourites like kushiyaki and yakitori skewers, fresh sashimi platters, and hearty donburi bowls. Their use of warm lighting and wooden boards creates a natural and inviting backdrop for food photography.
Inspired by places like Zenryoku Izakaya, try incorporating elements of nature and fresh ingredients into your photos. Use cold water to freshen herbs and microgreens before styling. Experiment with camera angles and composition to find your unique style. Remember, the most important thing is to have fun and enjoy the creative process.
Final Thoughts: Bringing Life and Quality to Your Izakaya Frames
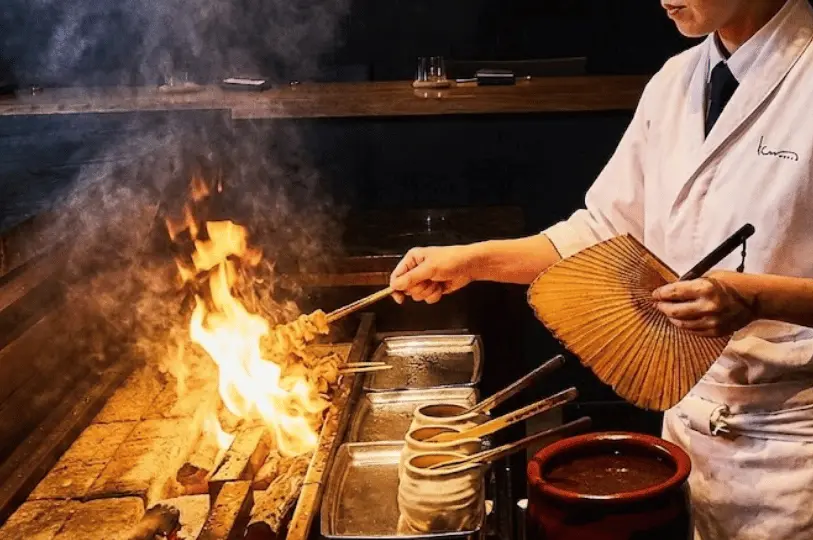
At the end of the day, midnight food photography is rarely just about the dish itself. It is about the gesture, the heat, the waiting, and the appetite. It is about the exhausted office worker decompressing over a cold beer, or the quiet focus of a chef fanning binchotan coals at 1 AM.
The next time you book a table for late-night yakitori, remember that you don’t need to control every single shadow. Let the background fall off into darkness. Let the edges of the frame get a little messy. Focus on the gleam of the glaze, the rising steam, and the warmth of the space.
Take your one frame, your three frames, and then put the camera down and enjoy the meal while it’s hot. This is the most important thing to capture the true spirit of izakayas in Singapore style.

Shunjuu Izakaya: Smoke, Sake, and the River at Night in Singapore
Sarah Teh | June 17, 2026
I almost didn’t see the entrance the first time. Tucked along Robertson Quay at 30 Robertson Quay, #01-15 Riverside View, Shunjuu Izakaya is a Japanese restaurant in Singapore serving an exciting menu of Japanese cuisine. It hides behind a curtain of charcoal smoke and warm lantern light. Then I caught the smell of grilling pork…
-
Beyond The Plate
Sarah Teh | June 11, 2026
Capturing the People Who Bring Midnight Eats to Life The metallic snip of heavy scissors echoes down Jalan Besar long after the rest of the city has gone to sleep. Standing on the pavement at two in the morning, I adjust my camera settings to capture the harsh, fluorescent glow spilling out from Beach Road…
-
Wandering Through Hidden Corners of the World
Sarah Teh | June 11, 2026
Travel teaches you to notice what others overlook. The markets, the alleys, the quiet squares; these are the spaces where the rhythm of a place is unguarded, intimate, and fleeting. Walking along winding streets in a small European town, or tracing narrow lanes in an Asian city just as the sun dips below the rooftops,…
-
Singapore Izakaya Chefs: The Masters Keeping Our Late-Night Kitchens Alive
Sarah Teh | June 10, 2026
If you want to understand Singapore izakaya chefs, or photograph them honestly, you have to stop seeing these places as only casual drinking spots. This guide walks through how to observe, respect, and capture the people who keep Singapore’s izakaya scene alive long after the office towers go dark. Discover the smoky rhythm and masterful…
-
Capturing Singapore’s Nocturnal Soul
Sarah Teh | June 5, 2026
The heavy, damp air of Geylang Road clings to your skin at three in the morning. Long after the daily rush of commuters has faded, a different pulse awakens. Walking the neon-lit pavements with my camera, I look for the quiet pockets of life that only emerge in the dark. The city strips away its…
-
In the Footsteps of the Midnight Photographer
Sarah Teh | June 4, 2026
The city breathes differently after midnight. The relentless hum of daytime traffic fades, leaving behind a thick, humid silence punctured only by the hiss of hot oil and the clatter of ceramic bowls. Walking through the quiet alleys of Jalan Besar, I carry my camera not to document daylight perfection, but to capture the weight…
-
The Public Izakaya: Behind the Lens at a Singapore Izakaya Experience
Sarah Teh | June 3, 2026
I walked into The Public Izakaya 2.5 Nitengo on a Friday around 10:15 PM, right as the after-work drinks crowd in Tanjong Pagar was hitting its peak. Walking into a packed room with a proper camera always gives me a wave of anxiety. I worry about looking intrusive or annoying the diners trying to settle…
-
The Calm Before The Crowd
Sarah Teh | May 29, 2026
The light shifts abruptly in Singapore around six in the evening. The harsh afternoon sun softens into a bruised purple, and the ambient noise of the city begins to change. Standing at the edge of Old Airport Road Food Centre, I watch the heavy metal shutters roll up one by one. This is my favorite…
-
Izakayas Singapore: How to Capture Izakaya Food Under Warm, Low Light
Sarah Teh | May 27, 2026
I was sitting at a cramped counter in Cuppage Plaza, surrounded by the incredible smell of binchotan charcoal and roasting chicken fat. The mood was perfect. The dim tungsten lamps cast a beautiful, moody glow over the dark wooden planks of the counter, setting the quintessential izakaya in Singapore ambiance. But when I looked at…
-
Flavors in the Dark
Sarah Teh | May 22, 2026
How Low Light Changes the Way We See Food The streetlamps along Jalan Besar hum with a faint, electric buzz at two in the morning. At this hour, the city strips away its gloss. The flat, forgiving daylight is gone. What remains are isolated pools of amber and the stark white glow of fluorescent tubes….