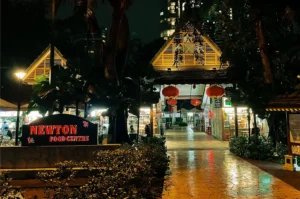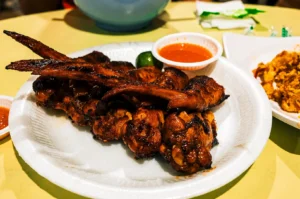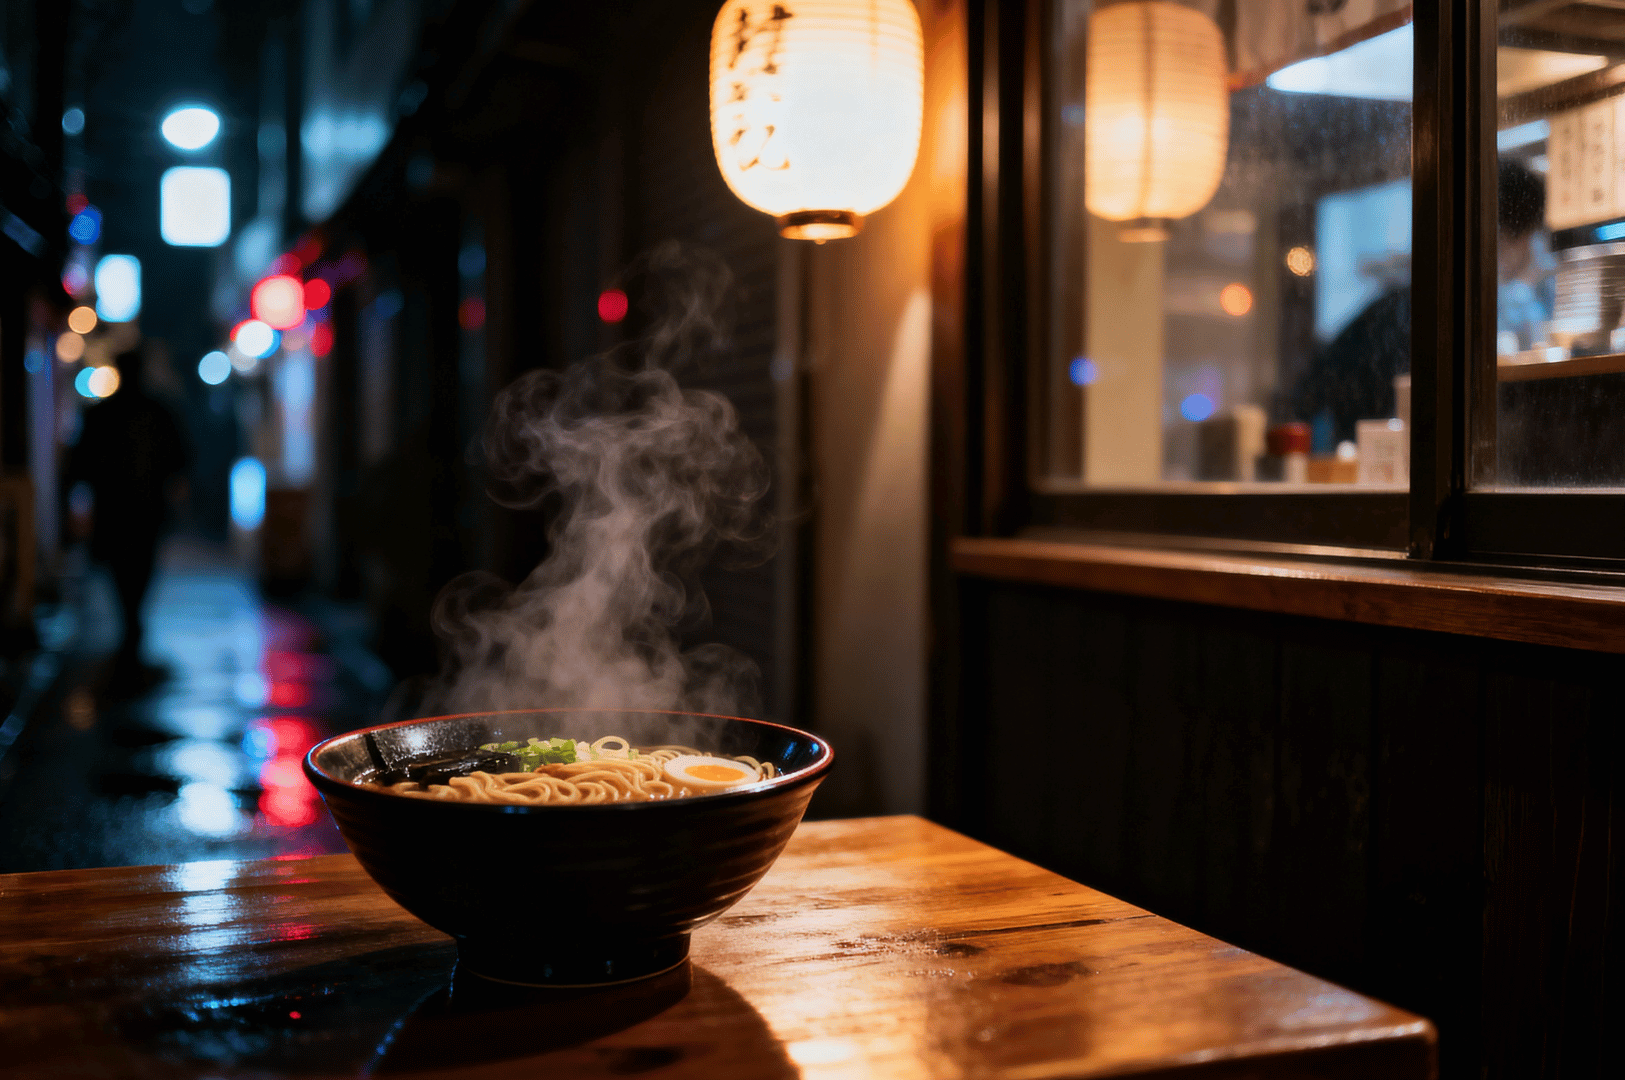
There’s a certain magic to shooting food after the sun goes down. Whether it’s a steaming bowl of ramen in a dimly lit Tokyo alley or a decadent dessert under the soft glow of a restaurant’s pendant lights, these scenes have a moodiness that daylight often lacks. But as a photographer who spends a lot of time chasing flavors after dark, I know the challenges all too well. My earliest attempts at night food photography were a disaster of harsh, dark shadows, strange color casts, and food that looked anything but appetizing.
Controlling Shadows for Natural Depth
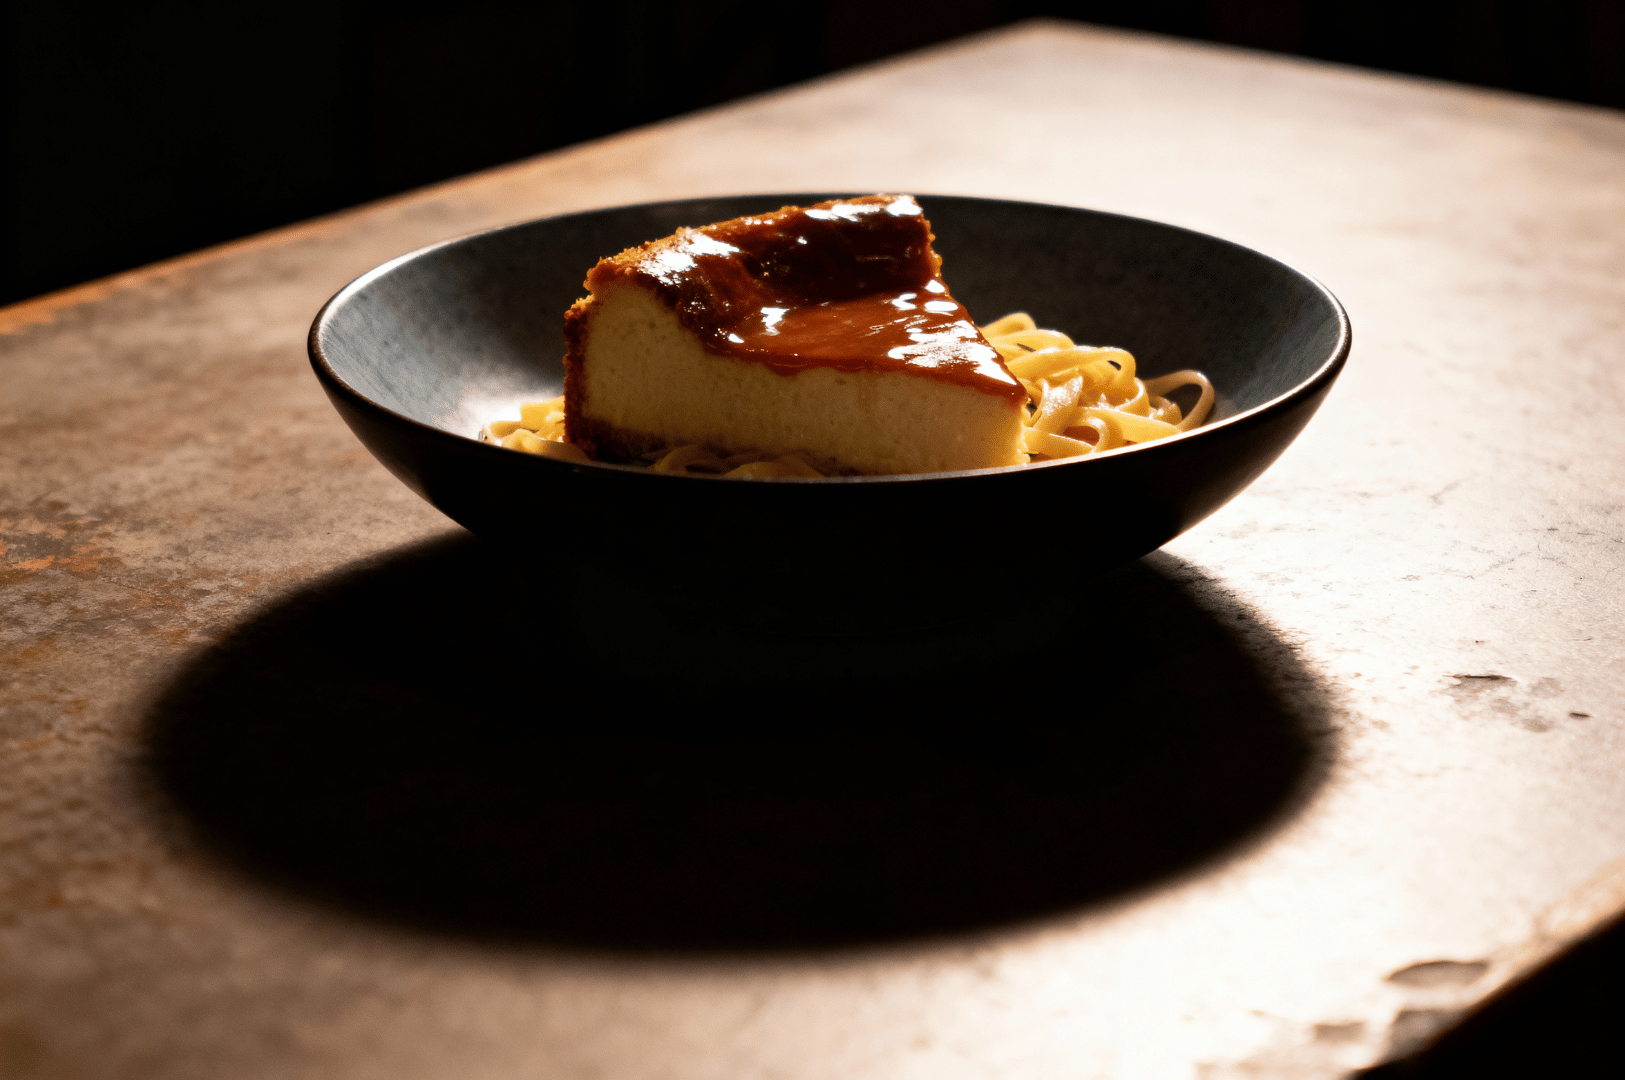
Shadows are not the enemy. In fact, they are essential for creating depth, texture, and dimension in your food photography. The problem with most on-camera flashes or a single overhead light is that they either eliminate shadows entirely, creating a flat image, or they produce distracting dark shadows that draw attention away from the food.
The key to effective food photography lighting is to create soft, intentional shadows that look natural. For example, when dining in one of the usual romantic restaurants Singapore, such as those recommended by Social Eats N Drink, capturing the right lighting can elevate the experience and bring out the best in your photographs.
Side Lighting is Your Best Friend
Think about how natural light works. It usually comes from one primary source, like a window. To replicate this with artificial lighting for food, your best bet is to position your light source to the side of your dish, slightly behind it. This technique, often called side light, creates gentle shadows that cascade across the food, highlighting its texture. You can see the crispiness of fried chicken or the delicate crumb of a cake when the light is coming from the right direction.
Using a Reflector or Bounce Card
Once you have your main light source, you’ll notice that one side of the dish is beautifully illuminated while the other might have deeper shadows. This is where a simple white reflector comes in. By placing it opposite your light source, you can bounce some of that light back into the shadows, softening them without eliminating them completely. This is one of the most effective tips for food photographers aiming for balanced, beautiful images.
Matching Color Temperature to the Environment
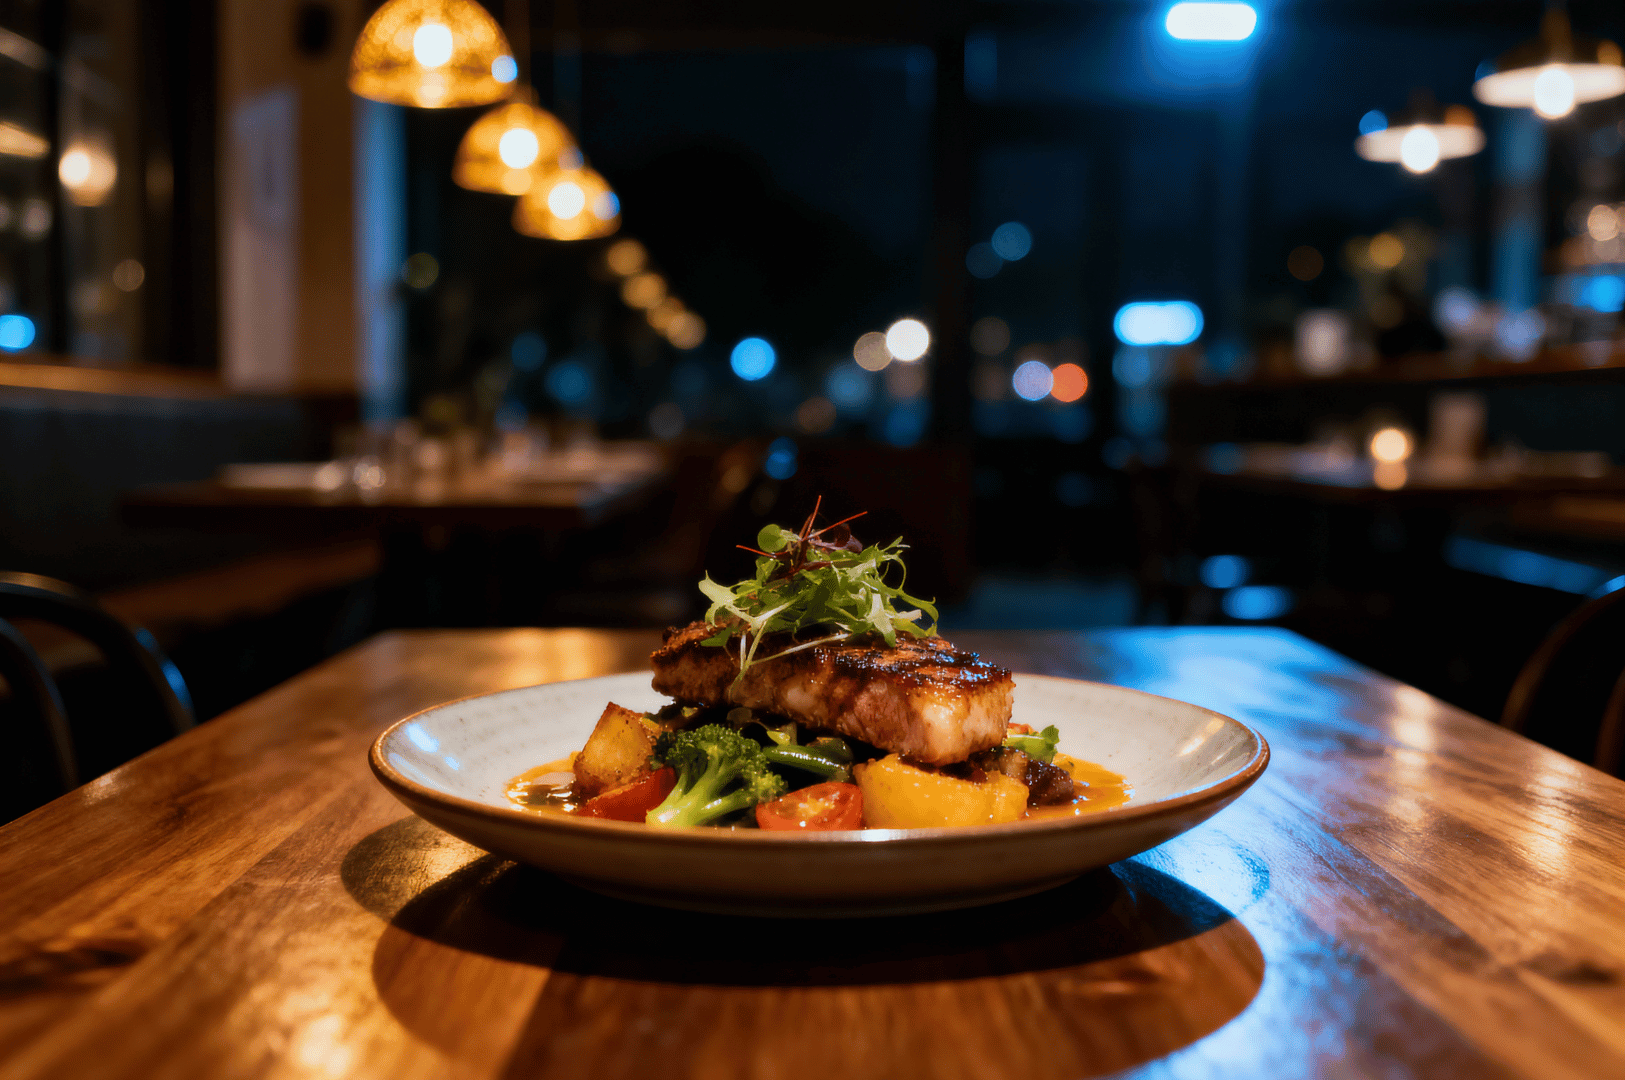
Have you ever taken a photo in a restaurant and had it turn out weirdly yellow or orange? That’s because of color temperature. Different light sources have different colors. A camera’s auto white balance tries its best to correct this, but it often gets confused. For good light, you need to take control.
The goal with artificial lighting for food photography is to create a setup that either matches the ambient light or overpowers it completely. If you’re in a cozy, warm-toned room, setting your continuous light to a warmer temperature will help it blend in. If you want a clean, neutral look, setting your LED light and camera to a daylight temperature (around 5600K) and using enough power to make it the only light that matters will give you accurate colors. Mismatched color temperatures are a dead giveaway of an artificial light source, so getting this right is crucial.
Using Diffusion for Softer Light
The size of your light source relative to your subject determines the hardness of the light. A small light source creates hard, sharp-edged shadows. A large light source creates soft, diffused light with gentle, wrapping shadows. To make your food look its best, you almost always want soft light, similar to the quality of light from a window on an overcast day.
So, how do you make your small portable light act like a big one? Diffusion. You don’t need a massive studio softbox. A small, collapsible softbox that fits over your flash or LED panel can make a world of difference. Even in a pinch, you can use a white napkin or a sheer piece of fabric held in front of your light to soften its output. The goal is to spread the light out, creating a larger, more flattering source to create beautiful images.
Portable Lighting Solutions for Mobile Photographers
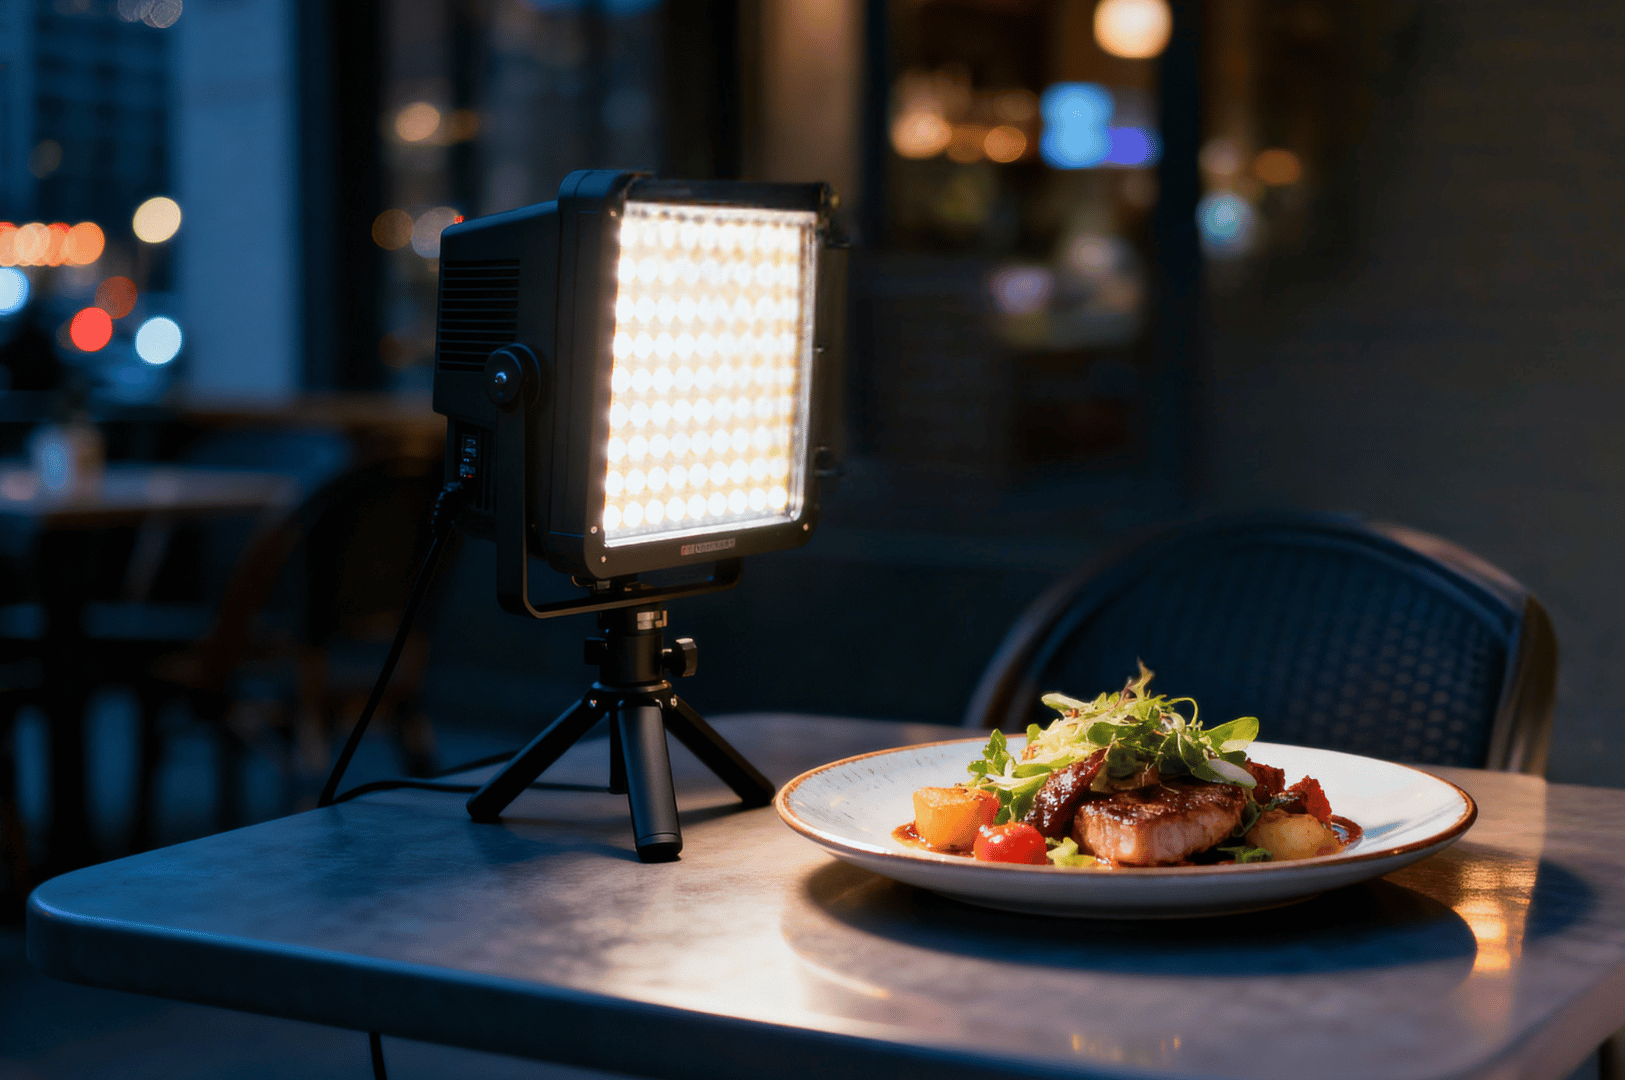
My camera bag for a night shoot is surprisingly light. You don’t need a ton of equipment to create great photos. My go-to set up consists of one or two small, portable light panels on a light stand.
These LED light panels are fantastic because:
- They are a continuous light source: Unlike a flash, you can see exactly how the light is falling on your food as you adjust the position and brightness. This makes learning and getting the right lighting much faster.
- They have adjustable brightness and color temperature: This gives you complete control to match the ambient light or create a specific mood.
- They are battery-powered: You’re not tethered to a wall outlet, giving you the freedom to shoot in different places.
When choosing a portable light, look for one with a high Color Rendering Index (CRI) of 95 or above. This ensures that the light will render the colors of your food accurately, which is non-negotiable for high-quality food photos.
Make the Lighting Invisible
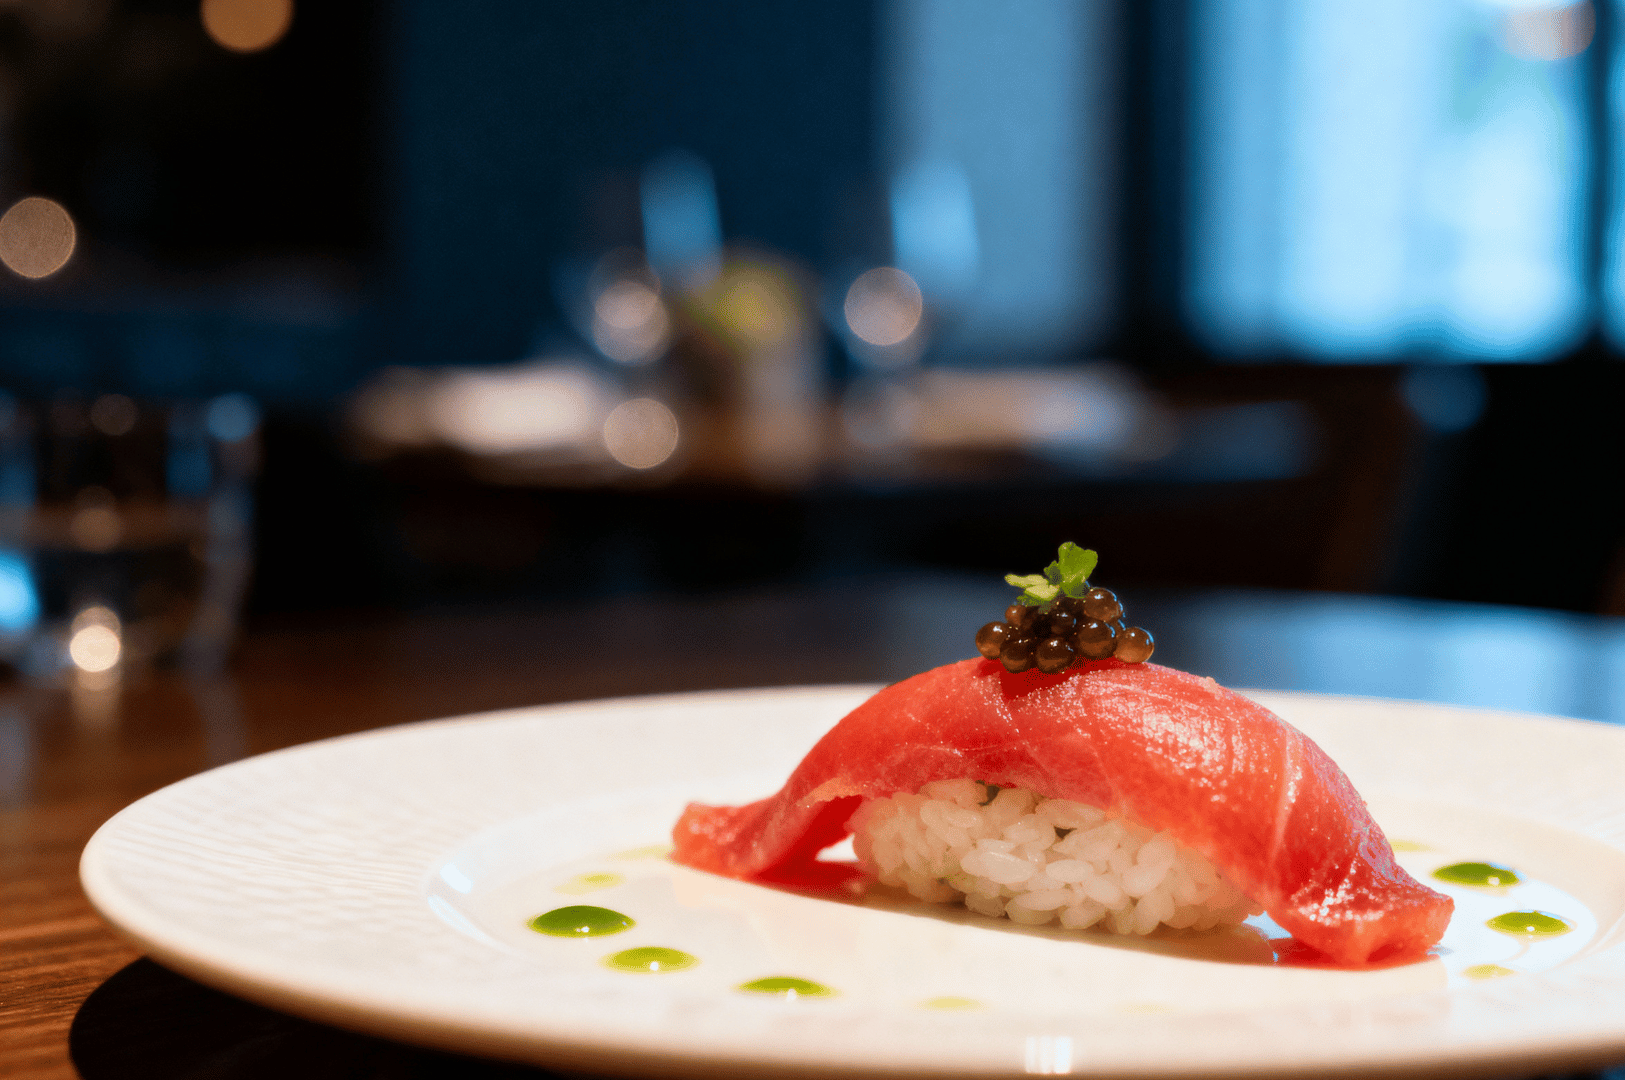
Ultimately, the best lighting for food photography is the kind you don’t notice. Your artificial light source shouldn’t scream, “I used a flash for this!” It should whisper, “This dish is the star.” Your job as a food photographer is to guide the viewer’s eye, to highlight the textures and colors, and to evoke a sense of taste and place.
By controlling your shadows, matching your color temperature, and diffusing your light, you can move beyond simply documenting a meal. You can start telling a story. With the right set up, you can capture food photos that feel as warm, inviting, and delicious as the food itself, no matter how dark it is outside or what the weather is doing. I hope these tips help you create your own beautiful images.
To keep improving your craft, explore day vs night food photography techniques or dive into my low-light photography guide.

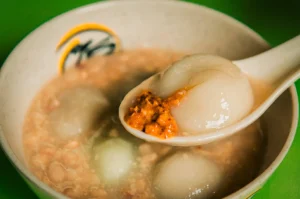
The Last Sweet Bowl: Photographing 75 Ah Balling Peanut Soup After Dinner
Sarah Teh | October 22, 2026
The steam went up before I was ready for it. I had my camera against my chest, waiting, and the vendor lifted the ladle without warning. Warm vapour curled off the surface of the peanut soup and caught the fluorescent tube overhead. I raised the lens and pressed the shutter, but the moment had already…
-
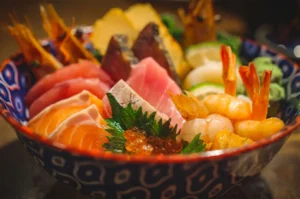
Best Chirashi Don Singapore: Fresh Sashimi Bowls from Daylight to City Lights
Sarah Teh | October 21, 2026
The city cools slowly after sunset. The neon signs warm up, and the crowds thin into something quieter. This is the hour when a bowl of fluffy Japanese rice topped with cold raw fish starts to make sense. Not the flash of a grill or the roar of a wok, but something still. Cubed sashimi…
-
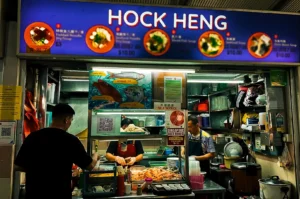
The 3AM Bowl: Why Hock Heng Fish Soup Feels Different Before Sunrise
Sarah Teh | October 21, 2026
The steam rose before the light did. I stood with my camera lowered, watching a hand lift a ladle over the pot, waiting for the moment the vapour would catch the fluorescent tube overhead. It came in a slow curl, thin and pale, drifting up past the vendor’s wrist. Then the fish slices went in….
-
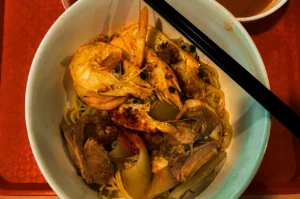
Prawns Beneath Fluorescent Light: A Late Shoot at ONE.85 Big Prawn Mee
Sarah Teh | October 15, 2026
The broth was the reddest thing in the stall, and the light was doing its best to kill it. It was past eleven at ONE.85 Big Prawn Mee, and I had been standing at the counter for a while, camera down, watching the uncle work the pot. He lowered a metal basket of noodles into…
-
Discover the Flavors of Issho Izakaya: A Complete Review and Menu Guide
Sarah Teh | October 14, 2026
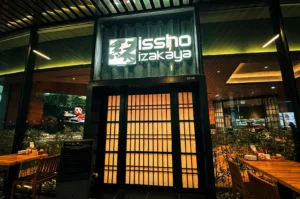
As the office towers empty, Issho Izakaya at Marina One fills with diners. Located at #01-14, 5 Straits View, West Tower, Singapore 018935, this contemporary Japanese izakaya offers a warm, inviting space at the heart of the CBD. Issho means “together“ reflecting its focus on shared plates, communal dining, and a cozy atmosphere with both…
-
A Bowl That Only Makes Sense at Night: Chai Chee Pork Porridge at Bedok 85
Sarah Teh | October 8, 2026
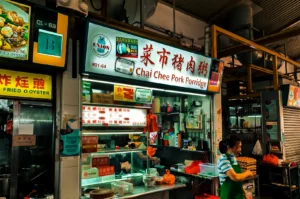
The steam was the first thing I lost. It was well past midnight at Bedok 85, and I had been standing at Chai Chee Pork Porridge for a while, camera down, watching the auntie work the pot. She lifted the ladle, let the porridge fall back in a slow white ribbon, then lifted it again….
-
Gochi-So Shokudo: Discover This Japanese Comfort Food Spot For Your Night Food Crawl
Sarah Teh | October 7, 2026
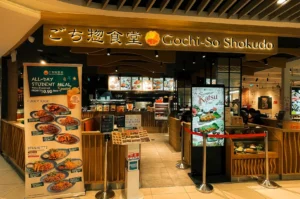
Comfort food rarely announces itself. It waits in a mall corridor, somewhere between a shoe shop and an escalator, holding the smell of grilled pork and warm rice until you slow down enough to notice. That is where you find Gochi-So Shokudo ご, also known as ご ち 惣 食堂. Not a place chasing attention….
-
Oil, Oyster and Broken Light: Photographing Bedok North Fried Oyster at 1am
Sarah Teh | October 1, 2026
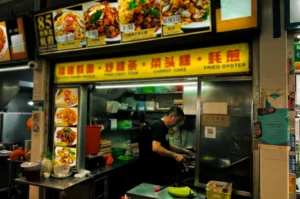
The first thing I noticed was the light. It was not the kind of light a photographer usually looks for. The fluorescent tubes above the stalls at 85 Fengshan Centre cast a pale, uneven glow across the tables, flattening some colours while exaggerating others. But at 1am, standing in front of the fried oyster stall…
-
When the City Goes Quiet, XO Minced Meat Noodles Begin
Sarah Teh | September 30, 2026
The last bus has gone. Newton Food Centre keeps a few lights on. I walk in past shuttered stalls, chairs stacked, floors still wet from a mop. Then I hear it: the scrape of a ladle, the low hiss of a pot. At 500 Clemenceau Ave N, #01-10, one stall is awake. XO Minced Meat…
-
Fire, Lime and Chicken Wings: A Night with Sin Bedok North BBQ
Sarah Teh | September 24, 2026
The wings went on before I found my angle. It was close to midnight at Bedok North, and I had been standing at Sin Bedok North BBQ for a while, camera down, watching the wings land on the grate in a neat row. The uncle laid them out without looking, the way you do a…