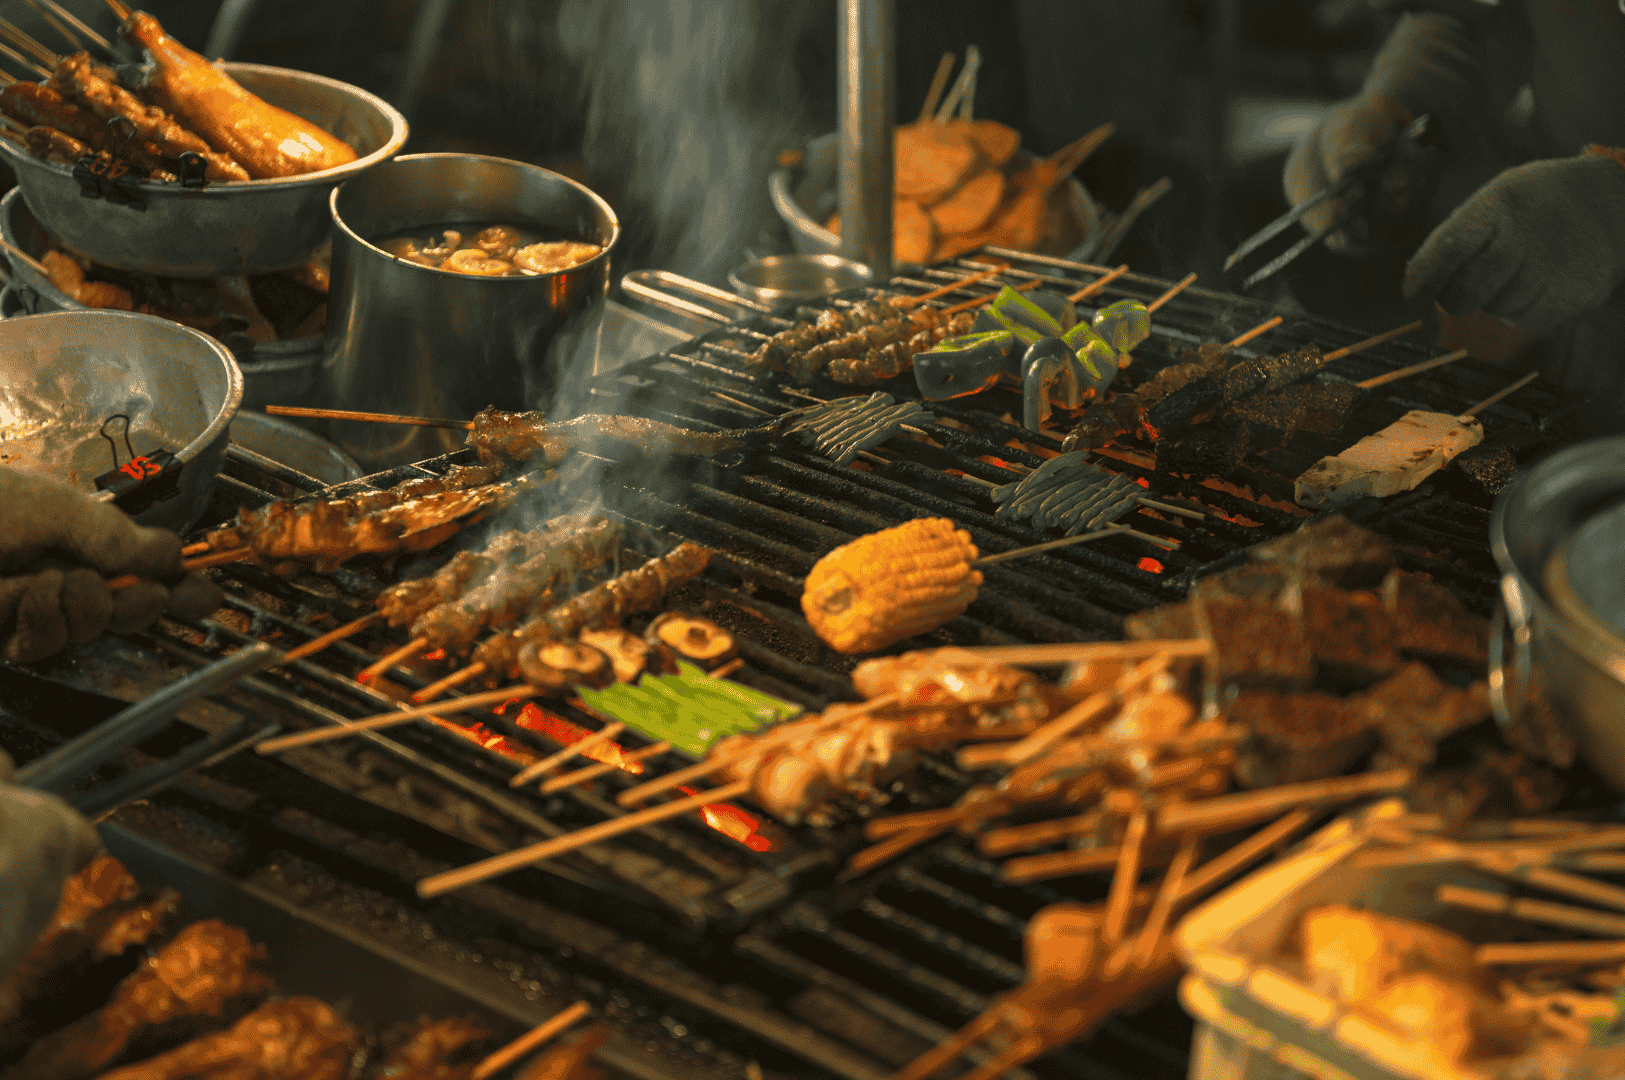
There's a special kind of magic that I love to capture when photographing food after dark. The moody shadows, the soft glow from a single candle—it’s a world away from bright, airy daylight shots. But capturing that magic? That’s where the challenge of low light food photography comes in. I remember fighting my camera, wrestling with blurry shots and grainy images. It can be frustrating.
I've been there. The good news is that mastering night photography with food is something I learned to do, and you can too. It's about understanding how to work with the dark, not against it. In this guide, I’ll share my personal approach to the essential camera settings and gear you need to turn those midnight food photo shoots into stunning, evocative images.
The Exposure Triangle: My Low-Light Lifeline and Best Camera Settings
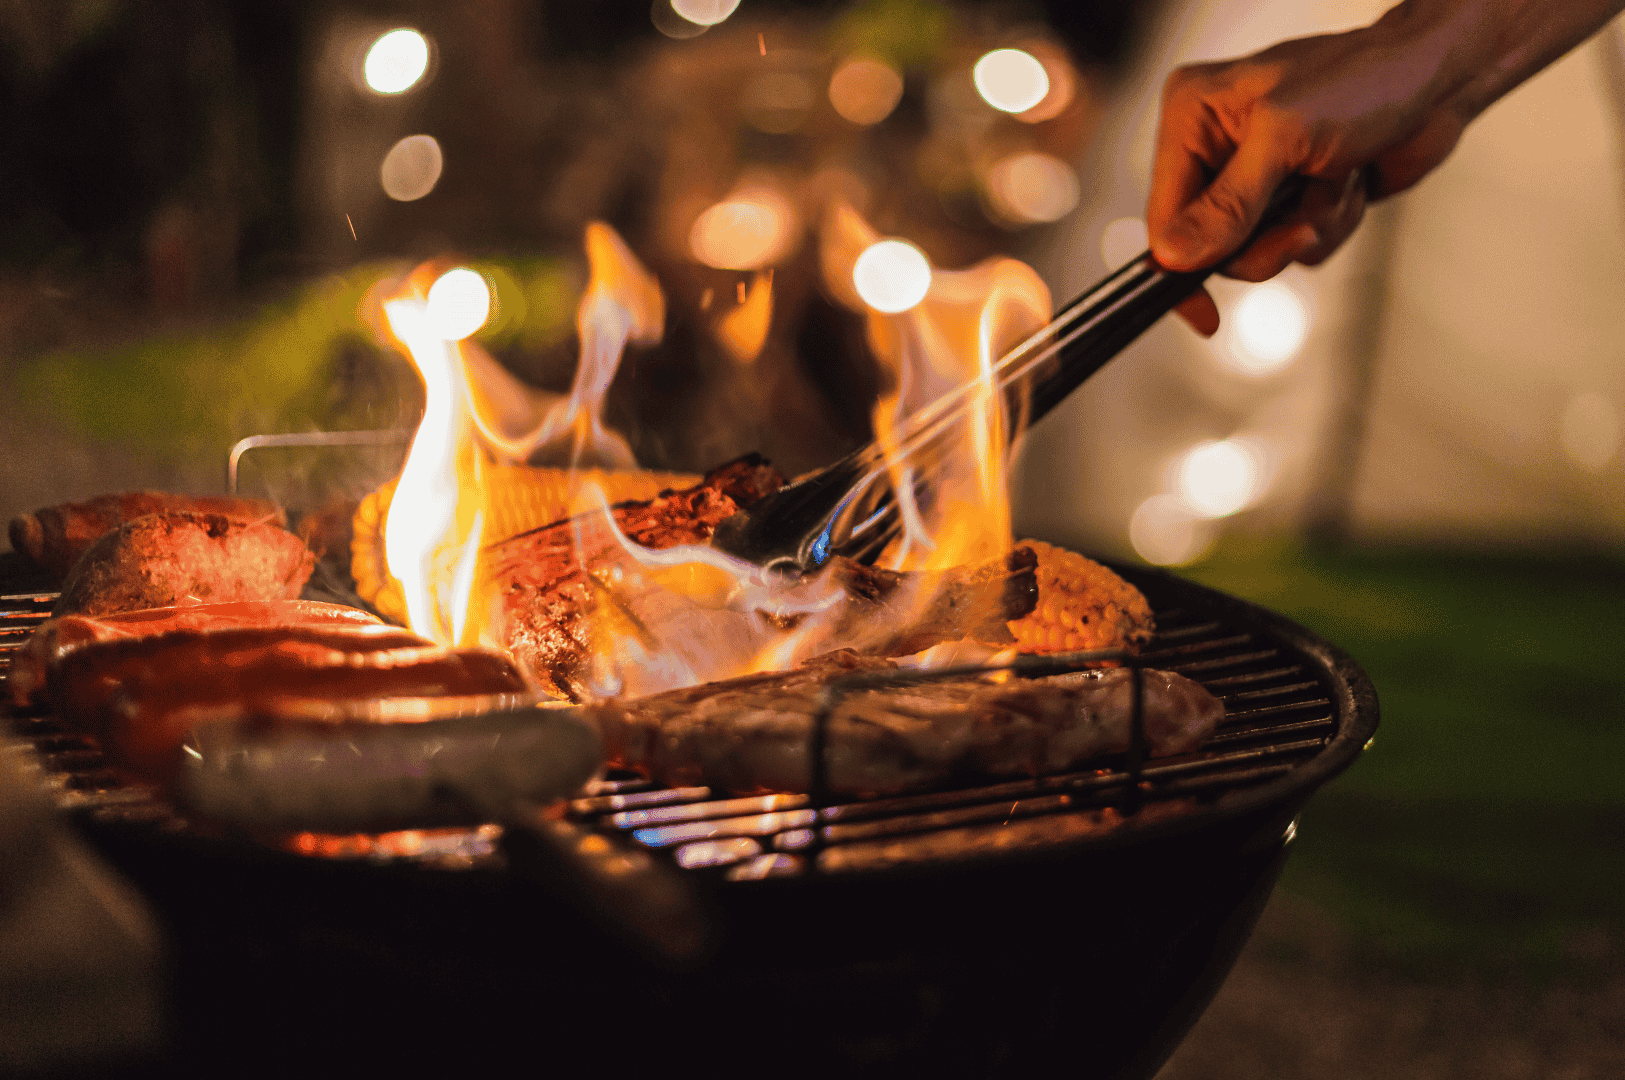
My success in low light photography hinges on my mastery of the exposure triangle: aperture, shutter speed, and ISO. Getting these three settings to work together is how I let enough light hit my sensor without sacrificing image quality.
Aperture: Let the Natural Light In
The aperture is the opening in my lens that lets light coming through. For any tough lighting situation, I want this opening as wide as possible. This is represented by a small f stop number, like f/1.8 or f/2.8. A wide aperture allows more light to enter the camera, which is exactly what I need when light is scarce.
- My Tip: I always start by setting my aperture to the widest setting my lens allows. Using a wide aperture like f/1.8 creates a shallow depth of field, which beautifully blurs the background and makes my subject pop. It gives me more depth and focus on the food.
Shutter Speed: The Balancing Act
Shutter speed determines how long my camera's sensor is exposed to light. In low light, I need a slow shutter speed to give the sensor more time to collect that precious ambient light. However, this comes with a risk: camera shake. Any movement from my hands during a long exposure will result in blur motion.
- My Tip: A tripod is my non-negotiable tool for low-light food photography. With my camera secured, I can use a very slow shutter speed without worrying about motion blur. I might start around 1/60s and adjust from there. With a tripod, I can go much slower, capturing every bit of the scene. A fast shutter speed is for when I need to freeze motion, which isn't usually the goal here.
ISO: The Necessary Boost
ISO measures my camera sensor's sensitivity to light. When I increase ISO, the sensor becomes more sensitive, allowing me to shoot in darker conditions. The trade-off is digital noise, which can make my photos look grainy. Modern cameras are much better at how they handle ISO, but it's still a setting I use with care.
- My Tip: I try to keep my low ISO settings. After setting my wide aperture and my desired shutter speed, I only increase my ISO as much as I need to get a proper exposure. With my camera, I can often get clean images up to ISO 1600. It's a good idea to take a few test shots to see where you feel the more noise becomes unacceptable. My goal is always less noise.
Beyond the Triangle: Other Key Camera Settings I Use
While the exposure settings are central, a few other settings give me more control over the final image.
White Balance: Setting the Mood
Artificial lighting at night can cast strange colors. To get the mood right, I need to get my white balance correct.
- My Tip: Shooting in RAW is my safety net, as it allows me to easily adjust white balance during post processing. When I’m on a shoot, I often set a custom white balance using a grey card for the most accurate colors right out of the camera.
Focusing in the Dark: Night Photography Settings
Auto focus systems can struggle when there is less light. I’ve watched my lens hunt back and forth, failing to lock onto the subject.
- My Tip: I almost always switch to manual focus in these situations. Using my camera's live view mode, I can zoom in on the part of the dish I want in sharp focus and adjust the focus ring until it's perfect. This gives me complete control.
My Final Thoughts
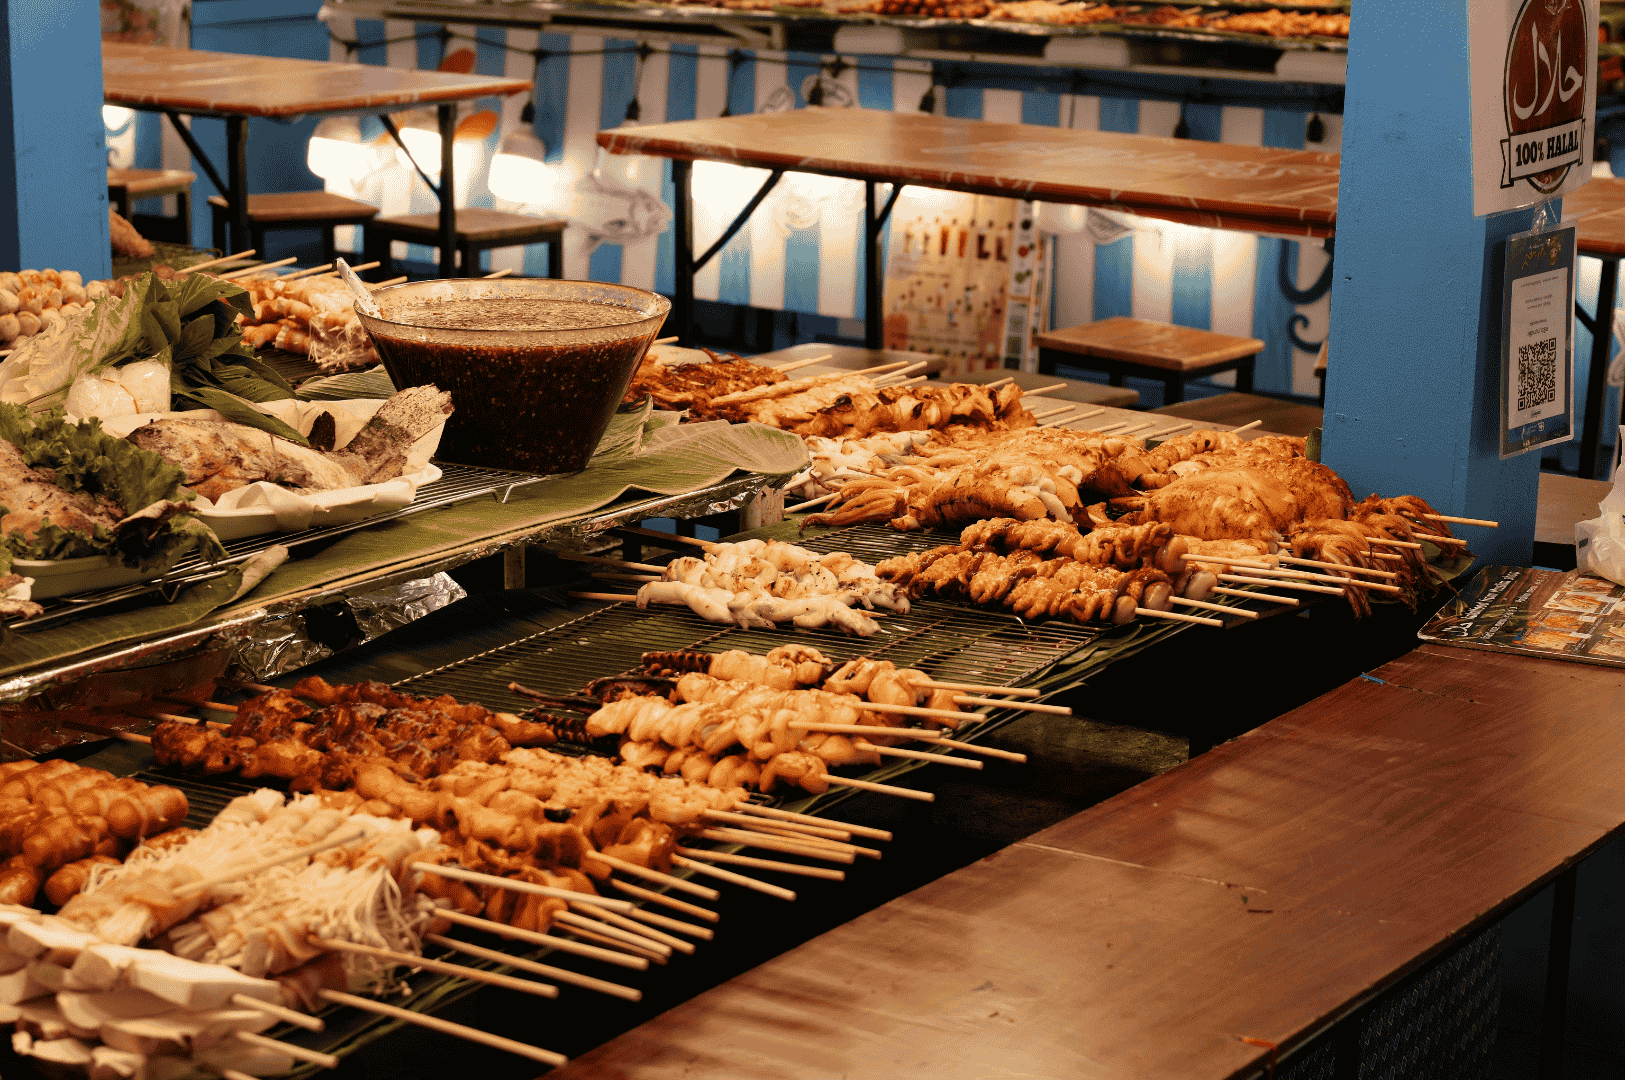
The theory is important, but the real learning happens when you start shooting. Don't be afraid to experiment. I learned by setting up a simple scene at my kitchen table after dark. I'd use a single lamp as my light source and play with all of my camera settings.
See how a slow shutter speed captures the gentle flicker of a flame. Notice how different aperture values change the mood. Push your ISO to see what your camera can do. The more you practice, the more intuitive all these things will become. Low-light food photography isn't about having the most expensive gear; it’s about knowing how to use the tools you have to create something beautiful.
For more inspiration and guides, visit Midnight Photographer, or learn about our mission and journey on the About Us page.

Gochi-So Shokudo: Discover This Japanese Comfort Food Spot For Your Night Food Crawl
Sarah Teh | October 7, 2026
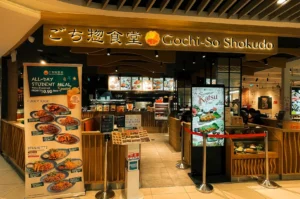
Comfort food rarely announces itself. It waits in a mall corridor, somewhere between a shoe shop and an escalator, holding the smell of grilled pork and warm rice until you slow down enough to notice. That is where you find Gochi-So Shokudo ご, also known as ご ち 惣 食堂. Not a place chasing attention….
-
Oil, Oyster and Broken Light: Photographing Bedok North Fried Oyster at 1am
Sarah Teh | October 1, 2026
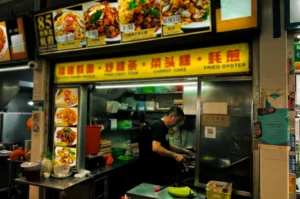
The first thing I noticed was the light. It was not the kind of light a photographer usually looks for. The fluorescent tubes above the stalls at 85 Fengshan Centre cast a pale, uneven glow across the tables, flattening some colours while exaggerating others. But at 1am, standing in front of the fried oyster stall…
-
When the City Goes Quiet, XO Minced Meat Noodles Begin
Sarah Teh | September 30, 2026
The last bus has gone. Newton Food Centre keeps a few lights on. I walk in past shuttered stalls, chairs stacked, floors still wet from a mop. Then I hear it: the scrape of a ladle, the low hiss of a pot. At 500 Clemenceau Ave N, #01-10, one stall is awake. XO Minced Meat…
-
Fire, Lime and Chicken Wings: A Night with Sin Bedok North BBQ
Sarah Teh | September 24, 2026
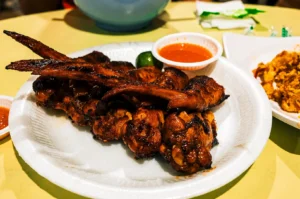
The wings went on before I found my angle. It was close to midnight at Bedok North, and I had been standing at Sin Bedok North BBQ for a while, camera down, watching the wings land on the grate in a neat row. The uncle laid them out without looking, the way you do a…
-
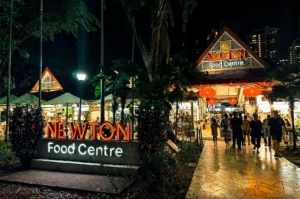
Newton Food Centre After Dark: The Stalls Worth Visiting at Night
Sarah Teh | September 23, 2026
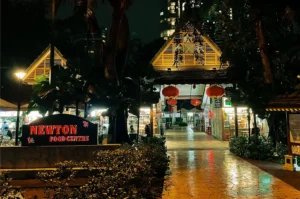
The day heat lifts slowly here. By the time I reach Newton Food Centre, the sun has gone and the light has changed hands. No longer the flat white of afternoon. Now it comes from the stalls themselves, bulb by bulb, a row of small fires holding back the dark along Clemenceau Avenue North. Newton…
-
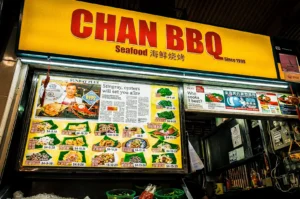
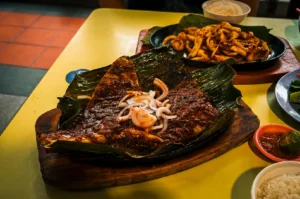
The Red Glow of Chan BBQ: A Stingray Shoot After Supper Begins
Sarah Teh | September 17, 2026
The grill was the brightest thing in the room, and that was the problem. It was past eleven at Fengshan Market & Food Centre, and I had been standing near Chan BBQ for a while, camera down, watching the uncle work the coals. He moved without hurry. A pair of tongs in one hand, a…
-
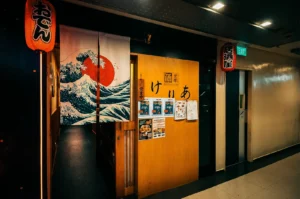
The Last Table at Keria Japanese Restaurant: A Late-Night Photoshoot in Cuppage Plaza
Sarah Teh | September 16, 2026
Orchard Road lets go of its crowds slowly. By the time I reached Cuppage Plaza B1 28, the shopping stretch behind me had thinned to a few late walkers and the low hum of traffic sliding past shuttered windows. The bright malls were already dimming. The night was settling in the way it does here,…
-
Sambal in the Shadows: Shooting Chomp Chomp BBQ at Bedok 85
Sarah Teh | September 10, 2026
The smoke found me before the food did. It was close to midnight at Bedok 85, and I had been standing at Chomp Chomp BBQ for a while, camera down, letting my eyes settle. The uncle worked the grill with his back half turned to the crowd, a pair of tongs in one hand, the…
-
Guzman y Gomez Singapore: When The Lights Stay On at Orchard Gateway
Sarah Teh | September 9, 2026
Orchard Road empties from the top down. By a quarter to midnight, storefronts have started pulling their shutters, glass gone dark over displays that glowed all day. Escalators still run. A few people drift toward the Somerset MRT with shopping bags softened at the handles, while red tail lights smear across the wet glass outside….
-
Apollon AM-Bar Review: Photographing an Intimate Izakaya in Orchard Plaza
Sarah Teh | September 4, 2026
Finding Apollon AM-Bar on the First Floor The first floor of Orchard Plaza’s dining oasis is quiet in that way old shopping centres go quiet at night. The bright shops of Orchard Road felt far away by the time I found unit #01-29. Inside, there isn’t much room. A counter, a handful of seats, staff…