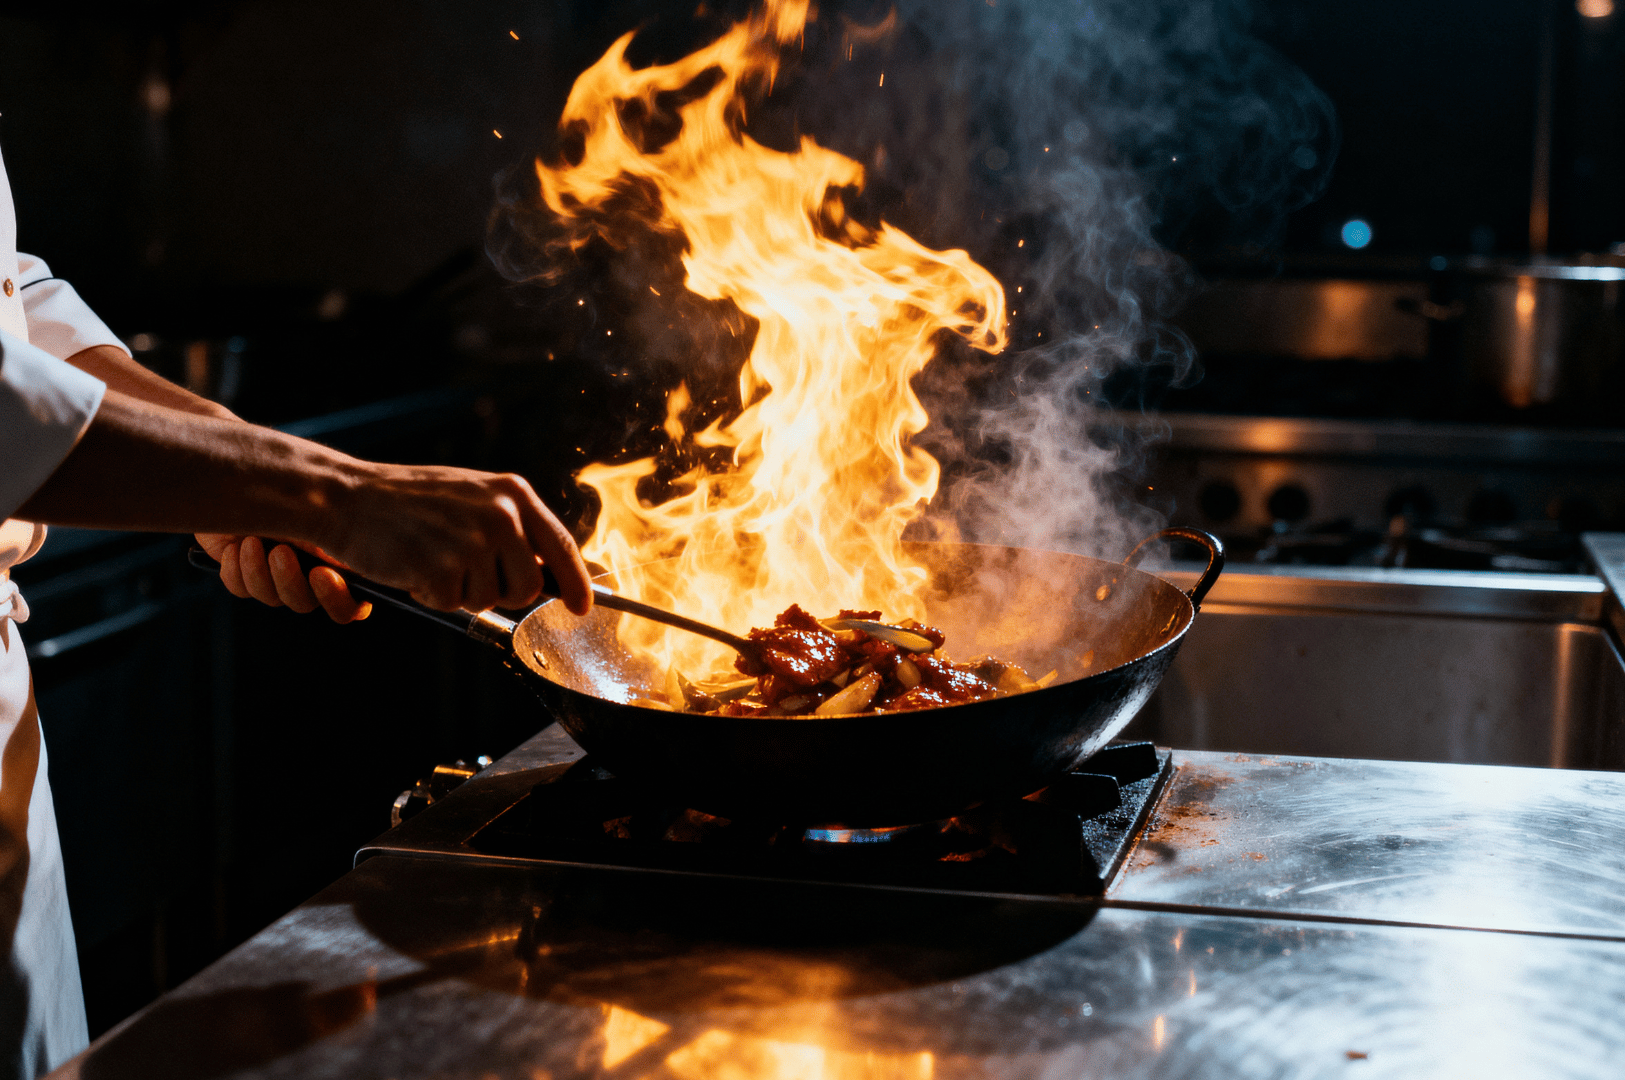
There is a raw, untamed energy in a kitchen at full tilt. For those of us who practice food photography, the most captivating element is often the most dangerous: fire. A burst of flame from a wok or the steady burn of candles on a dining table is more than just part of the cooking process; it's a transient, powerful light source. Using these flames to "paint" light onto a dish is a thrilling form of fire photography that transforms a simple meal into a dramatic spectacle. This guide offers simple tips for mastering flame photography techniques, turning chaotic fire into a controlled, artistic tool.
1. The Right Equipment for a Fire Photoshoot
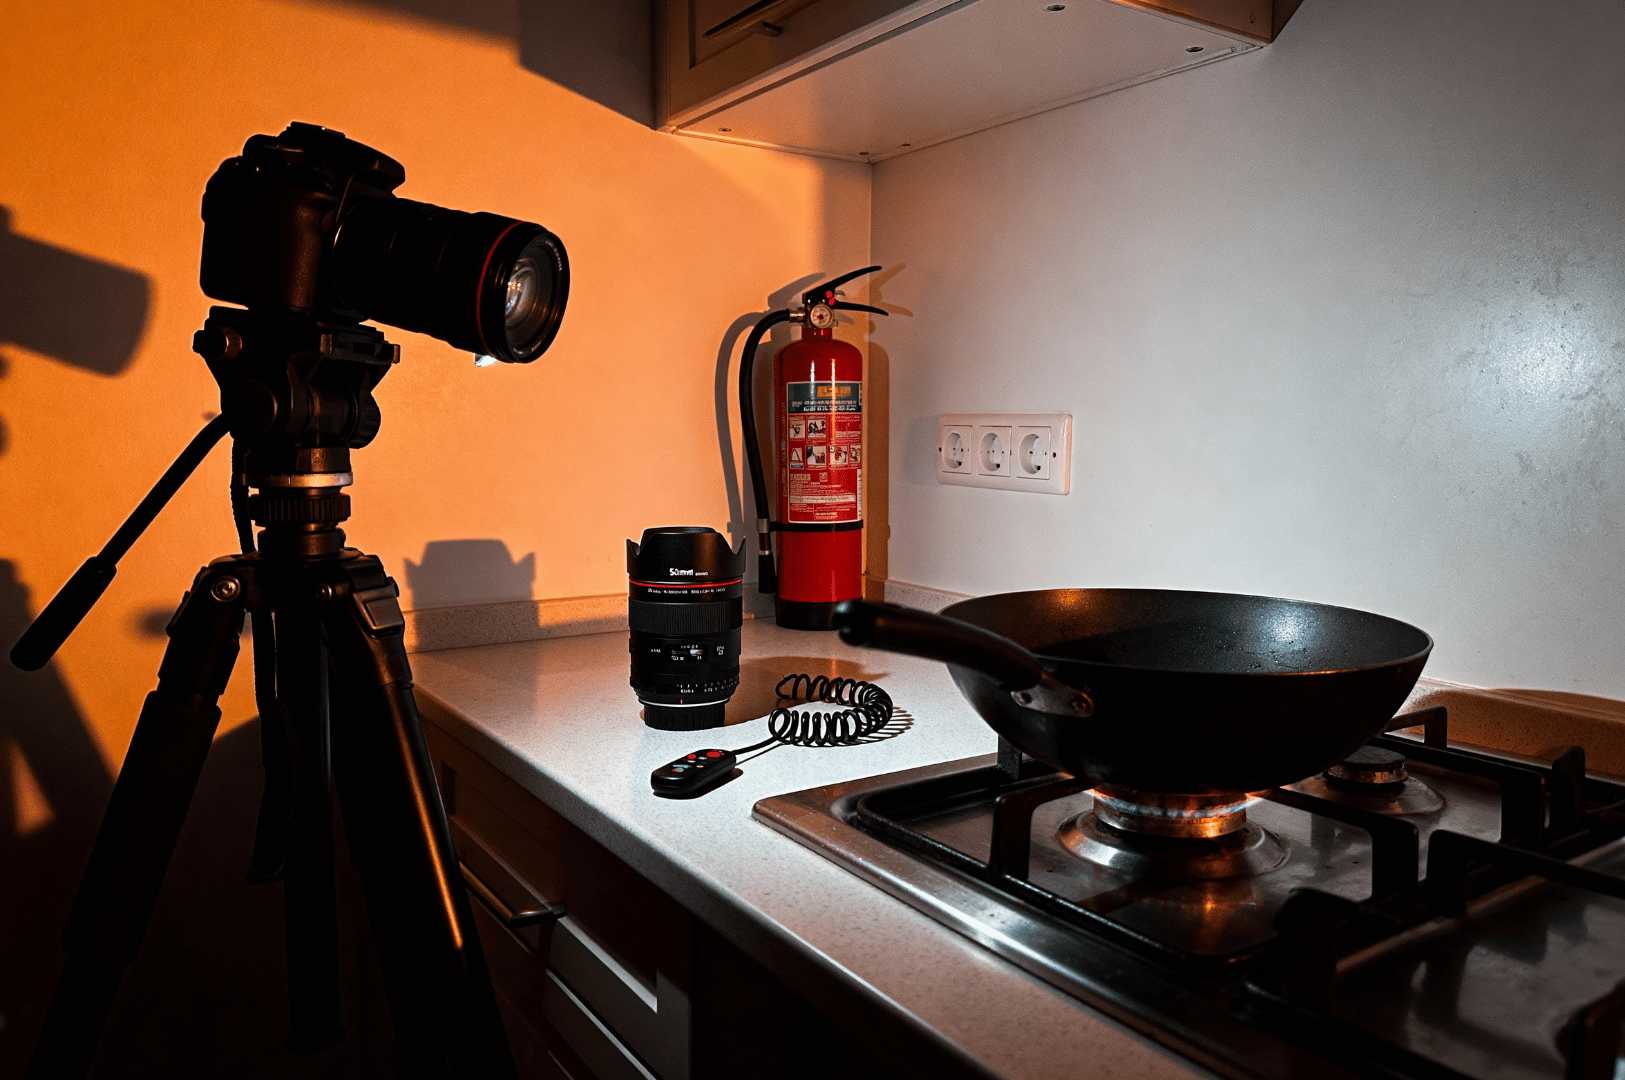
Your gear needs to handle low light and provide manual control. While natural light from the sun is predictable, flickering flames are not. Forget auto mode; you need the right equipment to take control.
- A camera with manual mode: You need full control over your camera settings.
- A fast lens: A lens with a wide aperture (like f/1.8) is crucial for gathering as much light as possible in a dark room. A wide-angle lens can capture the entire scene, but a 50mm lens is often perfect for focusing on the main subject.
- A sturdy tripod: Long exposure is key to this technique, making a tripod non-negotiable to prevent camera shake and blurry photos.
- A remote shutter release: This allows you to press the shutter button without touching the camera, further ensuring a sharp photo.
- A fire extinguisher: This is not optional. Safety must be your absolute priority. Have one within arm's reach at a safe distance.
2. Camera Settings for Photographing Fire
Getting your settings right is a balancing act between capturing the ambient light, freezing the food, and painting with the flame's motion. Start with these photography tips and adjust based on your specific lighting situation.
- Mode: Manual (M). This gives you control over all these things.
- ISO: Start with a lower ISO (100-400) to minimize noise. You can use a higher ISO if needed, but it may reduce image quality.
- Aperture: Begin around f/4 to f/8. A wide aperture creates a shallow depth of field, which can be a great shot, but a narrower one ensures more of your food is in focus.
- Shutter Speed: This is your primary creative tool. To capture the motion of bright flames, use a slow shutter speed—start with an exposure between 1 to 5 seconds. A fast shutter speed would freeze the fire, which isn't the goal for light painting.
- White Balance: Set this manually to complement the warm glow of the fire. Avoid Auto White Balance, as it will try to neutralize the beautiful warmth of the flames.
3. Lighting Techniques with Flames
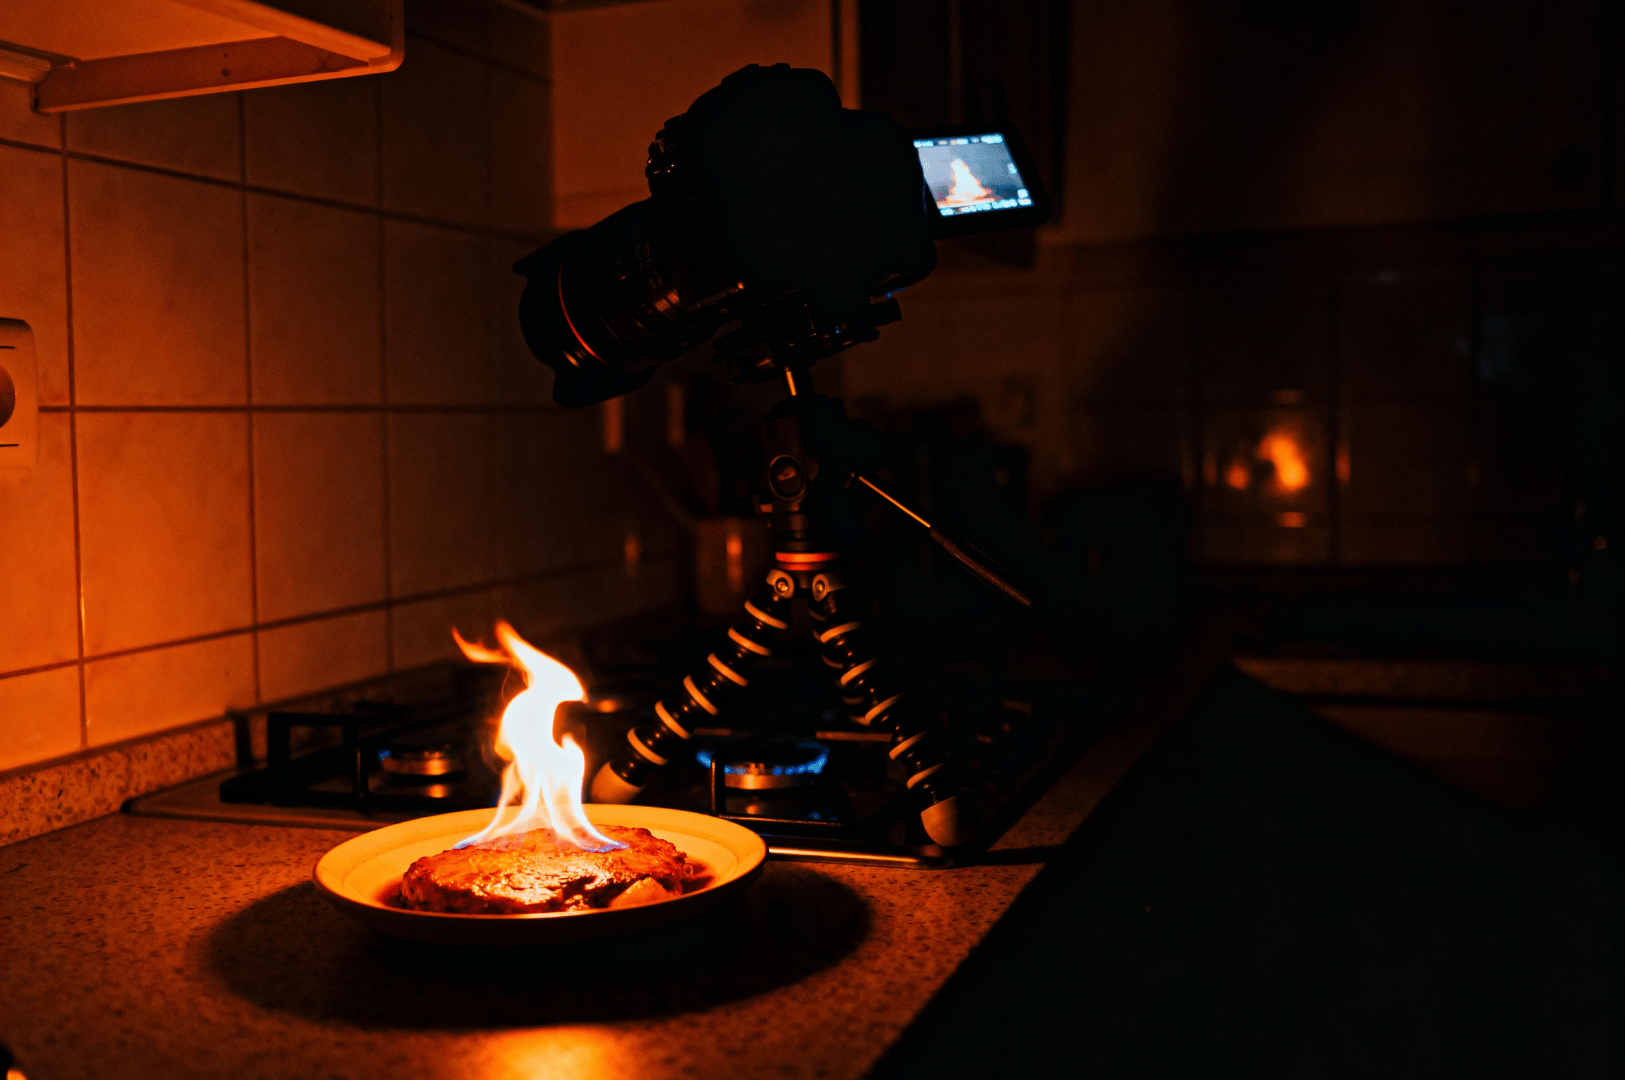
Using fire as your main light source is about embracing the contrast between bright flames and the surrounding darkness.
- Embrace the Shadows: Unlike shoots with soft light from a window or studio equipment, fire creates deep, dramatic shadows. Don't fight them. Use them to create a moody, eye-catching subject. Position your food so the flame acts as a side light, carving out texture.
- No Fill Light: For the most dramatic effect, avoid using any artificial light or fill light. The fire should be the only light source illuminating the food. The contrast between the flickering flames and the dark environment is what makes the image powerful.
- Timing is Everything: A great shot happens in a split second. Communicate with the chef or person handling the fire. Have your camera on the tripod and ready to shoot right before the flame erupts. A long exposure will capture the entire arc of the flame's movement.
4. Safety in a Controlled Environment
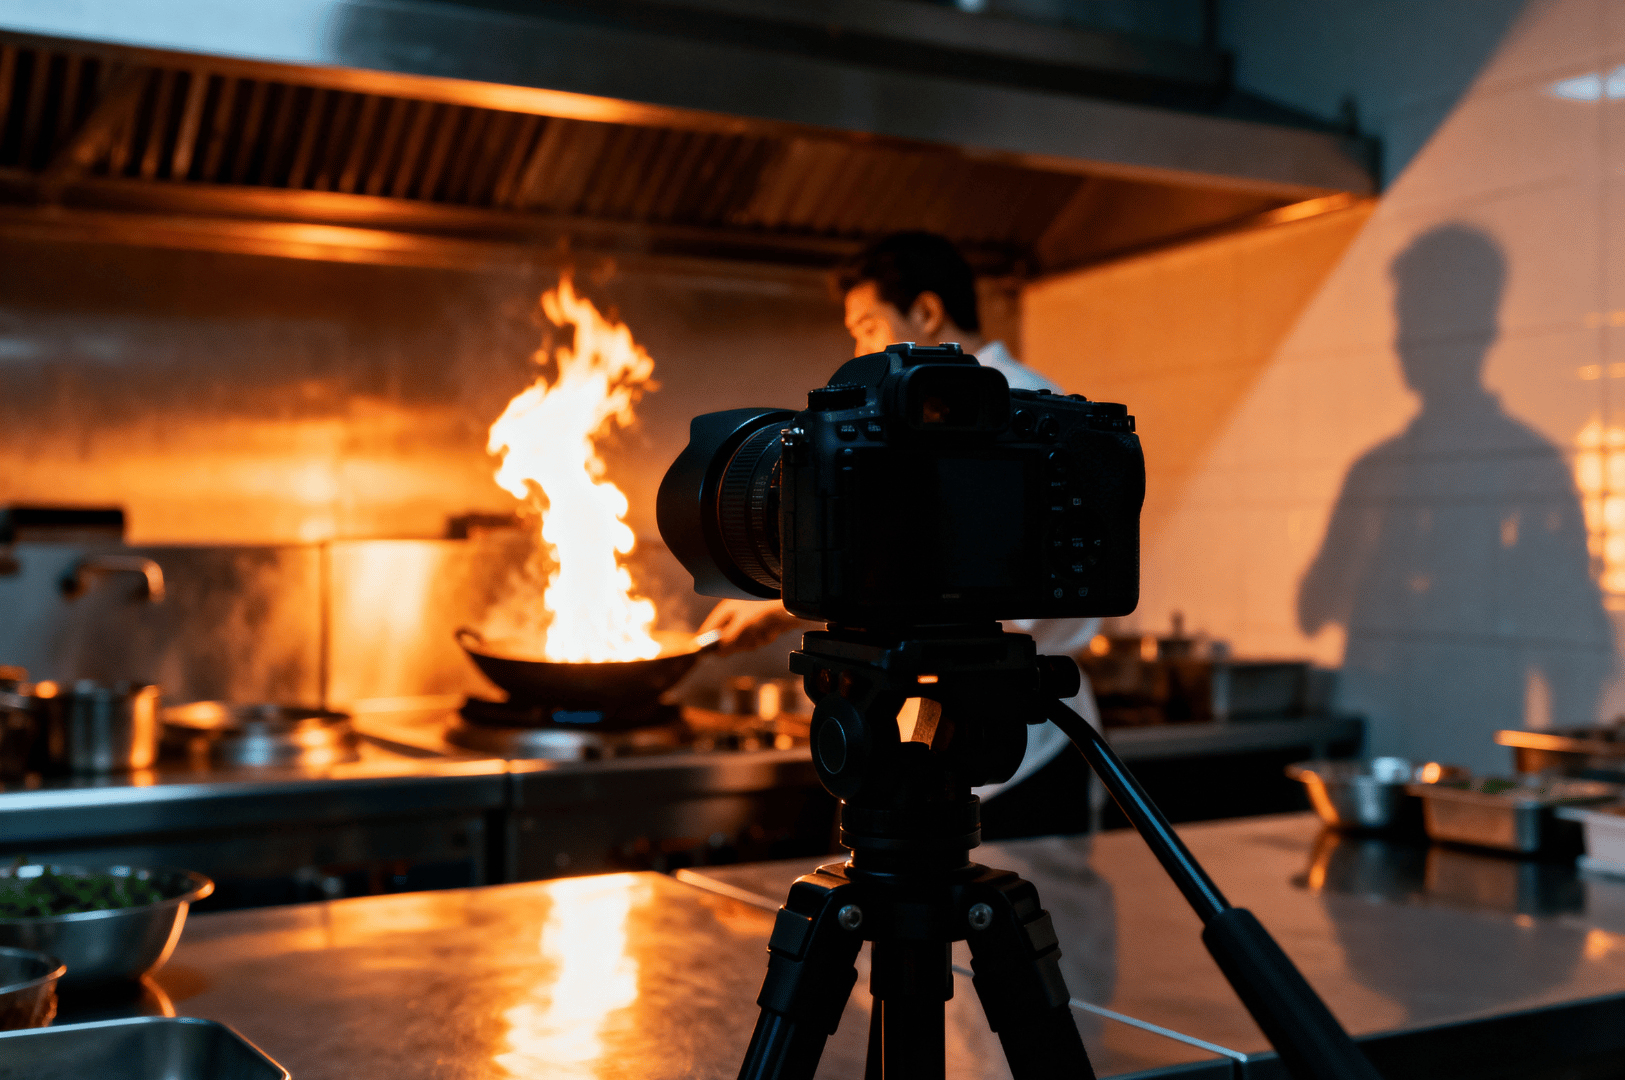
Kitchens can be hazardous. You are responsible for ensuring a safe fire photoshoot.
- Clear the Area: Ensure there are no flammable materials, such as paper towels or oil bottles, near the open fire. Create a neutral background free of clutter.
- Protect Your Gear: Keep camera straps and other equipment away from flames.
- Maintain a Safe Distance: Use your lens to get closer to the action, not your body.
- Work with Professionals: When you shoot food with fire, collaborate with chefs who understand the behavior of flames in their kitchen.
5. Post-Processing for a Dramatic Effect
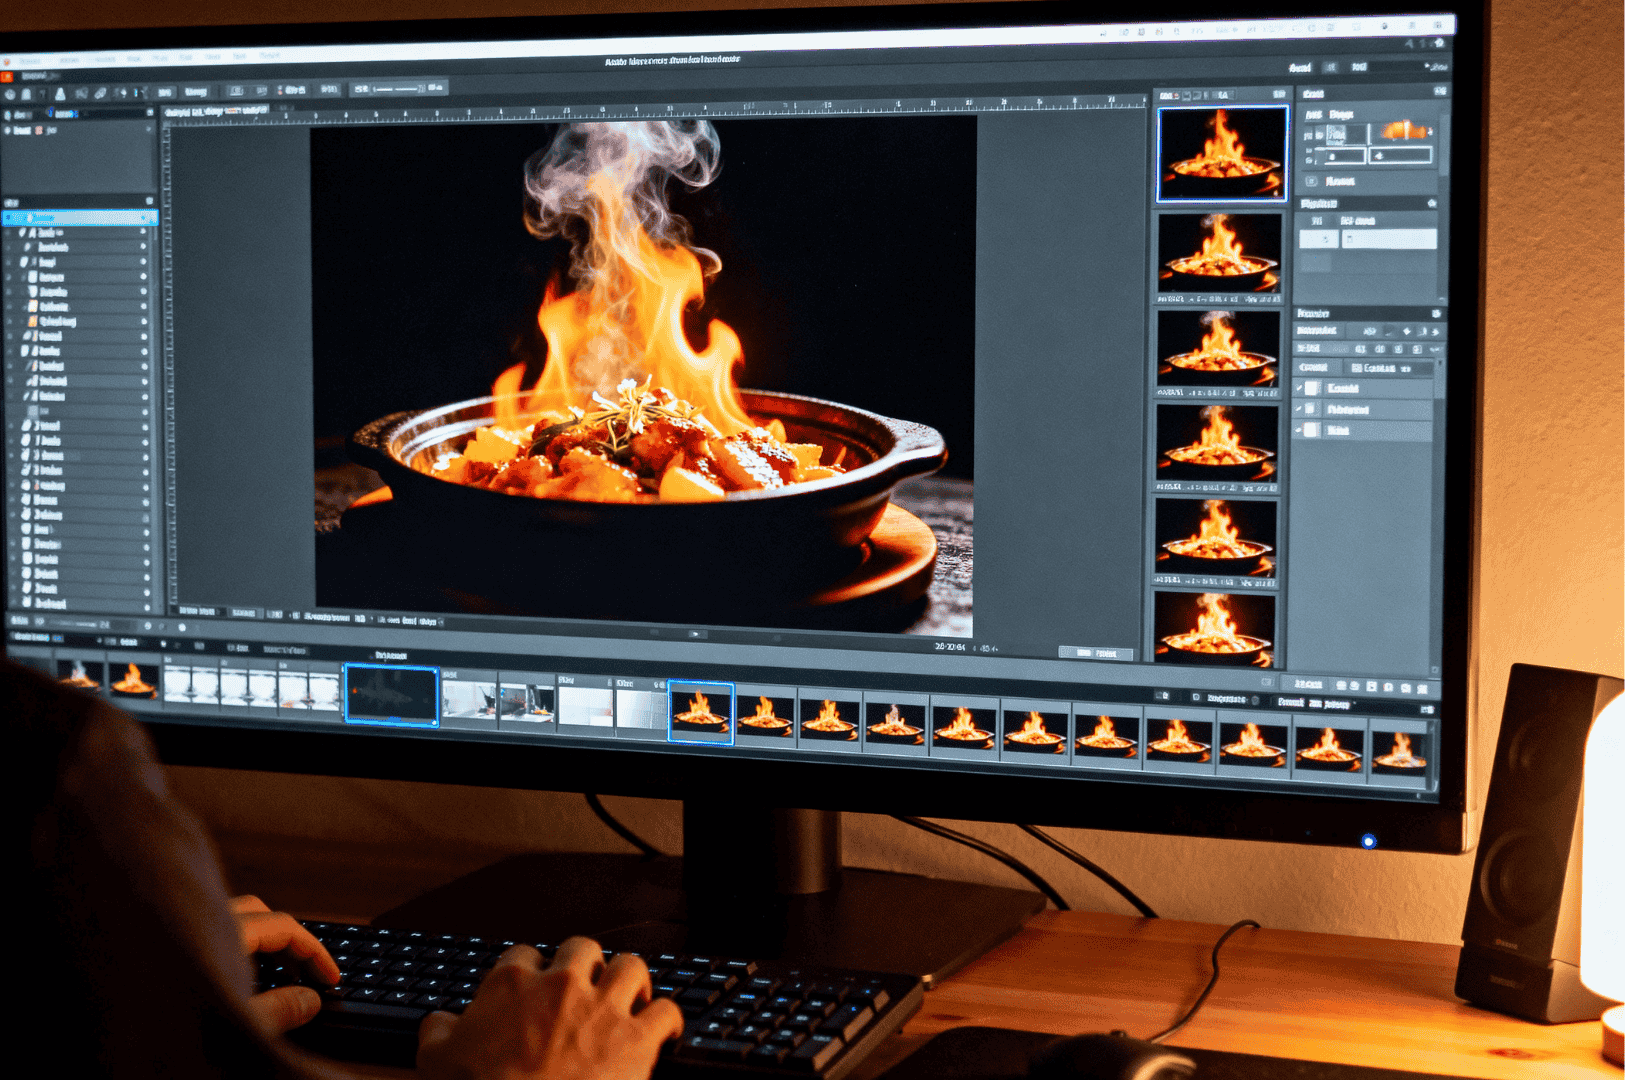
Your work isn't done after taking photos. Post-processing in a program like Adobe Photoshop is where you refine the drama and create the perfect shot.
- Adjust Exposure: Your initial image might be dark. Increase the overall exposure, but be careful not to blow out the highlights in the flame itself.
- Enhance Contrast: The beauty of these food photos lies in the contrast. Deepen the blacks to make the warm glow of the fire pop. This will make the main subject stand out.
- Refine Color: Enhance the warm tones from the flame by adjusting the color temperature or using color grading tools. This amplifies the soft glow and mood.
- Sharpen the Focal Point: Use sharpening tools sparingly on the food itself to make it the clear focal point of the image.
Capturing these moments is a thrilling challenge, but the reward is a truly dynamic and authentic photo. I hope these simple tips help you start shooting and create your own eye-catching images.
For more inspiration, follow my after-midnight MRT food photography adventures or explore artificial lighting techniques for natural-looking food photos to take your work to the next level.

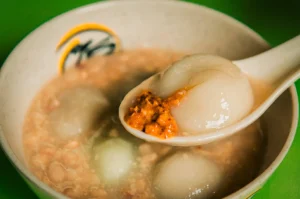
The Last Sweet Bowl: Photographing 75 Ah Balling Peanut Soup After Dinner
Sarah Teh | October 22, 2026
The steam went up before I was ready for it. I had my camera against my chest, waiting, and the vendor lifted the ladle without warning. Warm vapour curled off the surface of the peanut soup and caught the fluorescent tube overhead. I raised the lens and pressed the shutter, but the moment had already…
-
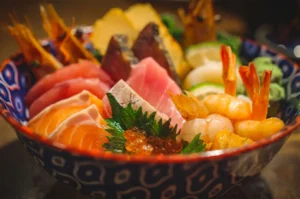
Best Chirashi Don Singapore: Fresh Sashimi Bowls from Daylight to City Lights
Sarah Teh | October 21, 2026
The city cools slowly after sunset. The neon signs warm up, and the crowds thin into something quieter. This is the hour when a bowl of fluffy Japanese rice topped with cold raw fish starts to make sense. Not the flash of a grill or the roar of a wok, but something still. Cubed sashimi…
-
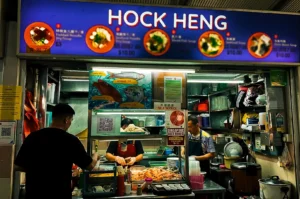
The 3AM Bowl: Why Hock Heng Fish Soup Feels Different Before Sunrise
Sarah Teh | October 21, 2026
The steam rose before the light did. I stood with my camera lowered, watching a hand lift a ladle over the pot, waiting for the moment the vapour would catch the fluorescent tube overhead. It came in a slow curl, thin and pale, drifting up past the vendor’s wrist. Then the fish slices went in….
-
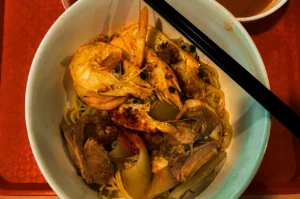
Prawns Beneath Fluorescent Light: A Late Shoot at ONE.85 Big Prawn Mee
Sarah Teh | October 15, 2026
The broth was the reddest thing in the stall, and the light was doing its best to kill it. It was past eleven at ONE.85 Big Prawn Mee, and I had been standing at the counter for a while, camera down, watching the uncle work the pot. He lowered a metal basket of noodles into…
-
Discover the Flavors of Issho Izakaya: A Complete Review and Menu Guide
Sarah Teh | October 14, 2026
As the office towers empty, Issho Izakaya at Marina One fills with diners. Located at #01-14, 5 Straits View, West Tower, Singapore 018935, this contemporary Japanese izakaya offers a warm, inviting space at the heart of the CBD. Issho means “together“ reflecting its focus on shared plates, communal dining, and a cozy atmosphere with both…
-
A Bowl That Only Makes Sense at Night: Chai Chee Pork Porridge at Bedok 85
Sarah Teh | October 8, 2026
The steam was the first thing I lost. It was well past midnight at Bedok 85, and I had been standing at Chai Chee Pork Porridge for a while, camera down, watching the auntie work the pot. She lifted the ladle, let the porridge fall back in a slow white ribbon, then lifted it again….
-
Gochi-So Shokudo: Discover This Japanese Comfort Food Spot For Your Night Food Crawl
Sarah Teh | October 7, 2026
Comfort food rarely announces itself. It waits in a mall corridor, somewhere between a shoe shop and an escalator, holding the smell of grilled pork and warm rice until you slow down enough to notice. That is where you find Gochi-So Shokudo ご, also known as ご ち 惣 食堂. Not a place chasing attention….
-
Oil, Oyster and Broken Light: Photographing Bedok North Fried Oyster at 1am
Sarah Teh | October 1, 2026
The first thing I noticed was the light. It was not the kind of light a photographer usually looks for. The fluorescent tubes above the stalls at 85 Fengshan Centre cast a pale, uneven glow across the tables, flattening some colours while exaggerating others. But at 1am, standing in front of the fried oyster stall…
-
When the City Goes Quiet, XO Minced Meat Noodles Begin
Sarah Teh | September 30, 2026
The last bus has gone. Newton Food Centre keeps a few lights on. I walk in past shuttered stalls, chairs stacked, floors still wet from a mop. Then I hear it: the scrape of a ladle, the low hiss of a pot. At 500 Clemenceau Ave N, #01-10, one stall is awake. XO Minced Meat…
-
Fire, Lime and Chicken Wings: A Night with Sin Bedok North BBQ
Sarah Teh | September 24, 2026
The wings went on before I found my angle. It was close to midnight at Bedok North, and I had been standing at Sin Bedok North BBQ for a while, camera down, watching the wings land on the grate in a neat row. The uncle laid them out without looking, the way you do a…