The first time I tried to photograph nigiri at a proper counter, I ruined the piece.
I fussed. I tilted the plate. I leaned back for a better angle, checked the screen, tried again. By the time I actually ate it, the rice had cooled and the fish had warmed, and that careful balance the chef had built for me was gone. He didn’t say anything. He didn’t have to. I knew.
That was the lesson that changed how I shoot sushi photos at dinner. The photo is never worth the meal. And strangely, once I accepted that, my sushi photos got better.
Here’s what I’ve learned since, as I continue my journey through capturing food such as those from good Japanese curry Singapore offers, and now to sushi, mostly at dim counters, camera muted, moving fast.
Why Sushi Is So Hard to Photograph at Dinner
Three things work against you at once.
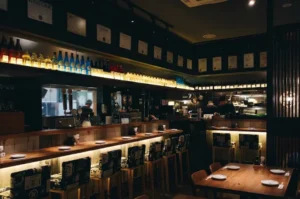
The light is low. Sushi rooms are quiet and warm, lit by a single spot over the counter and not much else. Your camera struggles the moment the sun goes down.
The food is fragile. Sushi is temperature-sensitive. Rice cools, fish warms, glaze sets. Every second you spend fiddling is a second the piece drifts away from how it was meant to taste.
The pacing isn’t yours. At a counter, the chef sets the rhythm. You eat when it’s placed, not when you’re ready. There’s no time to build a little studio.
So the goal isn’t a perfect shot. It’s a good enough shot, made fast enough that the meal survives.
Ask Before You Shoot
Before anything else, ask. Once. Quietly.
Photography rules vary wildly. Etiquette guidance from sources like TABLEALL points out that some restaurants allow food photos but not chef portraits, some permit only the nigiri portion, and some don’t allow any photography at all. You won’t know until you check.
A simple line works: “Is it okay if I take a few quiet sushi photos of the food?” Then respect whatever answer you get. Turn off your flash. Mute the shutter. Keep other diners out of your frame. And eat each piece promptly after it’s served, the way it’s meant to be eaten.
I’ve never once had a chef refuse a polite ask. What they mind isn’t the camera. It’s the disruption.
Pro tip: Keep your phone and keys off the wooden counter entirely. Those counters are expensive, and hard objects scratch. Set your camera in your lap between shots, not on the surface in front of you.
The Camera Settings I Start With
You want fast glass and forgiving settings. Here’s my starting point for a dim room:
- Aperture: f/1.8 to f/4
- Shutter speed: 1/100 to 1/200 second
- ISO: 800 to 3200, sometimes higher in very dark rooms
- File type: RAW
- White balance: Auto, then fix it later
A slightly grainy but sharp sushi photo beats a clean but blurry one every time. Don’t cling to ISO 100 because you’ve heard it’s “best quality.” In a dark restaurant, ISO 100 forces a shutter speed so slow your hands will blur the shot. Raise the ISO. Keep 1/125 as your handheld safety line.
Shoot RAW if you can. Mixed restaurant lighting will throw strange casts on your fish, and RAW lets you correct white balance later without wrecking the file.
How to Frame Nigiri
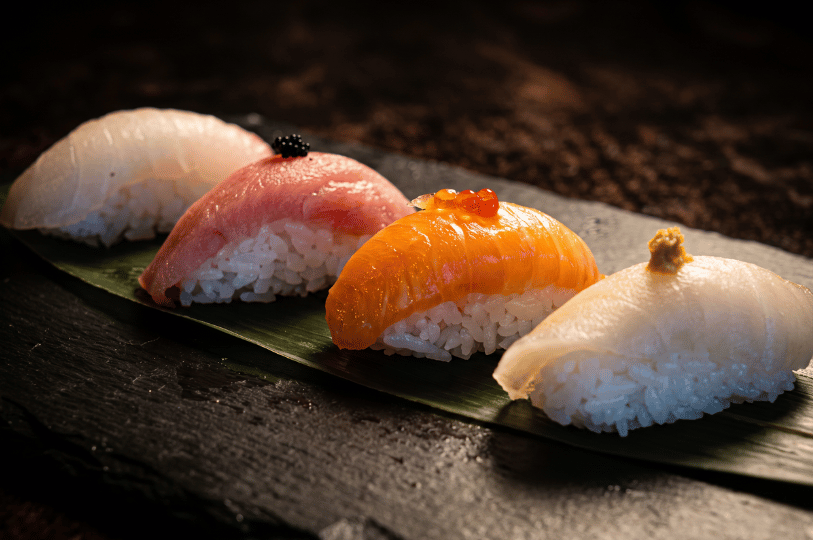
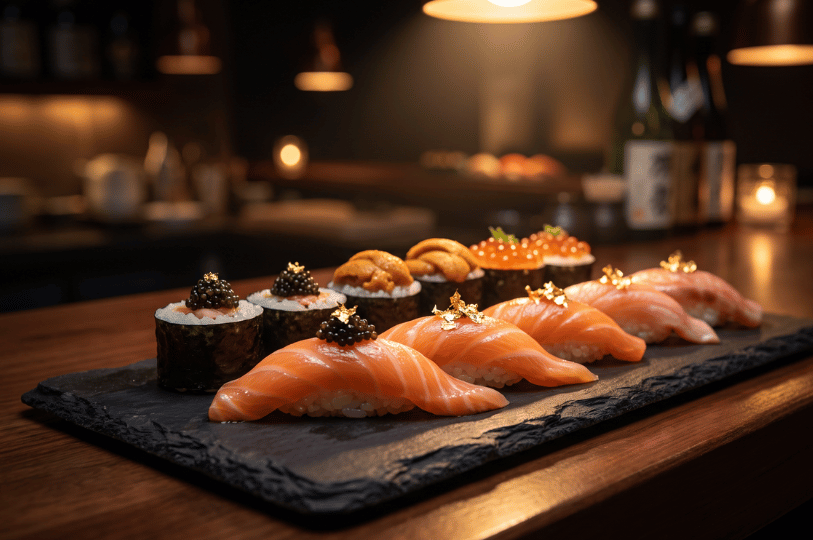
Nigiri is about the relationship between the fish and the rice. Shoot it too flat and you lose that entirely.
Get low. A 30 to 45-degree angle shows the height of the piece, the curve of the topping, any brush of sauce, and the structure of the rice underneath. Overhead flattens all of it into a shape.
Focus on the front edge of the fish, leave a little counter around the piece, and let the chef’s workspace fall soft in the background. And here’s the important part: rotate yourself, not the sushi. Never move a piece the chef has placed unless you’re invited to.
Two frames is enough. One at 45 degrees, one tighter detail. Then chopsticks.
How to Frame Sashimi
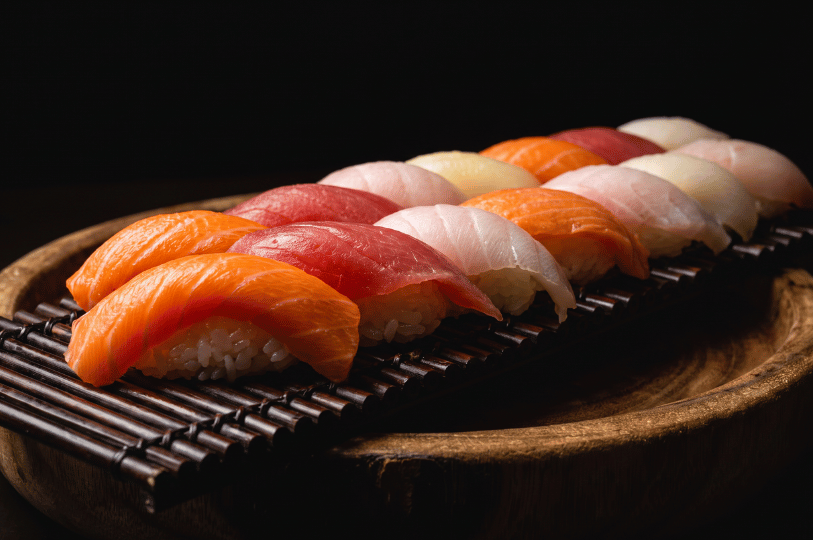
Sashimi gives you more room to work because it usually arrives arranged, with leaves, ice, daikon, or ceramic shaping the plate.
Look for the lines. Clean knife cuts, a diagonal progression across the plate, alternating colours, the negative space that separates each variety. Those are your composition, already done for you.
Shoot overhead when the arrangement is graphic and flat. Switch to 45 degrees when there’s height, garnishes standing up, or a glossy cut surface catching light. Let the empty space breathe. You don’t need to fill the frame.
How to Frame Maki and Hand Rolls
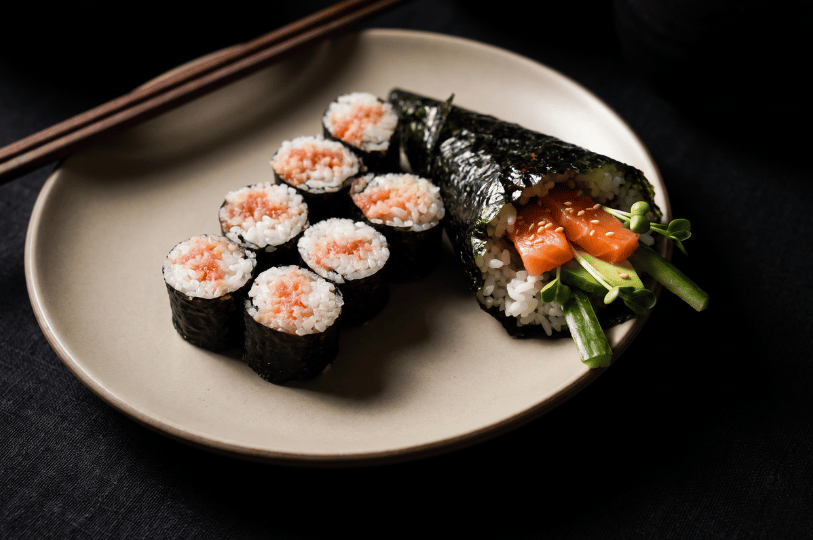
With maki, decide what the picture is about first.
If it’s about pattern, shoot overhead. A row of cut maki becomes circles and repetition, and aligning them on a diagonal makes it sing.
If it’s about the filling, get low toward the cut end. That’s where you see the rice thickness, the layers, the ingredients. For a hand roll, shoot slightly below or level with the open end so the filling shows. Don’t accidentally land your focus on the nearest bit of nori when the filling is the real story.
Insider knowledge: For a temaki, you’ve got maybe thirty seconds before the nori softens and goes limp. Have your angle chosen before it arrives. Crisp nori photographs beautifully. Soft nori just looks tired.
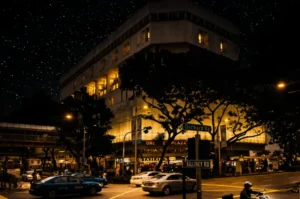
Taste more of Singapore’s wonders of sushi counters from omakases to izakayas, especially within Cuppage Plaza, from me on Midnight Photographer.
Controlling Warm and Mixed Light
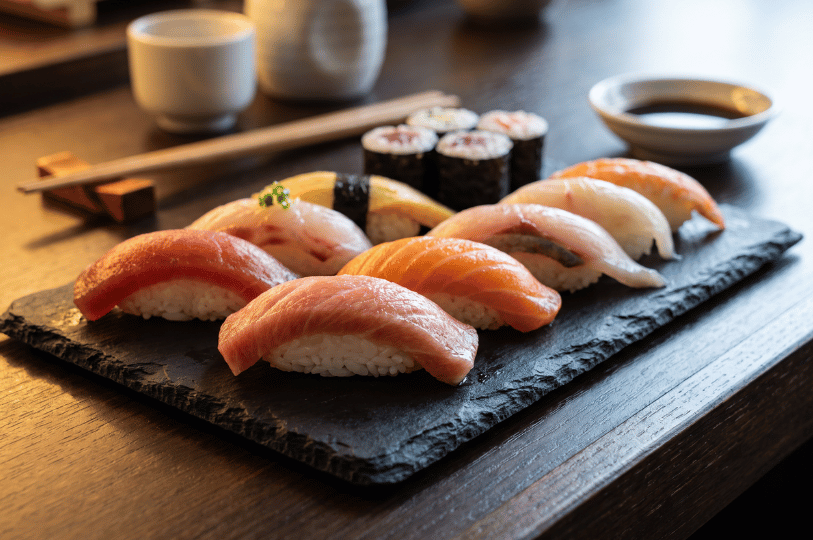
Restaurant light is your biggest enemy and, handled right, your best friend.
Skip the flash. It flattens the fish, throws harsh reflections off glaze, and kills the quiet mood of the room. Nobody wants to be the person firing a flash at a sushi counter.
Instead, work with what’s there. Look at the shadow cast by your teacup or chopstick rest to find where the light’s coming from. Side and back light reveal texture far better than flat frontal light. Turn your plate, or turn yourself, so the strongest light rakes across the food from the side.
For colour, don’t try to neutralize everything. A little warmth keeps the atmosphere. When you edit your RAW file, use the rice or a white ceramic edge as your reference, then pull the yellow back just enough that the rice looks warm rather than grey. Watch salmon, tuna, and wasabi separately. They each shift differently.
A 5-Second Omakase Workflow
At omakase, the chef serves a piece every few minutes, and the pressure to capture everything is real. Resist it.
Here’s my whole routine:
- Ask about photography before service starts.
- Lock in one exposure that works for the counter.
- Photograph only the pieces that matter, not all of them.
- Alternate between food, the chef’s hands, and the room.
- Don’t review after every shot.
- Eat each piece straight away.
You’ll leave with a coherent set of ten to fifteen frames instead of eighty near-identical close-ups. Photograph the progression, not the inventory.
Common Mistakes to Avoid
I’ve made all of these.
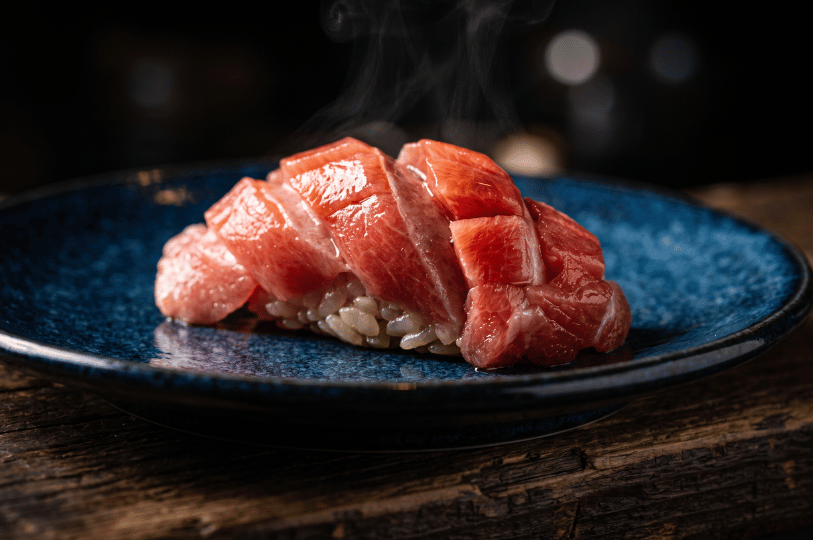
- Blown highlights on oily fish. That white patch on the tuna is gone for good. Dial in about –0.3 to –0.7 exposure compensation to protect it.
- Shutter too slow to handhold. If you can’t hold it steady, raise ISO. Don’t accept blur.
- Night mode blurring the chef’s hands. Phone night mode stacks multiple frames, so anything moving comes out doubled or ghosted. Turn it off for action shots and use normal mode.
- Moving plates repeatedly. It disrupts the chef and makes you look like you’re running a shoot. Compose around the plate where it sits.
- Focus landing on the plate, not the sushi. Use a single focus point and put it on the fish.
Singapore-Specific Notes
A few things I’ve learned shooting sushi photos here specifically.
Lens fogging is real. Step out of Singapore’s humidity into a cold, air-conditioned restaurant and your lens will fog instantly. Keep the camera in your bag through the transition and let it acclimatize before you pull it out. Wiping cold glass just smears it.
The lighting is a patchwork. Warm counter spots, cool room lighting, decorative LED strips, blue light from a display fridge. There’s rarely one perfect white balance for the whole frame, which is exactly why RAW matters here.
Counters are compact. Many sushi counters in Singapore seat you close to your neighbours. Leave the big zoom and the second body at home. A small camera with a 35mm or 50mm prime, or just your phone’s main lens, is kinder to everyone around you.
Costs add up fast. At a place like Kairyu, lunch starts from S$78++ and the dinner sushi omakase sits around S$148++, with pricier menus above that. Note the “++” means service charge and GST on top. When a meal costs that much, you don’t want to fumble your settings and leave with nothing.
Pro tip: Practice on cheap sushi first. Grab a takeaway nigiri set or a tray from the supermarket, set them under a dim household lamp, and rehearse your focus, exposure, and angles at home. Get the muscle memory sorted before you spend real money on omakase.
One Last Thing
The best sushi photo I’ve ever taken wasn’t the most careful one. It was quick, slightly grainy, made in about five seconds while the rice was still perfect and the chef was still smiling.
Some pieces make you reach for your camera. The trick is knowing when to put it down again.
Prepare your settings, ask your question, take your two frames, and then let the meal be a meal. Taking a little longer to get your shot right can sometimes help, but often a shorter wait preserves the sushi’s ideal state better. That’s the whole practice. Your sushi photos will thank you, and so will the person who made your dinner.

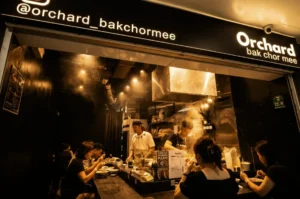
Orchard Bak Chor Mee: Vinegar, Steam, and a Late-Night Queue
Sarah Teh | July 8, 2026
I’ll be honest, the first bowl that landed in front of me looked a bit sad. Pale noodles, not much going on, and I nearly worried I’d made a wrong call. Then I tossed it, and the whole thing transformed. That’s the trick with Orchard Bak Chor Mee. The sauce hides at the bottom, so…
-
Through Fogged Glass and Neon Lights
Sarah Teh | July 2, 2026
My lens fogged the moment I stepped out of the cab near Lau Pa Sat. The night air pressed in, thick and warm, and for a few seconds I could see nothing through the viewfinder but a soft white blur. I almost wiped it away in a hurry. Then I noticed how the neon from…
-
Mall Glare Tips: How to Shoot Food Under Harsh Lights at Cuppage Plaza
Sarah Teh | July 1, 2026
The first time I tried to photograph a bowl of ramen at Cuppage Plaza, I nearly gave up. My broth had a shiny white blob on it, the egg looked grey, and the whole shot felt like a hospital cafeteria food photo. I sat there frustrated, soup going cold, wondering why my food photography never…
-
A Lens on the Night
Sarah Teh | June 25, 2026
I remember the exact moment I stopped chasing the perfect plate. It was close to midnight along Geylang Road, and the air still held the day’s heat like a slow exhale. A woman ladled laksa at a corner stall, her face half-lit by a single bulb, and I realized the steam rising from her pot…
-
Three Late-Night Orchard Plaza Food Spots Open Past Midnight (and One Just Before)
Sarah Teh | June 24, 2026
I’ve spent many nights exploring Orchard Plaza’s vibrant late-night food scene, capturing the warm, honest atmosphere that emerges after most of the city sleeps. Over the years, I’ve sampled nearly every supper spot in this slightly worn but charming building. Some places came and went, but three have remained my go-to late-night haunts, plus one early-evening…
-
The Night’s Palette
Sarah Teh | June 18, 2026
The city at night has always drawn me in. The hum of neon signs, the glint of streetlights on slick pavements, and the comforting glow of hawker stalls create a canvas that feels alive with stories. As someone who has spent countless evenings wandering Singapore’s streets with a camera in hand, nighttime food photography has…
-
Shunjuu Izakaya: Smoke, Sake, and the River at Night in Singapore
Sarah Teh | June 17, 2026
I almost didn’t see the entrance the first time. Tucked along Robertson Quay at 30 Robertson Quay, #01-15 Riverside View, Shunjuu Izakaya is a Japanese restaurant in Singapore serving an exciting menu of Japanese cuisine. It hides behind a curtain of charcoal smoke and warm lantern light. Then I caught the smell of grilling pork…
-
Beyond The Plate
Sarah Teh | June 11, 2026
Capturing the People Who Bring Midnight Eats to Life The metallic snip of heavy scissors echoes down Jalan Besar long after the rest of the city has gone to sleep. Standing on the pavement at two in the morning, I adjust my camera settings to capture the harsh, fluorescent glow spilling out from Beach Road…
-
Wandering Through Hidden Corners of the World
Sarah Teh | June 11, 2026
Travel teaches you to notice what others overlook. The markets, the alleys, the quiet squares; these are the spaces where the rhythm of a place is unguarded, intimate, and fleeting. Walking along winding streets in a small European town, or tracing narrow lanes in an Asian city just as the sun dips below the rooftops,…
-
Singapore Izakaya Chefs: The Masters Keeping Our Late-Night Kitchens Alive
Sarah Teh | June 10, 2026
If you want to understand Singapore izakaya chefs, or photograph them honestly, you have to stop seeing these places as only casual drinking spots. This guide walks through how to observe, respect, and capture the people who keep Singapore’s izakaya scene alive long after the office towers go dark. Discover the smoky rhythm and masterful…