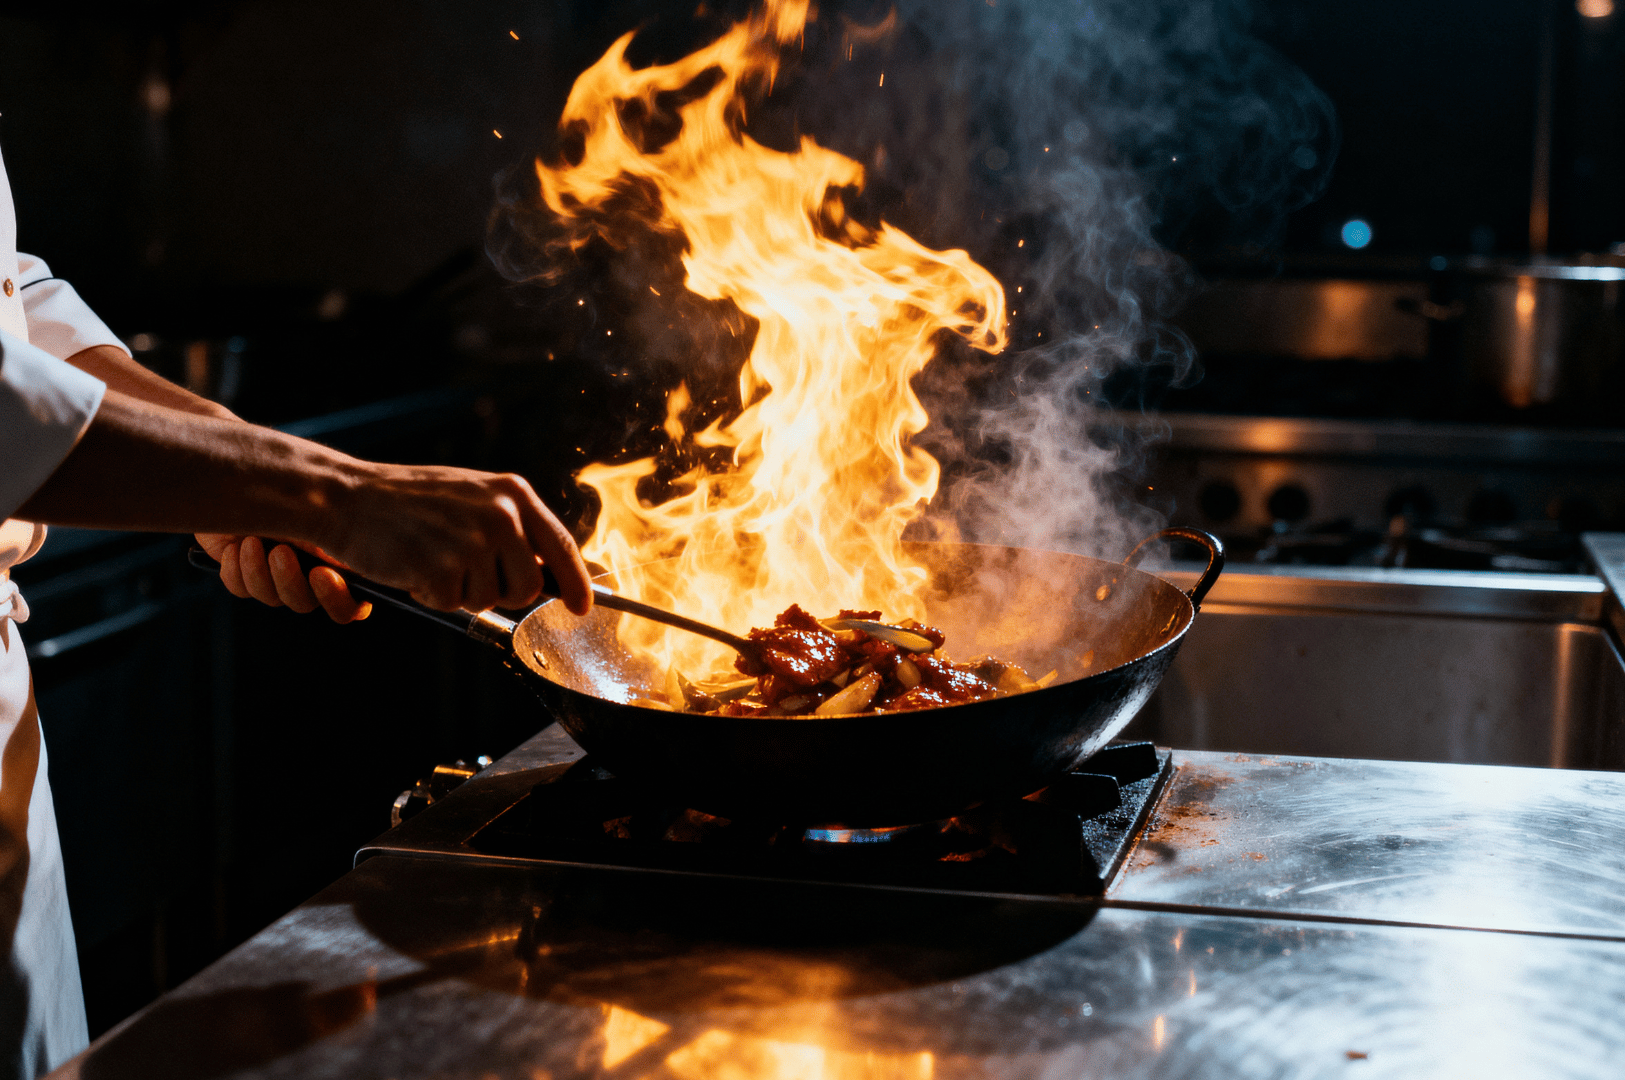
There is a raw, untamed energy in a kitchen at full tilt. For those of us who practice food photography, the most captivating element is often the most dangerous: fire. A burst of flame from a wok or the steady burn of candles on a dining table is more than just part of the cooking process; it's a transient, powerful light source. Using these flames to "paint" light onto a dish is a thrilling form of fire photography that transforms a simple meal into a dramatic spectacle. This guide offers simple tips for mastering flame photography techniques, turning chaotic fire into a controlled, artistic tool.
1. The Right Equipment for a Fire Photoshoot
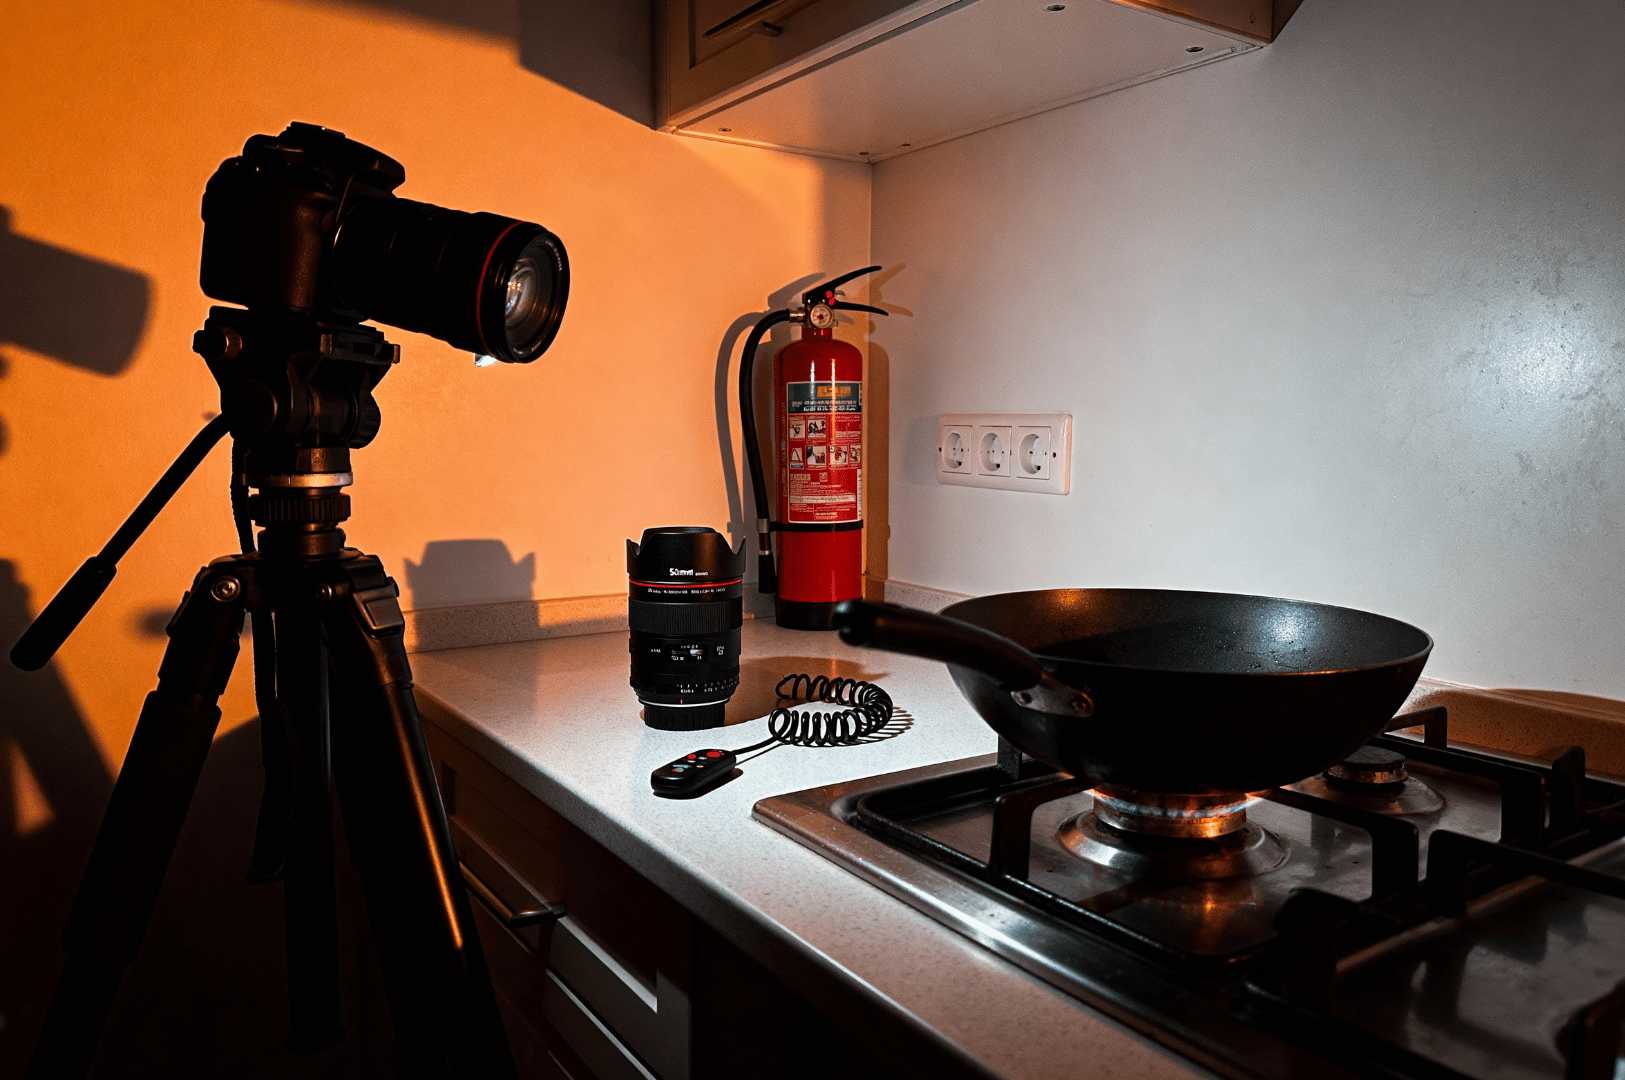
Your gear needs to handle low light and provide manual control. While natural light from the sun is predictable, flickering flames are not. Forget auto mode; you need the right equipment to take control.
- A camera with manual mode: You need full control over your camera settings.
- A fast lens: A lens with a wide aperture (like f/1.8) is crucial for gathering as much light as possible in a dark room. A wide-angle lens can capture the entire scene, but a 50mm lens is often perfect for focusing on the main subject.
- A sturdy tripod: Long exposure is key to this technique, making a tripod non-negotiable to prevent camera shake and blurry photos.
- A remote shutter release: This allows you to press the shutter button without touching the camera, further ensuring a sharp photo.
- A fire extinguisher: This is not optional. Safety must be your absolute priority. Have one within arm's reach at a safe distance.
2. Camera Settings for Photographing Fire
Getting your settings right is a balancing act between capturing the ambient light, freezing the food, and painting with the flame's motion. Start with these photography tips and adjust based on your specific lighting situation.
- Mode: Manual (M). This gives you control over all these things.
- ISO: Start with a lower ISO (100-400) to minimize noise. You can use a higher ISO if needed, but it may reduce image quality.
- Aperture: Begin around f/4 to f/8. A wide aperture creates a shallow depth of field, which can be a great shot, but a narrower one ensures more of your food is in focus.
- Shutter Speed: This is your primary creative tool. To capture the motion of bright flames, use a slow shutter speed—start with an exposure between 1 to 5 seconds. A fast shutter speed would freeze the fire, which isn't the goal for light painting.
- White Balance: Set this manually to complement the warm glow of the fire. Avoid Auto White Balance, as it will try to neutralize the beautiful warmth of the flames.
3. Lighting Techniques with Flames
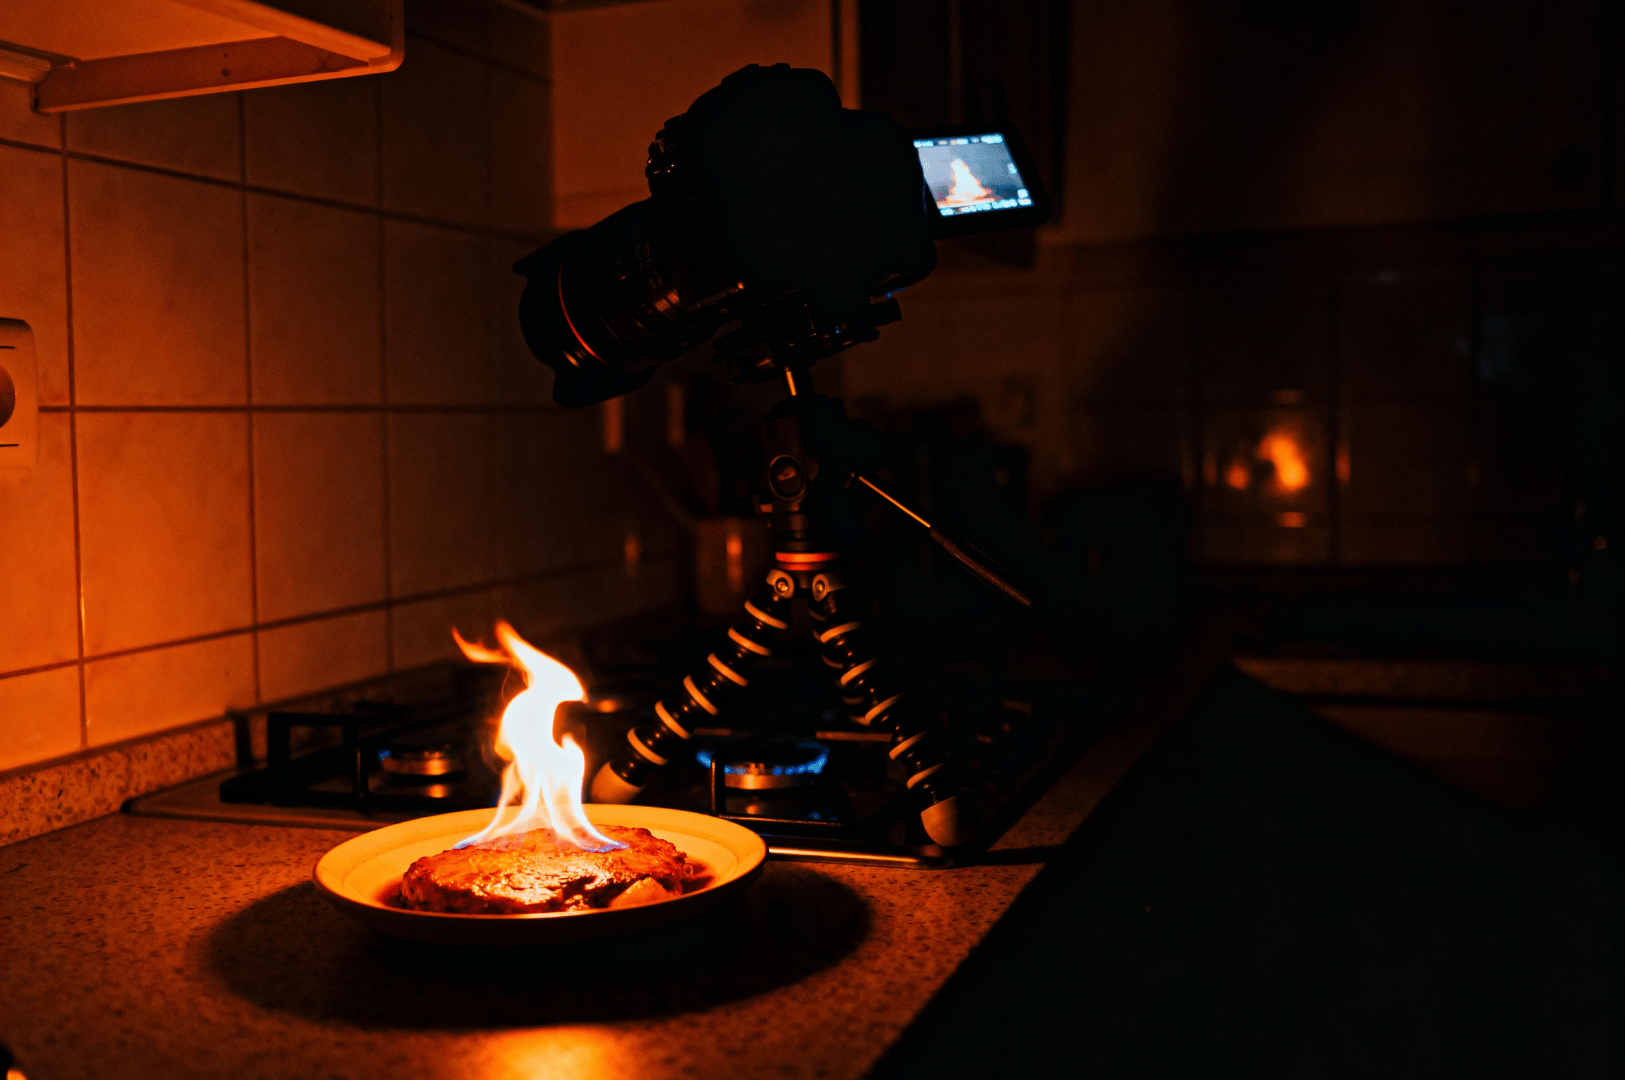
Using fire as your main light source is about embracing the contrast between bright flames and the surrounding darkness.
- Embrace the Shadows: Unlike shoots with soft light from a window or studio equipment, fire creates deep, dramatic shadows. Don't fight them. Use them to create a moody, eye-catching subject. Position your food so the flame acts as a side light, carving out texture.
- No Fill Light: For the most dramatic effect, avoid using any artificial light or fill light. The fire should be the only light source illuminating the food. The contrast between the flickering flames and the dark environment is what makes the image powerful.
- Timing is Everything: A great shot happens in a split second. Communicate with the chef or person handling the fire. Have your camera on the tripod and ready to shoot right before the flame erupts. A long exposure will capture the entire arc of the flame's movement.
4. Safety in a Controlled Environment
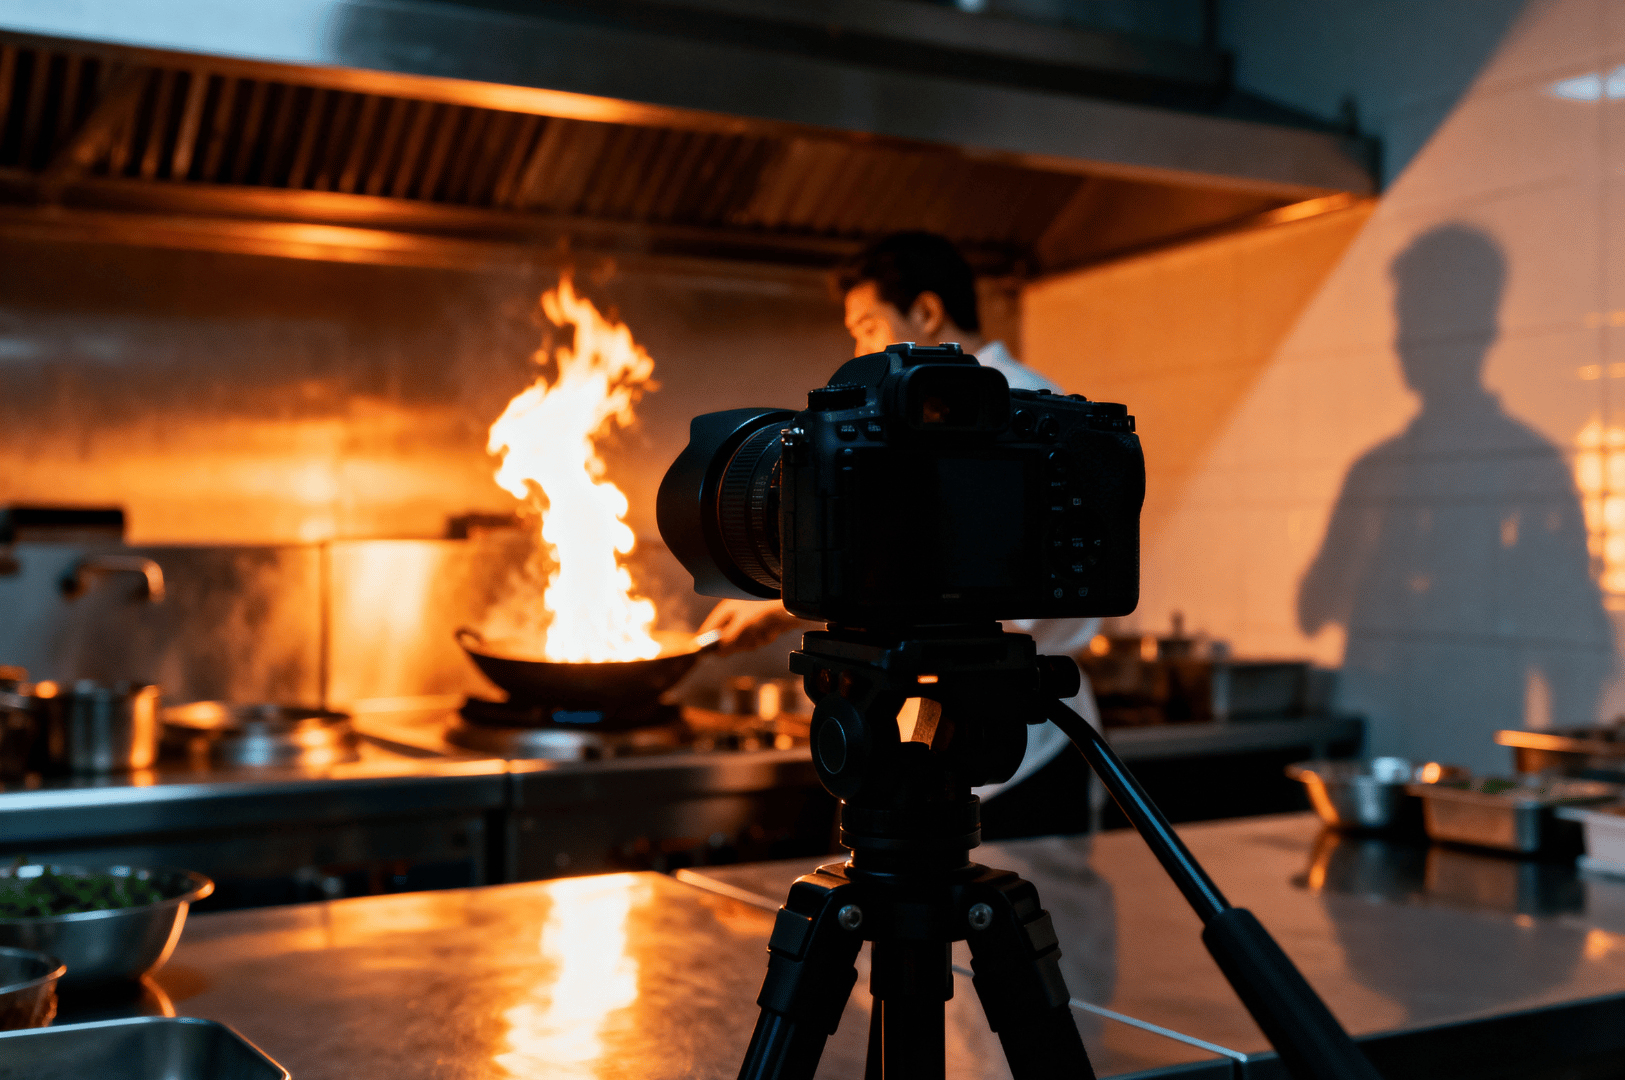
Kitchens can be hazardous. You are responsible for ensuring a safe fire photoshoot.
- Clear the Area: Ensure there are no flammable materials, such as paper towels or oil bottles, near the open fire. Create a neutral background free of clutter.
- Protect Your Gear: Keep camera straps and other equipment away from flames.
- Maintain a Safe Distance: Use your lens to get closer to the action, not your body.
- Work with Professionals: When you shoot food with fire, collaborate with chefs who understand the behavior of flames in their kitchen.
5. Post-Processing for a Dramatic Effect
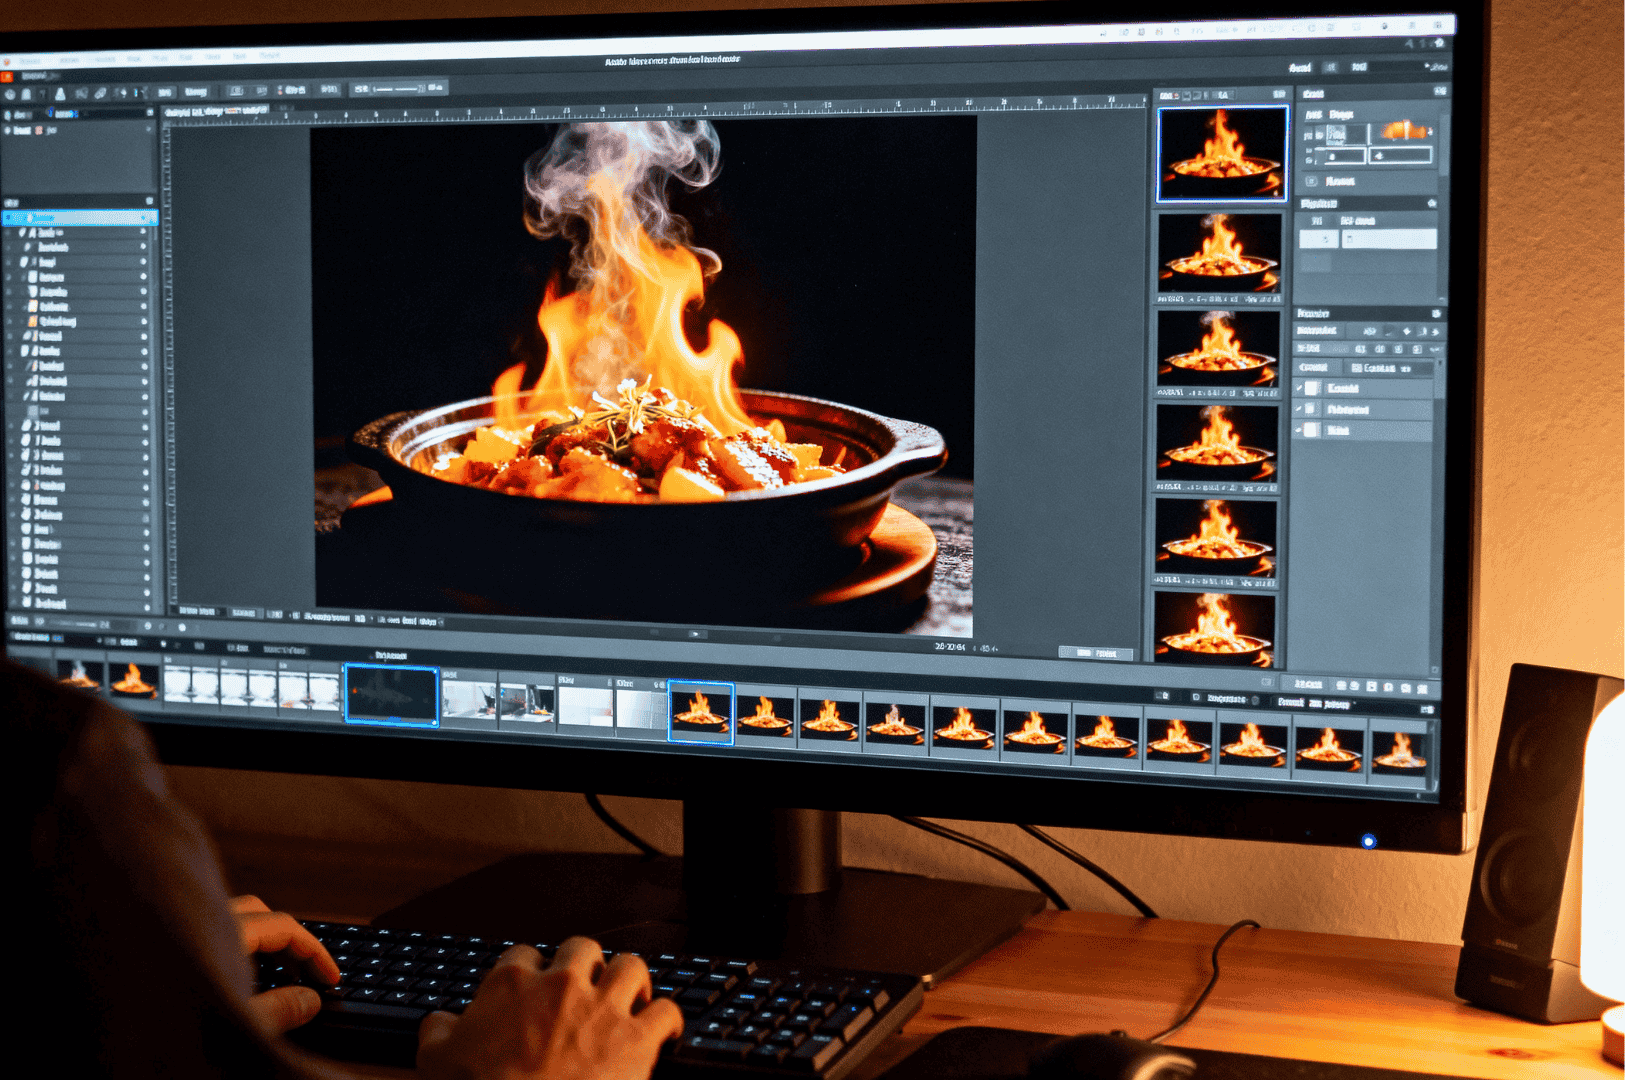
Your work isn't done after taking photos. Post-processing in a program like Adobe Photoshop is where you refine the drama and create the perfect shot.
- Adjust Exposure: Your initial image might be dark. Increase the overall exposure, but be careful not to blow out the highlights in the flame itself.
- Enhance Contrast: The beauty of these food photos lies in the contrast. Deepen the blacks to make the warm glow of the fire pop. This will make the main subject stand out.
- Refine Color: Enhance the warm tones from the flame by adjusting the color temperature or using color grading tools. This amplifies the soft glow and mood.
- Sharpen the Focal Point: Use sharpening tools sparingly on the food itself to make it the clear focal point of the image.
Capturing these moments is a thrilling challenge, but the reward is a truly dynamic and authentic photo. I hope these simple tips help you start shooting and create your own eye-catching images.
For more inspiration, follow my after-midnight MRT food photography adventures or explore artificial lighting techniques for natural-looking food photos to take your work to the next level.
Unveiling Hidden Treasures: An Enchanting Evening at Chijmes Restaurant
Sarah Teh | February 18, 2026
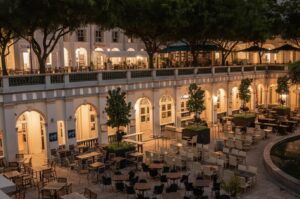
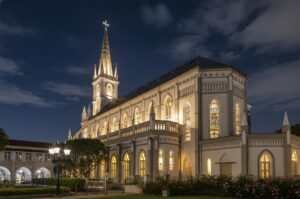
As night spills over the cloisters of CHIJMES, the bustle from Victoria Street fades to a hum and the architectural bones of the historic convent emerge, lit by warm lamps and candlelight. I arrive late, just as the last light fades, hunting for the perfect chijmes restaurant frame; one that balances cultural heritage conservation with…
CHIJMES Singapore: Photographing Heritage, Dining, and Architectural Icons
Sarah Teh | February 12, 2026
When I first visited CHIJMES Singapore, I was immediately captivated by how seamlessly history and modern life blend here. I practically had to restrain myself from pointing my lens at everything my eyes land on. Nestled at the bustling intersection of Victoria Street, North Bridge Road, and Bras Basah Road, this national monument and historic…
Before the Rush: Capturing the Hidden Rhythms of Amoy Food Centre Photography
Sarah Teh | February 4, 2026
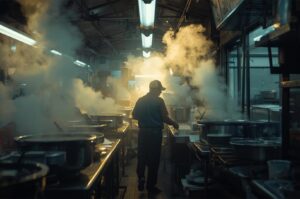
Dawn at Amoy Street Food Centre is a collision of fluorescent lights and billows of steam. Against tiled grates, condensation slides down; hawkers prime their pepper bowl and swirl strands of sliced fish soup through scalding water. Within this storied food centre, every corridor concentrates urgency, flavor, and visual drama. Amoy food centre photography thrives…
Amoy Street Food Centre Singapore: A Living Archive of Vanishing Culinary Techniques
Sarah Teh | January 28, 2026
As the dinner rush subsides at Amoy Street Food Centre Singapore, the true choreography begins. Seasoned hawker stall owners move with precision honed over decades, their wok fire dancing in rhythms that predate Singapore’s modern skyline. Six Michelin Bib Gourmand stalls operate within this 1983-established food centre, transforming what began as a government cleanliness initiative…
A Photographer’s Reference to Suntec City Photography Studios
Sarah Teh | January 21, 2026
The afternoon sun cuts through the glass canopy of Suntec City, illuminating the constant flow of shoppers and executives. In this polished world of commerce, a different kind of space exists—the photo studio. It is a controlled environment, a blank canvas waiting for a story. For a photographer or photography enthusiasts in Singapore, choosing the…
Photo Studio in Suntec City: Studios, City Lights, and Crafted Moments
Sarah Teh | January 14, 2026
The rain lets up, and Suntec City’s polished corridors gleam. Reflections of digital billboards shimmer on the tile floors, painting the landscape in electric blue and architectural gold. For the photographer, this part of Singapore is a world of contrasts—a space where crafted light meets the city’s pulse and every click of the shutter both…
Food in Joo Chiat After Midnight: Frames, Steam, and Streetlight
Sarah Teh | December 31, 2025
Joo Chiat at midnight is a vibrant stretch of color and movement. I come here not to list “food in Joo Chiat” or catalog signatures, but to watch the neighborhood build its portrait as blue hour fades beneath streetlight and neon. Every face, bowl, reflection, and plume of steam becomes part of how “Joo Chiat…
Joo Chiat Road Food: Traces After Dark
Sarah Teh | December 30, 2025
Opening: The Question, Reframed The search for joo chiat road food usually arrives with expectation. A food guide, a list, something mapped on Google Maps. This is not that. Joo Chiat Road runs 1.4 kilometres between Geylang Road and East Coast Road, a corridor of pre-war shophouses whose shutters lift and lower according to rhythms…
Plating Composition in Fine Dining: How Newly Starred Michelin Kitchens Compose a Plate
Sarah Teh | December 24, 2025
In Singapore, the journey of a newly starred Michelin restaurant begins long before the first bite. Plating in fine dining is more than decoration; it is a carefully composed arrangement that reflects the chef’s vision, the dish’s flavours, and the dining experience as a whole. Chefs in these kitchens treat each plate as a story,…
Low Light Dining Photography Singapore: A Practical Manual at Best 5-Star Restaurants
Sarah Teh | December 17, 2025
In fine dining, light, pacing, and plating are as important as flavor. Singapore’s 5-star restaurants and dining establishments offer a sensory theatre where textures catch low light and service flows quietly. This guide helps you choose and book these experiences with a photographer’s eye, focusing on capturing the meal’s story discreetly and respectfully. It also…
