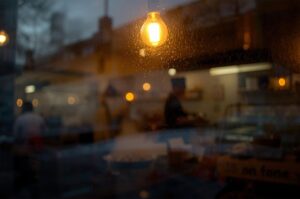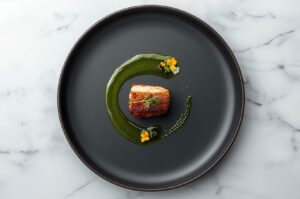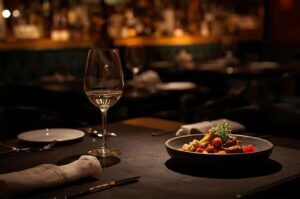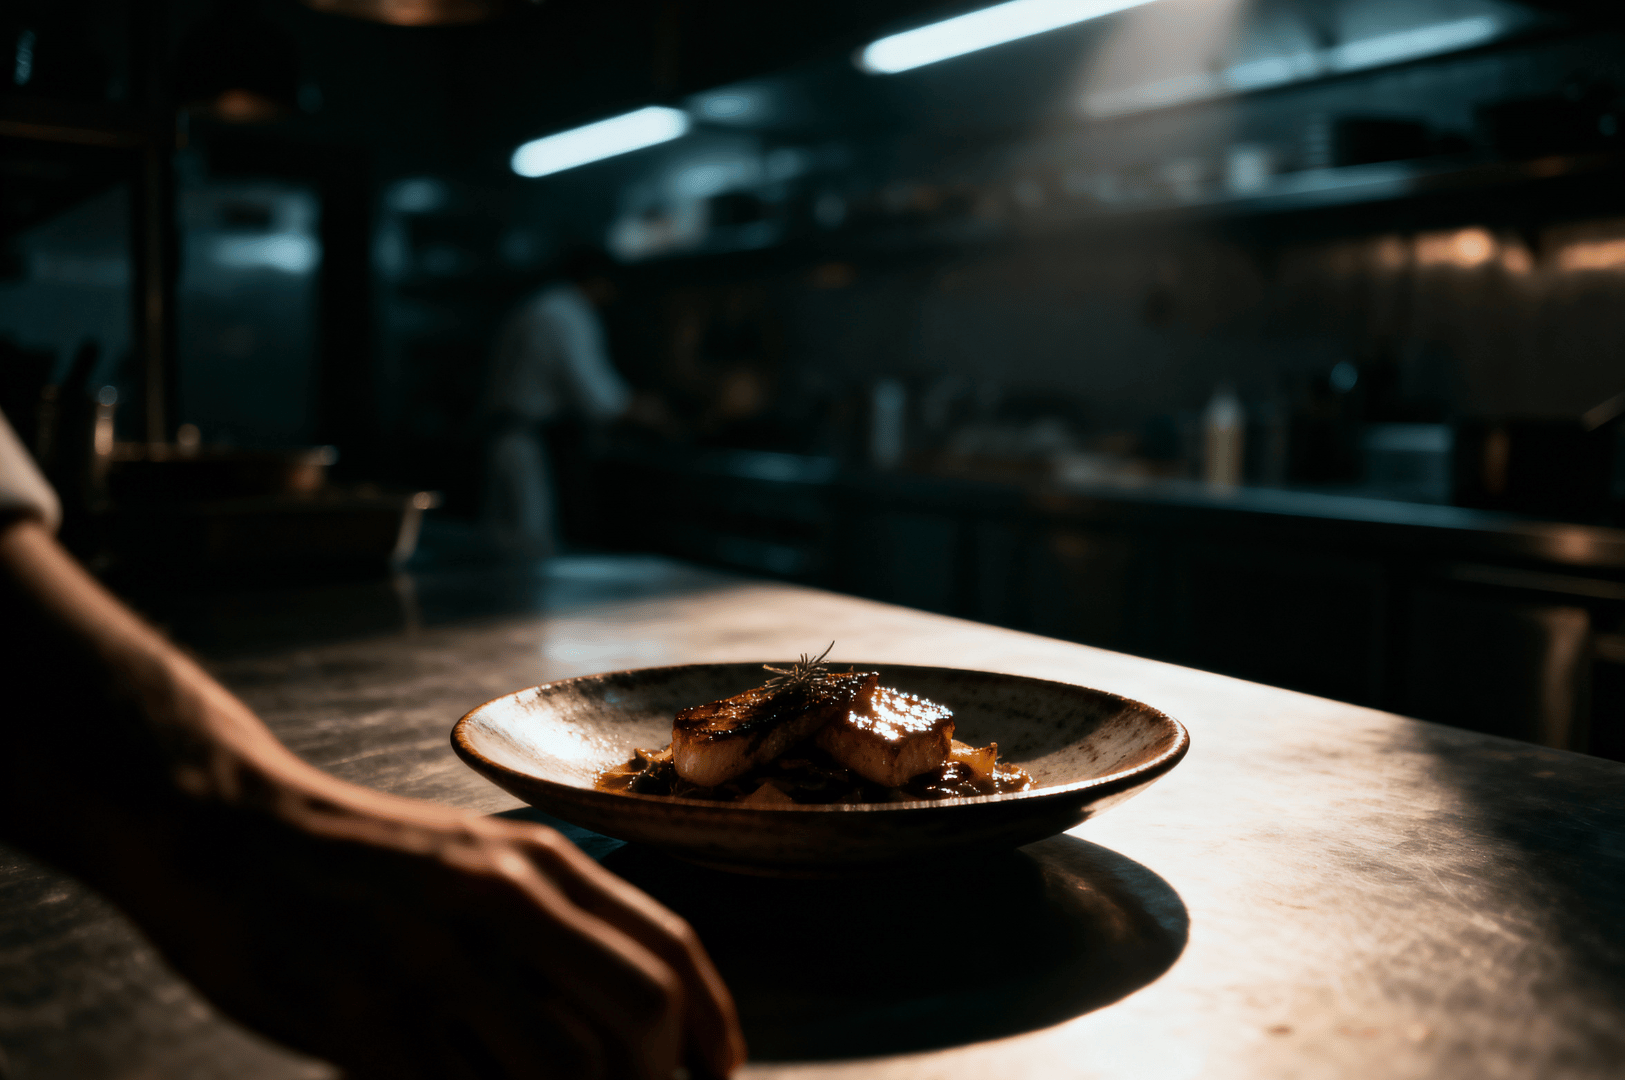
Most food photographers chase the light. They seek bright, airy scenes with soft, even illumination to make food look fresh and appealing. But after the sun goes down, or on a dark and moody day, a different kind of magic emerges. I've learned to stop chasing bright light and start embracing the darkness. The secret to truly dramatic food photography, especially in low light, isn't about creating brighter images—it's about controlling shadows. This is where moody food photography comes to life, and contrast becomes your most powerful tool.
Shadows create a moody atmosphere, depth, and mystery. They guide the viewer’s eye, highlight texture, and carve a subject out from its surroundings. In creating food images with a dark and moody look, a well-placed shadow tells as much of the story as a highlight. It transforms a simple meal into a compelling, dramatic scene.
This detailed post will walk you through the photography tips needed to master contrast and create beautiful images after dark.
The Power of a Single Light Source
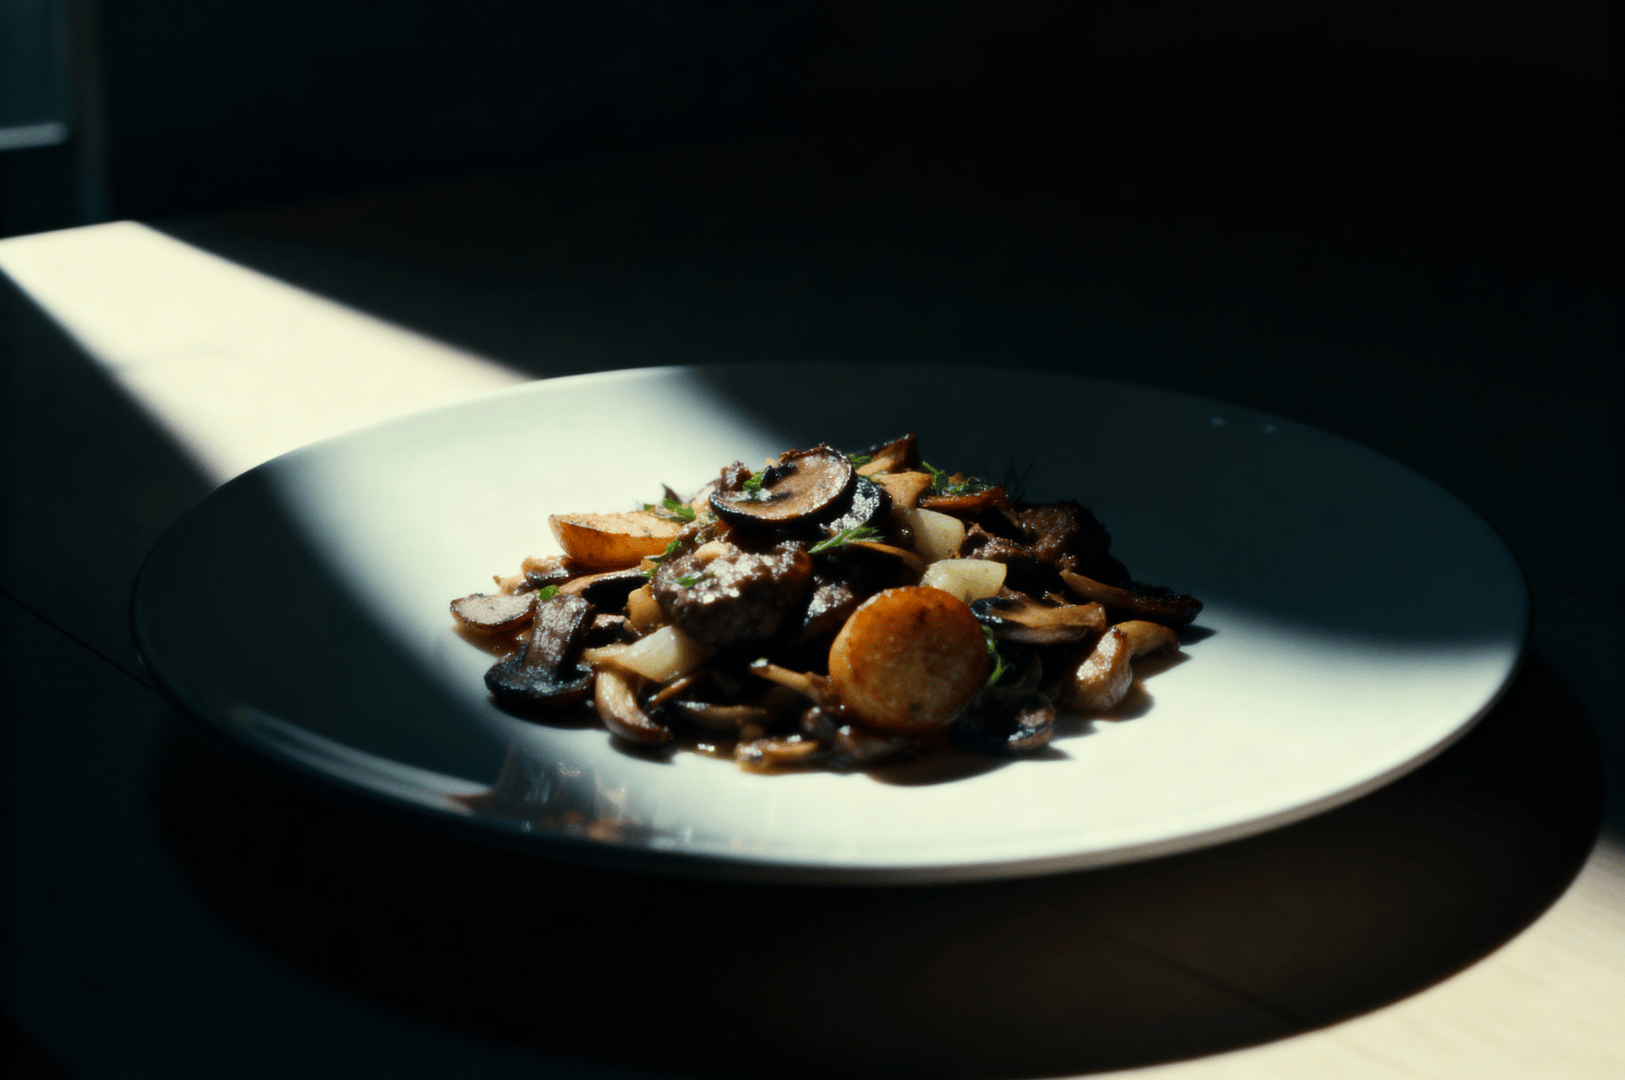
The key to creating intentional deep shadows is understanding directional lighting. For dramatic food photos, you often only need one strong light source. Think of your light as a paintbrush. The direction from which the light is coming determines the shape, length, and hardness of the shadows it creates on your subject.
Whether you're using natural light from a single window or a small artificial light source, the principle is the same. Side light is your best friend. By placing your light to the side of your dish, you create beautiful, cascading shadows that reveal every detail. This technique gives food a three-dimensional quality, making the texture look so real you could almost feel it. You have to learn to manipulate light, not just accept it as it is.
Embracing a Moody Atmosphere
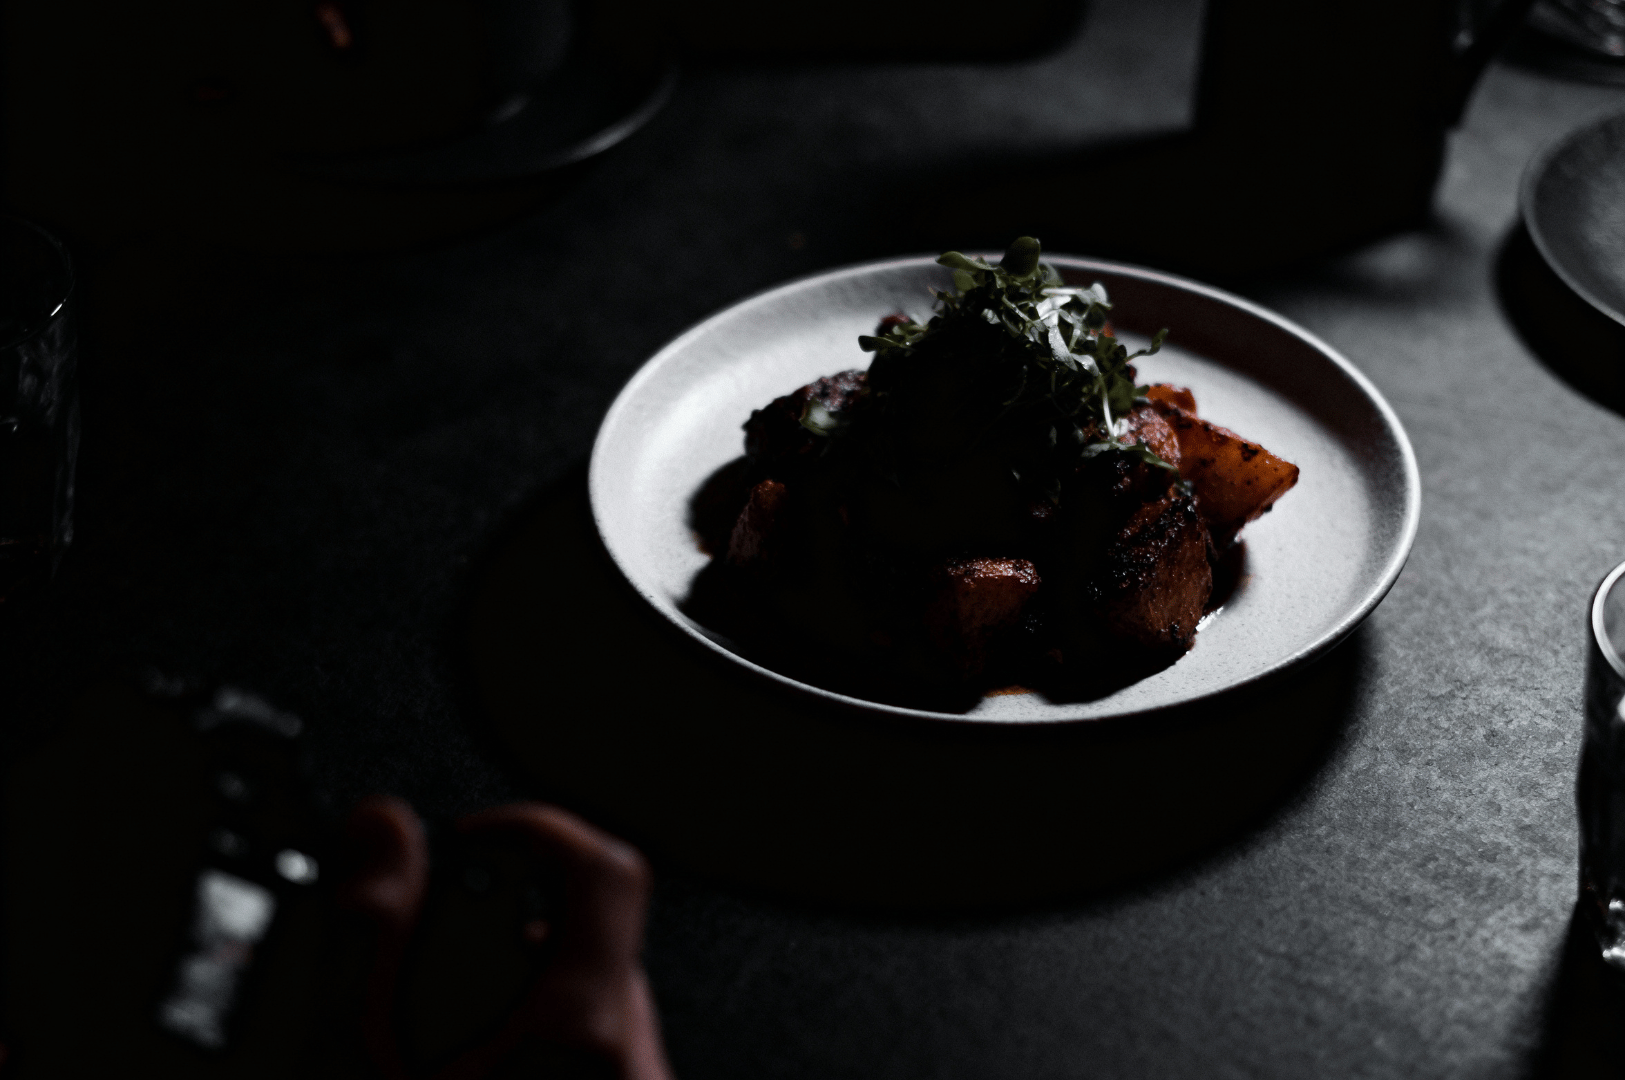
Shadows are more than just dark areas; they are an active element in your composition. In moody food photography, the darkness surrounding your dish is just as important as the dish itself. Instead of trying to fill the entire frame with light, allow the shadows to create pockets of negative space.
This technique simplifies the composition, removing distracting props and forcing the viewer's eye directly to the illuminated part of the food. It also builds atmosphere. Dark backgrounds can suggest an intimate late-night setting or a cozy corner, adding a narrative layer to your photo. Don't be afraid to let a significant portion of your frame fall into complete blackness. Let the shadows play their part in your story.
The Practical Setup for a Dark and Moody Look
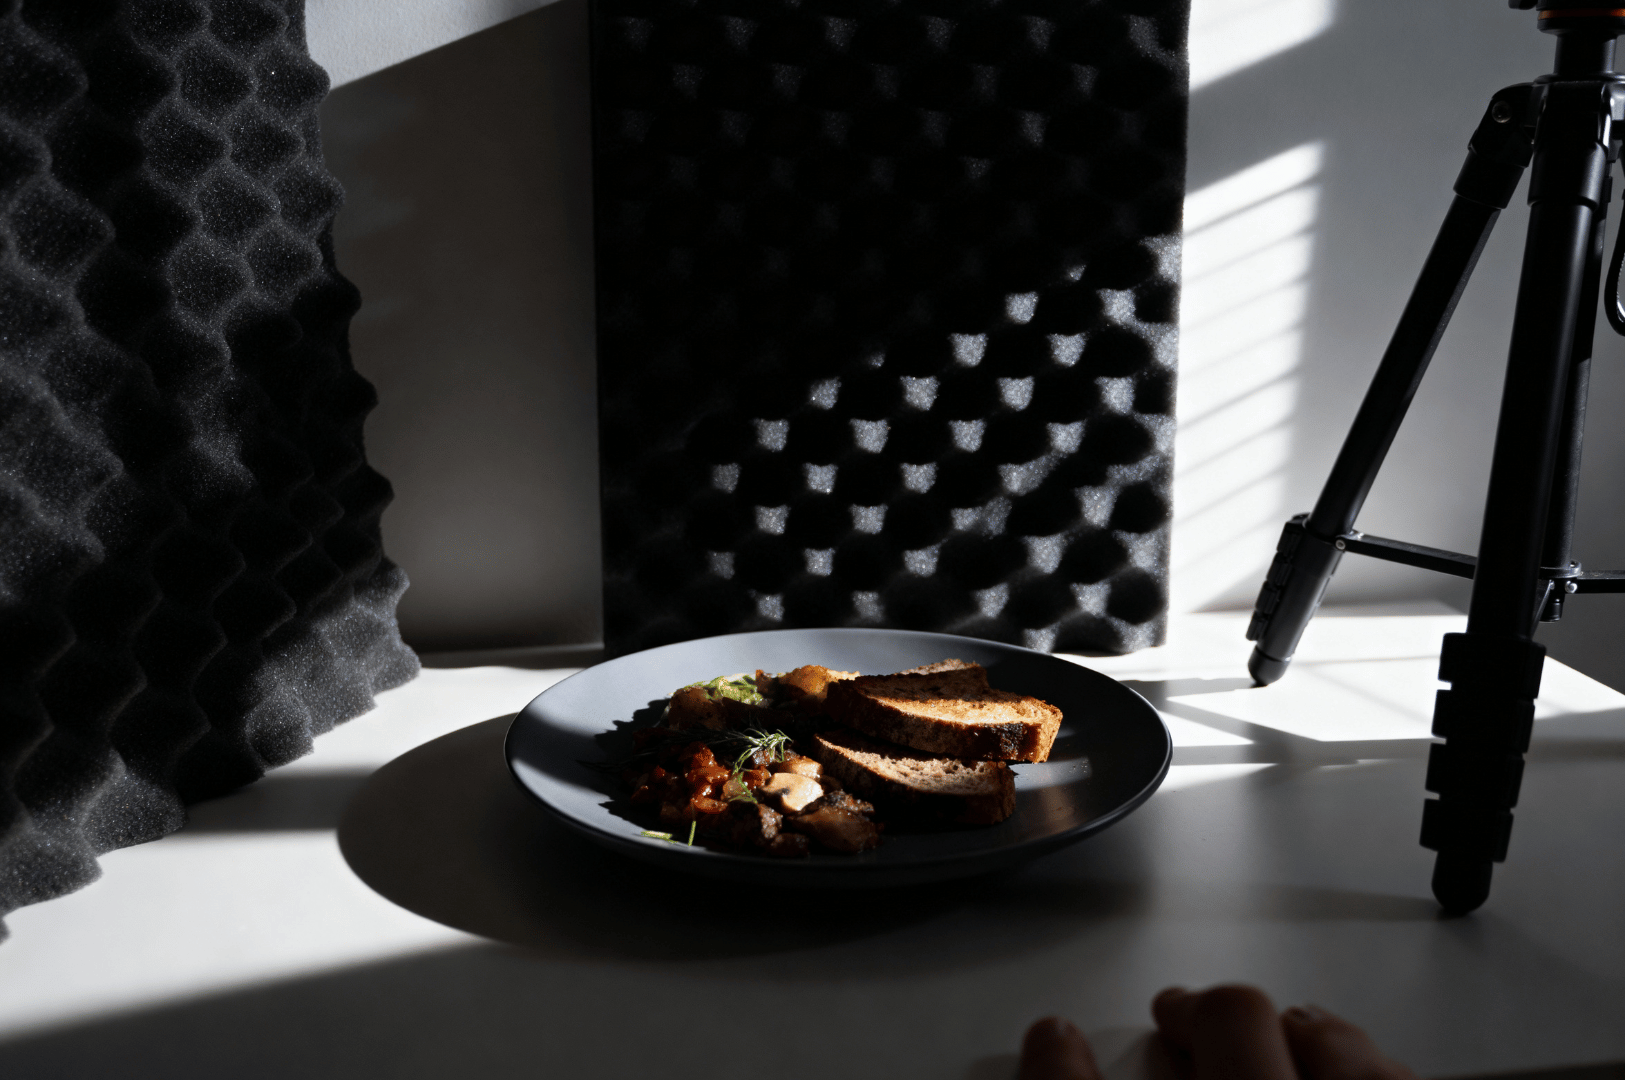
You don’t need a lot of complicated gear to shoot food in this style. My kit is designed to be simple and portable.
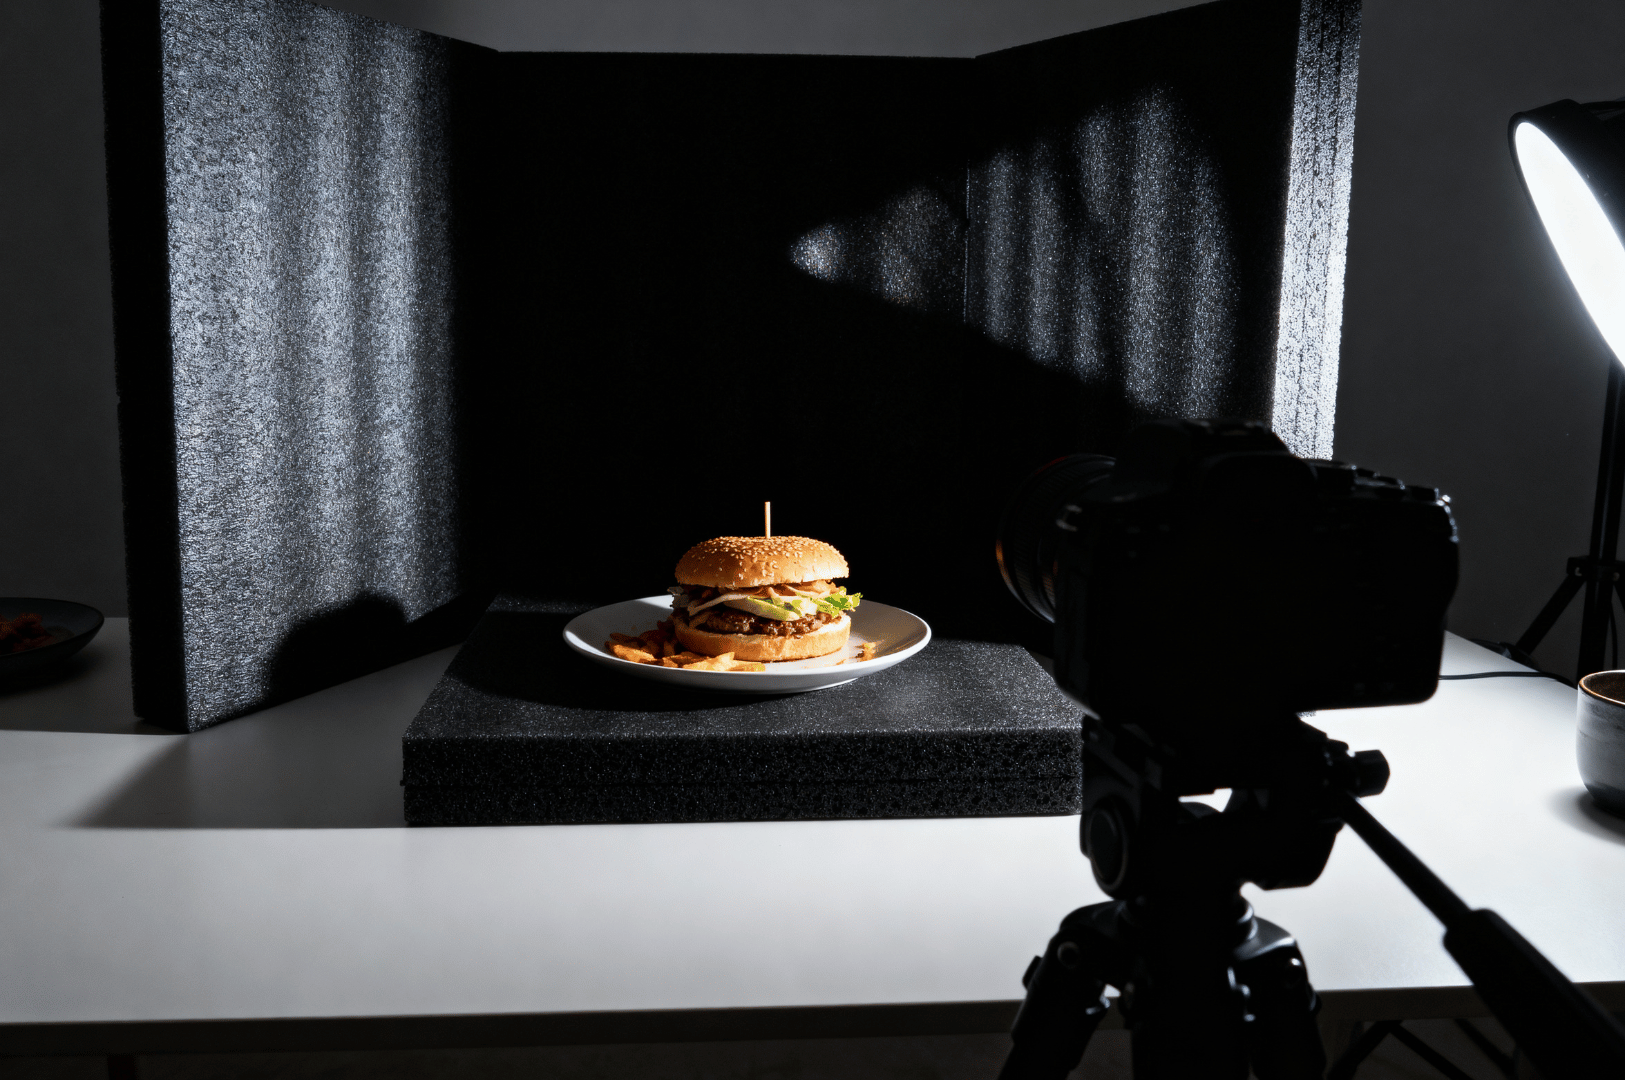
- One Light Source: This could be natural light from a window or a small, dimmable LED panel for artificial light. A constant light source is often better than a flash because you can see exactly how the shadows fall as you move it.
- A Tripod: Essential for low light photography. It keeps your camera steady, preventing camera shake and allowing you to use a slower shutter speed for a clean exposure without needing a higher ISO.
- A Black Card: A piece of black foam core is perfect. While a white card bounces light to soften shadows, a black card placed opposite your light source will absorb light and deepen the shadows, increasing contrast.
Setup Steps:
- Place your subject on a table, often with dark backgrounds or surfaces.
- If using artificial light, turn off all ambient light to gain complete control.
- Position your light source to the side. Watch how the shadows change as you move the light.
- Place the black foam core on the brighter side, opposite the light, to absorb any bounce and intensify the shadows. Adjust until you have a composition that feels balanced and moody.
Editing for Maximum Drama in Post-Production
Post-production is where you can refine and enhance the contrast you created in-camera.
- Increase Contrast: Start by gently increasing the global contrast slider in your editing software.
- Deepen the Blacks: Use the "Blacks" slider to make the darkest parts of your image even darker. This makes your highlights pop and reinforces the dark and moody atmosphere.
- Dodge and Burn: Manually paint light (dodge) and shadows (burn). Use a radial filter to create a subtle vignette, darkening the edges of the frame to draw focus to the meal. This is a great way to guide the eye.
- Control Your ISO: When you shoot, aim for the lowest ISO your camera can handle to reduce noise. Modern cameras can handle ISO well, but a lower number always produces a cleaner image.
Final Thoughts
Mastering shadows is a transformative skill in food photography. It allows you to move beyond simply documenting a meal and start creating art. The next time you shoot, don't just hope for good light. Learn to control it. Embrace the shadows, play with contrast, and experiment. You will be surprised by the power and drama you can create in your food photos. I hope these ideas help you capture your own beautiful images.
For more tips on shooting in low light and fine-tuning your settings, check out this guide on low-light food photography. Continue your creative journey with Midnight Food Photography: The Secret Life of Restaurant Kitchens After Closing
Unveiling Hidden Treasures: An Enchanting Evening at Chijmes Restaurant
Sarah Teh | February 18, 2026
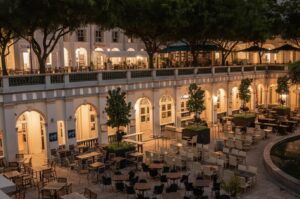
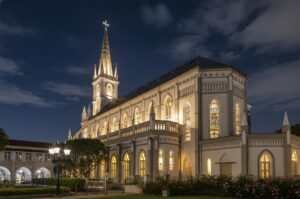
As night spills over the cloisters of CHIJMES, the bustle from Victoria Street fades to a hum and the architectural bones of the historic convent emerge, lit by warm lamps and candlelight. I arrive late, just as the last light fades, hunting for the perfect chijmes restaurant frame; one that balances cultural heritage conservation with…
CHIJMES Singapore: Photographing Heritage, Dining, and Architectural Icons
Sarah Teh | February 12, 2026
When I first visited CHIJMES Singapore, I was immediately captivated by how seamlessly history and modern life blend here. I practically had to restrain myself from pointing my lens at everything my eyes land on. Nestled at the bustling intersection of Victoria Street, North Bridge Road, and Bras Basah Road, this national monument and historic…
Before the Rush: Capturing the Hidden Rhythms of Amoy Food Centre Photography
Sarah Teh | February 4, 2026
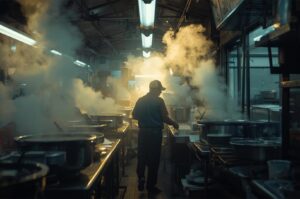
Dawn at Amoy Street Food Centre is a collision of fluorescent lights and billows of steam. Against tiled grates, condensation slides down; hawkers prime their pepper bowl and swirl strands of sliced fish soup through scalding water. Within this storied food centre, every corridor concentrates urgency, flavor, and visual drama. Amoy food centre photography thrives…
Amoy Street Food Centre Singapore: A Living Archive of Vanishing Culinary Techniques
Sarah Teh | January 28, 2026
As the dinner rush subsides at Amoy Street Food Centre Singapore, the true choreography begins. Seasoned hawker stall owners move with precision honed over decades, their wok fire dancing in rhythms that predate Singapore’s modern skyline. Six Michelin Bib Gourmand stalls operate within this 1983-established food centre, transforming what began as a government cleanliness initiative…
A Photographer’s Reference to Suntec City Photography Studios
Sarah Teh | January 21, 2026
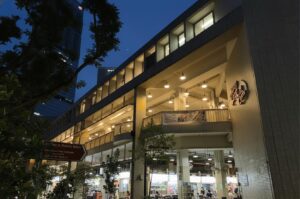
The afternoon sun cuts through the glass canopy of Suntec City, illuminating the constant flow of shoppers and executives. In this polished world of commerce, a different kind of space exists—the photo studio. It is a controlled environment, a blank canvas waiting for a story. For a photographer or photography enthusiasts in Singapore, choosing the…
Photo Studio in Suntec City: Studios, City Lights, and Crafted Moments
Sarah Teh | January 14, 2026
The rain lets up, and Suntec City’s polished corridors gleam. Reflections of digital billboards shimmer on the tile floors, painting the landscape in electric blue and architectural gold. For the photographer, this part of Singapore is a world of contrasts—a space where crafted light meets the city’s pulse and every click of the shutter both…
Food in Joo Chiat After Midnight: Frames, Steam, and Streetlight
Sarah Teh | December 31, 2025
Joo Chiat at midnight is a vibrant stretch of color and movement. I come here not to list “food in Joo Chiat” or catalog signatures, but to watch the neighborhood build its portrait as blue hour fades beneath streetlight and neon. Every face, bowl, reflection, and plume of steam becomes part of how “Joo Chiat…
Joo Chiat Road Food: Traces After Dark
Sarah Teh | December 30, 2025
Opening: The Question, Reframed The search for joo chiat road food usually arrives with expectation. A food guide, a list, something mapped on Google Maps. This is not that. Joo Chiat Road runs 1.4 kilometres between Geylang Road and East Coast Road, a corridor of pre-war shophouses whose shutters lift and lower according to rhythms…
Plating Composition in Fine Dining: How Newly Starred Michelin Kitchens Compose a Plate
Sarah Teh | December 24, 2025
In Singapore, the journey of a newly starred Michelin restaurant begins long before the first bite. Plating in fine dining is more than decoration; it is a carefully composed arrangement that reflects the chef’s vision, the dish’s flavours, and the dining experience as a whole. Chefs in these kitchens treat each plate as a story,…
Low Light Dining Photography Singapore: A Practical Manual at Best 5-Star Restaurants
Sarah Teh | December 17, 2025
In fine dining, light, pacing, and plating are as important as flavor. Singapore’s 5-star restaurants and dining establishments offer a sensory theatre where textures catch low light and service flows quietly. This guide helps you choose and book these experiences with a photographer’s eye, focusing on capturing the meal’s story discreetly and respectfully. It also…
