The plate lands with a soft knock on the table. Chilli crab, still carrying the heat of the wok. Sauce slides from a claw and gathers around the shell. A bulb overhead leaves a small white mark on the gloss. Steam rises for a few seconds, then the fan takes it.
Across the table, someone tears a mantou in half.
You lift your phone. The sauce glares. The shell goes flat. The steam is already gone.
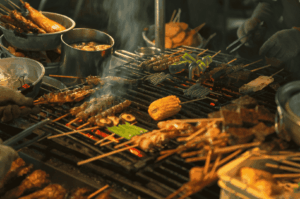
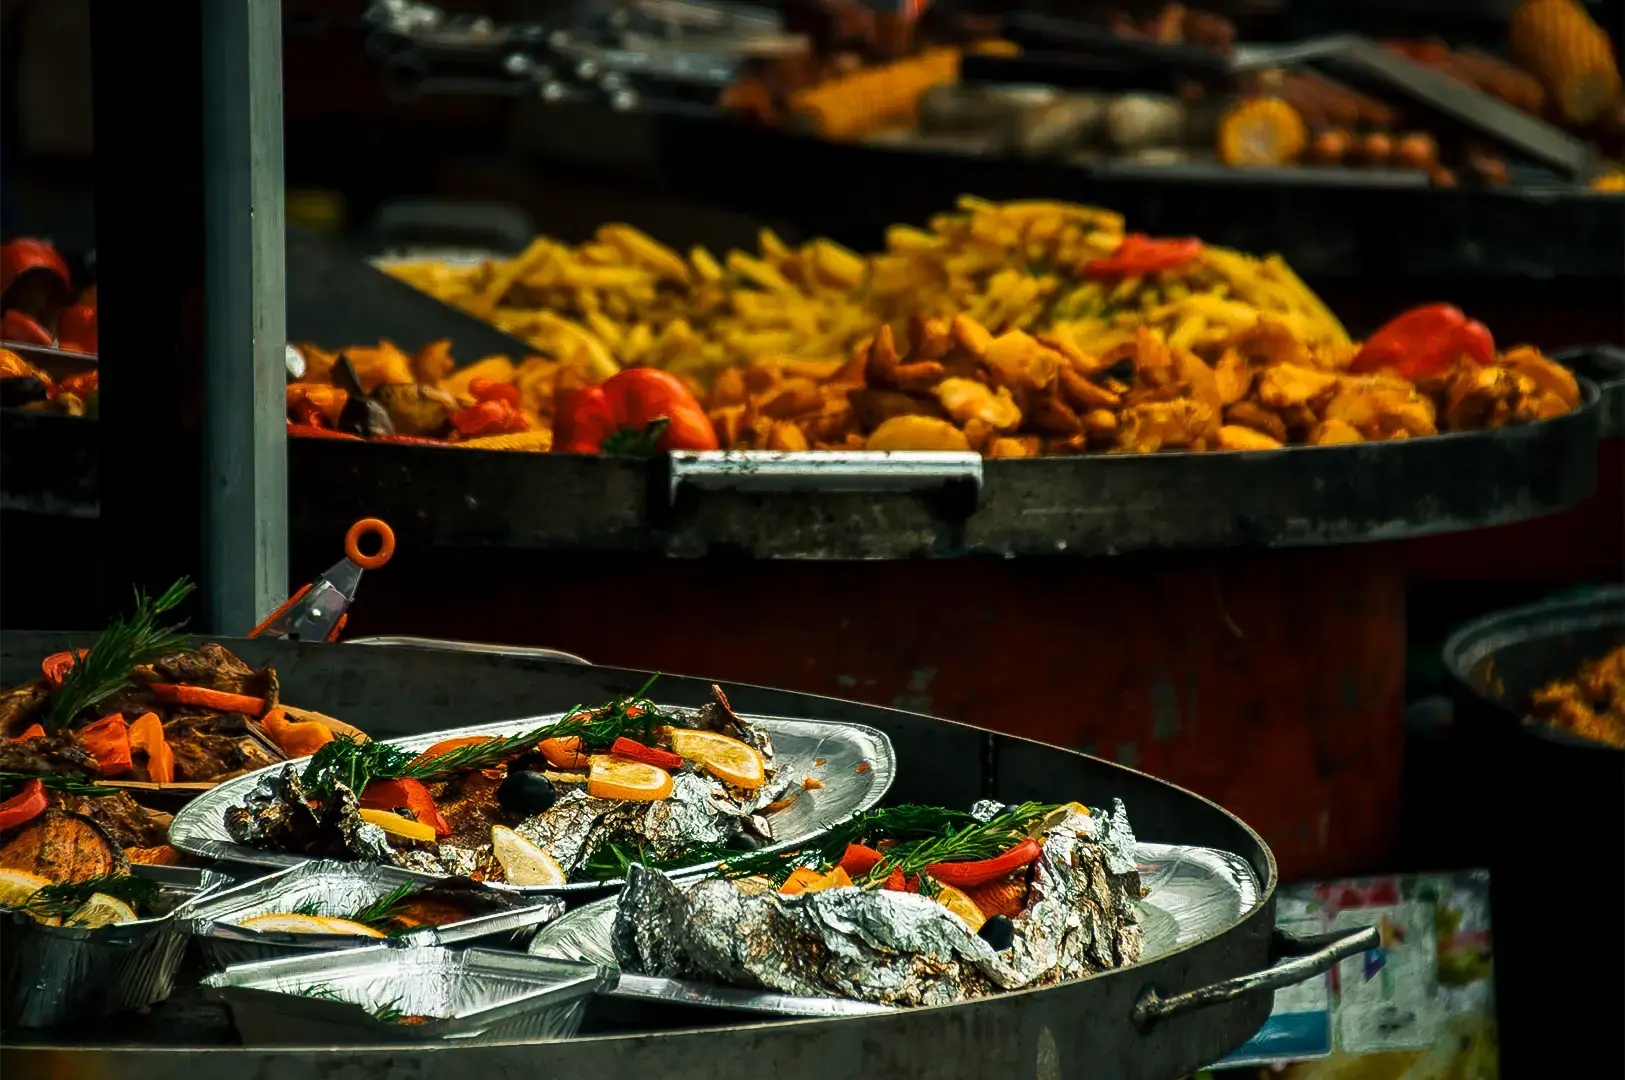
Seafood dishes are among the hardest food to photograph, especially after dark. Shellfish shells reflect light. Pale fish loses detail. Sauces mirror every lamp in the room. Anyone who has shared a table at one of the chirashi don restaurants in Singapore knows how quickly that first moment passes, and how rarely a photograph holds it.
This guide covers light, camera settings, composition, timing and editing for hawker centres, zi char restaurants and seafood establishments.
Why Seafood Dishes Are Difficult to Photograph
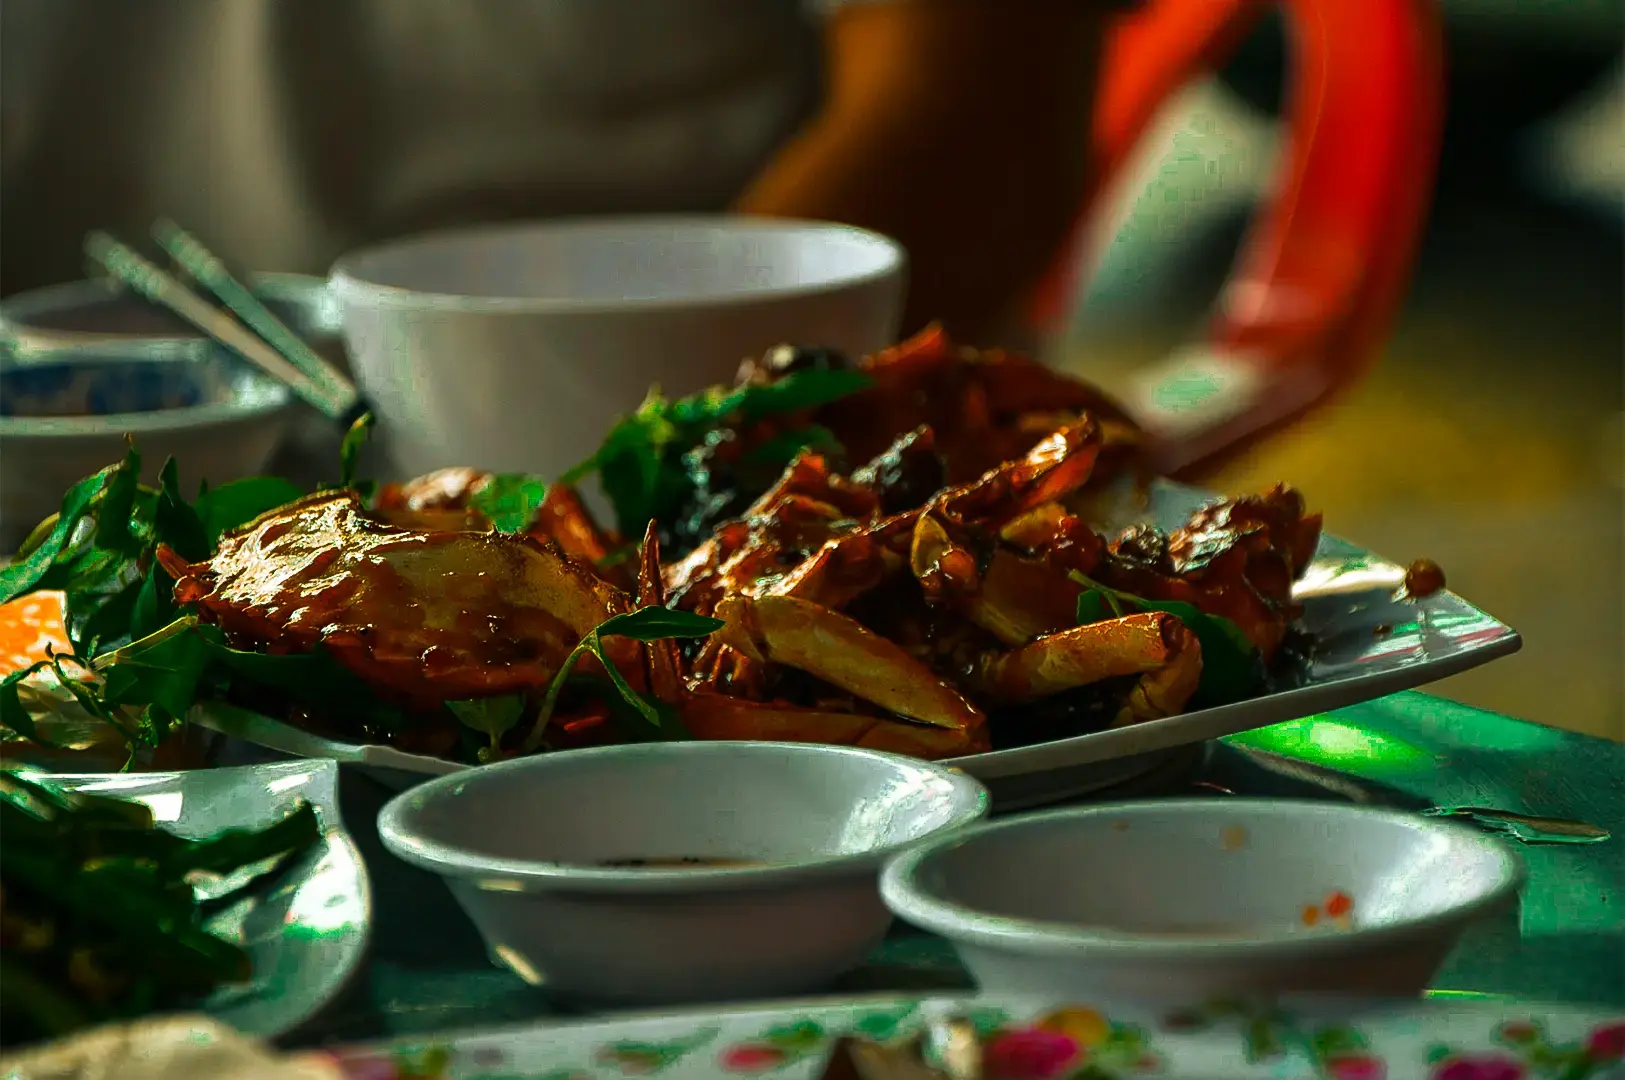
One plate can hold several surfaces, and each one wants different light. Chilli crab sets curved shells beside thick, saucy gravy and soft meat. Steamed fish places pale flesh next to glossy soy sauce, ginger and scallions. Fried seafood has a crisp coating that can look greasy under hard light.
The room adds its own problems. Overhead tubes cast green. Warm lamps push everything orange. Highlights on shell and sauce lose detail before the shadows even register.
Time works against you too. Steam fades, sauces settle, and crisp coatings soften as they cool. A sweet, tangy glaze or buttery sauce may look especially reflective under a bare bulb.
Raising the brightness rarely helps. It flattens the gloss and burns out white fish. Good seafood dishes photography is about texture, depth and true colour, not brightness.
Camera Settings for Photographing Seafood Dishes
Aperture controls how much of the frame is sharp. A lower f-number lets in more light but gives you less depth. Shutter speed freezes or blurs motion. ISO brightens the image but adds grain. White balance keeps colours believable.
Treat these as starting points. Light, lens and movement will change them.
| Situation | Aperture | Shutter | ISO |
|---|---|---|---|
| Near a bright window | f/4–5.6 | 1/125+ | 100–400 |
| Moderately lit restaurant | f/2.8–4 | 1/125+ | 400–1600 |
| Dim hawker centre | f/1.8–2.8 | 1/125+ | 800–3200+ |
| Close-ups | f/5.6–8 | 1/125+ | As needed |
| Steam or cooking action | f/2.8–4 | 1/250–1/500 | As needed |
A simple beginner setup: aperture priority, f/2.8, about 1/125 sec, auto ISO, auto white balance, single-point focus on the main seafood, and RAW if your camera offers it. Lower the exposure slightly if shells or bulbs lose detail.
f/2.8 won’t keep a whole platter sharp. Stop down to f/5.6 or f/8 when ingredients sit at different distances, and brace the camera against the table if the light runs short. This helps when a bowl of seafood noodles includes fish, shrimp and greens at different heights.
A still plate forgives a slower shutter. Steam and moving hands don’t. Go faster and accept some grain. Slight noise is better than blur.
Can You Photograph Seafood Dishes With a Smartphone?
Yes. Light and composition matter more than gear.
Wipe the lens first. Use the main camera and step closer instead of zooming. Tap to focus on the seafood, then slide exposure down if the sauce glows too bright. Skip portrait mode if it blurs half a prawn, and avoid heavy night mode when steam or hands are moving.
With chilli crab, tap on the largest claw, not the sauce. It gives the eye somewhere to land.
How to Use Lighting to Capture Seafood Textures
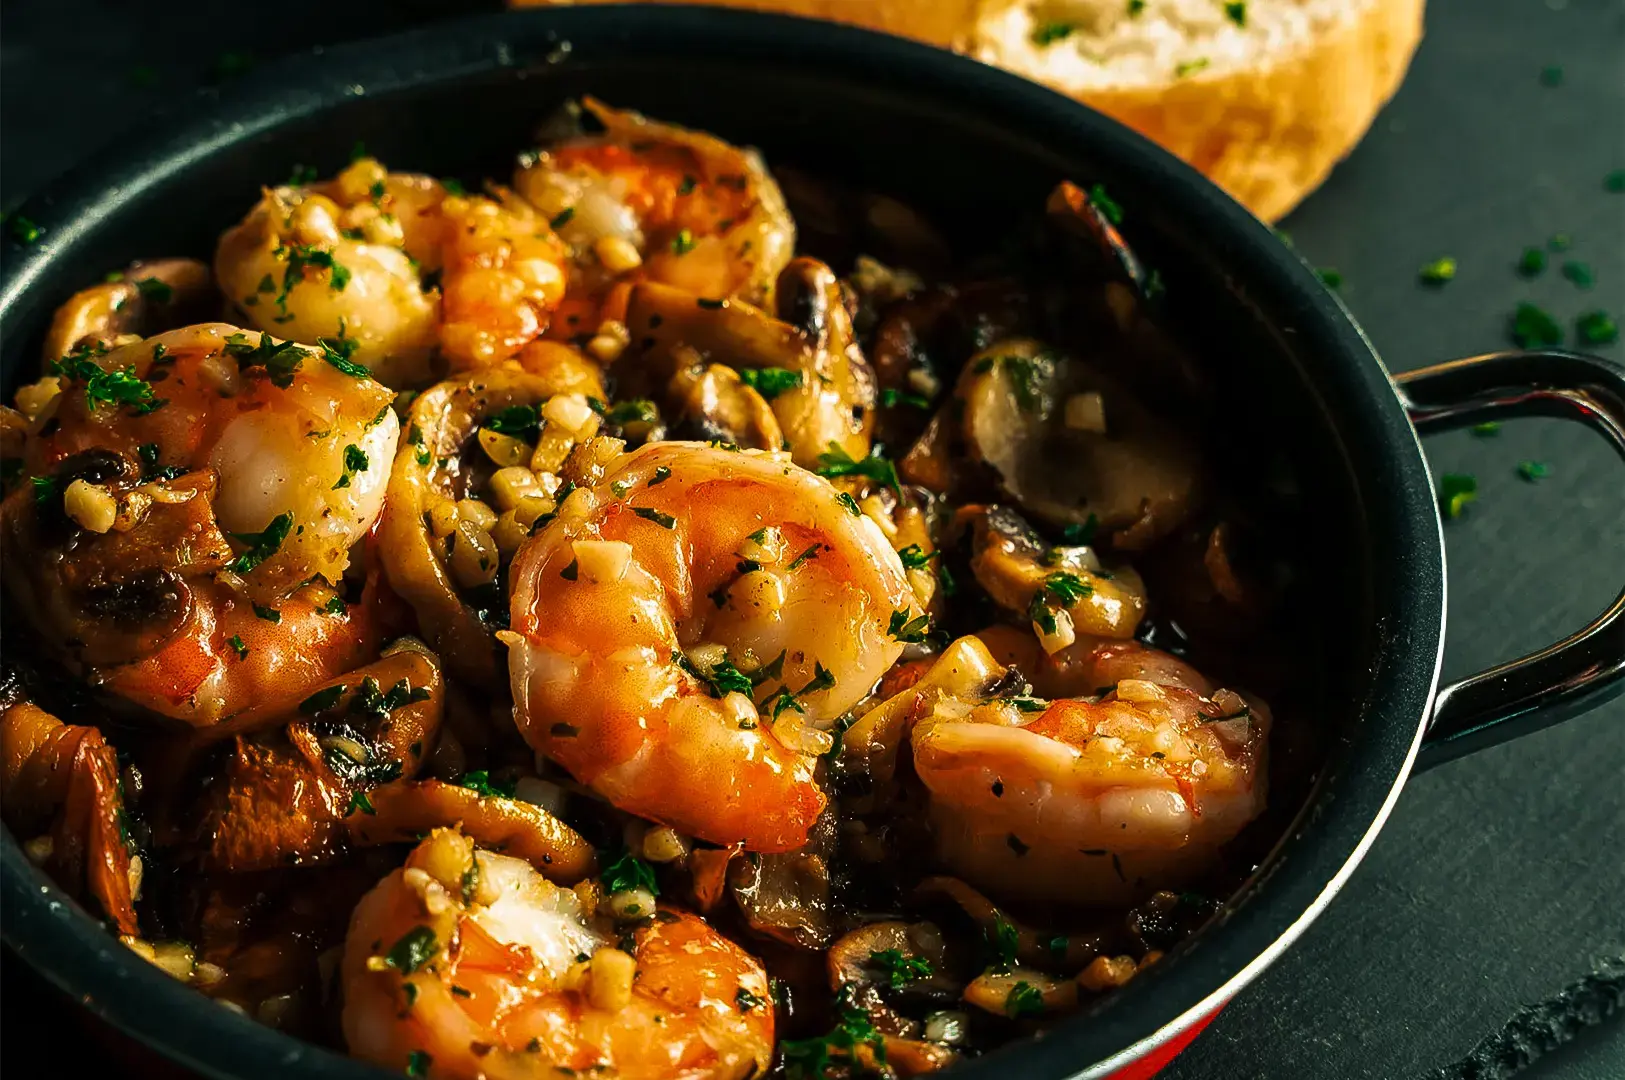
Side light is your best starting point. It casts small shadows that reveal the ridge of a shrimp shell, the char on squid and the flake of grilled fish.
Backlight makes steam visible, especially against a dark background. Front light and flash flatten texture. Hard overhead light puts glare right where the sauce is thickest. A broad, soft source, such as a window by day or a diffused lamp, keeps reflections gentle.
At night, use what’s already there: a stall bulb to one side, a restaurant lamp, a lit menu board. Shift your seat or turn the plate until the light skims across the food.
A small white card can lift heavy shadows. For pale fish or creamy sauces, a dark surface opposite the light, known as negative fill, adds contrast so the edges hold their shape. It can help show the soft texture of baked cod, salmon or halibut without making the highlights too bright.
The best light is rarely the brightest. It’s the light that shows shape.
How to Compose Seafood Dishes, Sauces, and Garnishes
Overhead Photography
This works for seafood rice, paella and shared platters. Shrimp, mussels, fish and vegetables each get their own space when you shoot from above. For examples of the seafood variety served around Singapore, see Restaurant Journey.
Three-Quarter Photography
A 30 to 60 degree angle suits chilli crab, sambal stingray, grilled fish and seafood noodles. It keeps both the height of the food and the detail of its surface. Try this angle for a pan of paella or a pot of shellfish, where the depth and arrangement matter.
Close-Up Seafood Photography
Move in for fish flakes, the curve of a prawn, crab claw texture, a crisp coating or squid char. A close-up can capture the glisten of a garlicky sauce or the flaky layers of seasoned haddock, cod or salmon.
Choose one focal point. Place it on a third, leave some empty table around it, and let natural lines like a row of prawns or a pair of chopsticks lead the eye. Ginger, scallions, garlic and sambal can support the frame. Don’t add anything the kitchen didn’t serve.
How to Photograph Popular Seafood Dishes in Singapore
Chilli Crab: Capturing Rich Sauce and Glossy Shells
Shoot at three-quarter with soft side light, so the gloss becomes a thin line instead of a sheet. Focus on a claw. If mantou is served alongside, let it sit at the edge. Go easy on red saturation, or the sauce starts to look like plastic.
Sambal Stingray: Highlighting Grilled Textures
Charred fish, dark sambal and banana leaf make a strong contrast. Directional side light at a three-quarter angle shows the grain of the sambal. Flat overhead light merges it all into one brown shape.
Cereal Prawns: Making Fried Seafood Look Crisp
Side light drops tiny shadows between the cereal flakes, and that’s what reads as crunch. Get close enough to see the prawns clearly. Over-sharpening turns crisp into gritty.
Steamed Fish: Preserving Delicate Details
Pale, tender flesh burns out quickly. Use diffused light and expose for the brightest part of the fish. A three-quarter angle shows its shape, with the ginger and scallions resting in soy sauce. Keep the flaky texture. That’s the dish.
Seafood Noodles and Grilled Squid: Capturing Depth and Char
For noodles, a three-quarter angle lets shrimp, squid and vegetables rise above the broth. For grilled squid, angle the light across its curve and keep detail in the dark grilled areas.
Food Styling Tips for Seafood Dishes and Seafood Recipes
Styling should reveal, not invent. Fried seafood needs light that finds the coating. Grilled seafood needs visible char. Sautéed shrimp and creamy pasta need controlled reflections so the sauce doesn’t go flat. With soups, keep the ingredients visible above the broth.
Many seafood recipes already carry colour through garlic, butter, olive oil, tomatoes and herbs. Use that colour when it’s genuinely part of the dish. If a recipe includes white wine, cream, dill, spinach or honey, let those real ingredients add visual context rather than styling with extras. A little sweetness, salt or spices can change how a glaze catches the light, but the photograph should still reflect its actual taste and flavor.
Photograph the plate as it was served first. For menu work, keep the chef’s presentation unless changes have been agreed. This applies to quick meals and dinner specials as much as elaborate seafood spreads.
Common Mistakes When Photographing Seafood Dishes
- Harsh overhead light. Move until the light comes from the side.
- Blown-out fish and shells. Expose for the highlights.
- Orange or yellow casts. Correct the colour, keep the mood.
- Waiting too long. Take your first frames promptly.
- Wrong angle. Choose by the dish’s shape.
- Focusing on garnish. Keep the focus on the seafood.
- Over-editing. Ease off saturation, clarity and sharpening.
- No context. Add one wider frame, perhaps showing the table, a side salad or the setting where the meal is served.
Final Thoughts
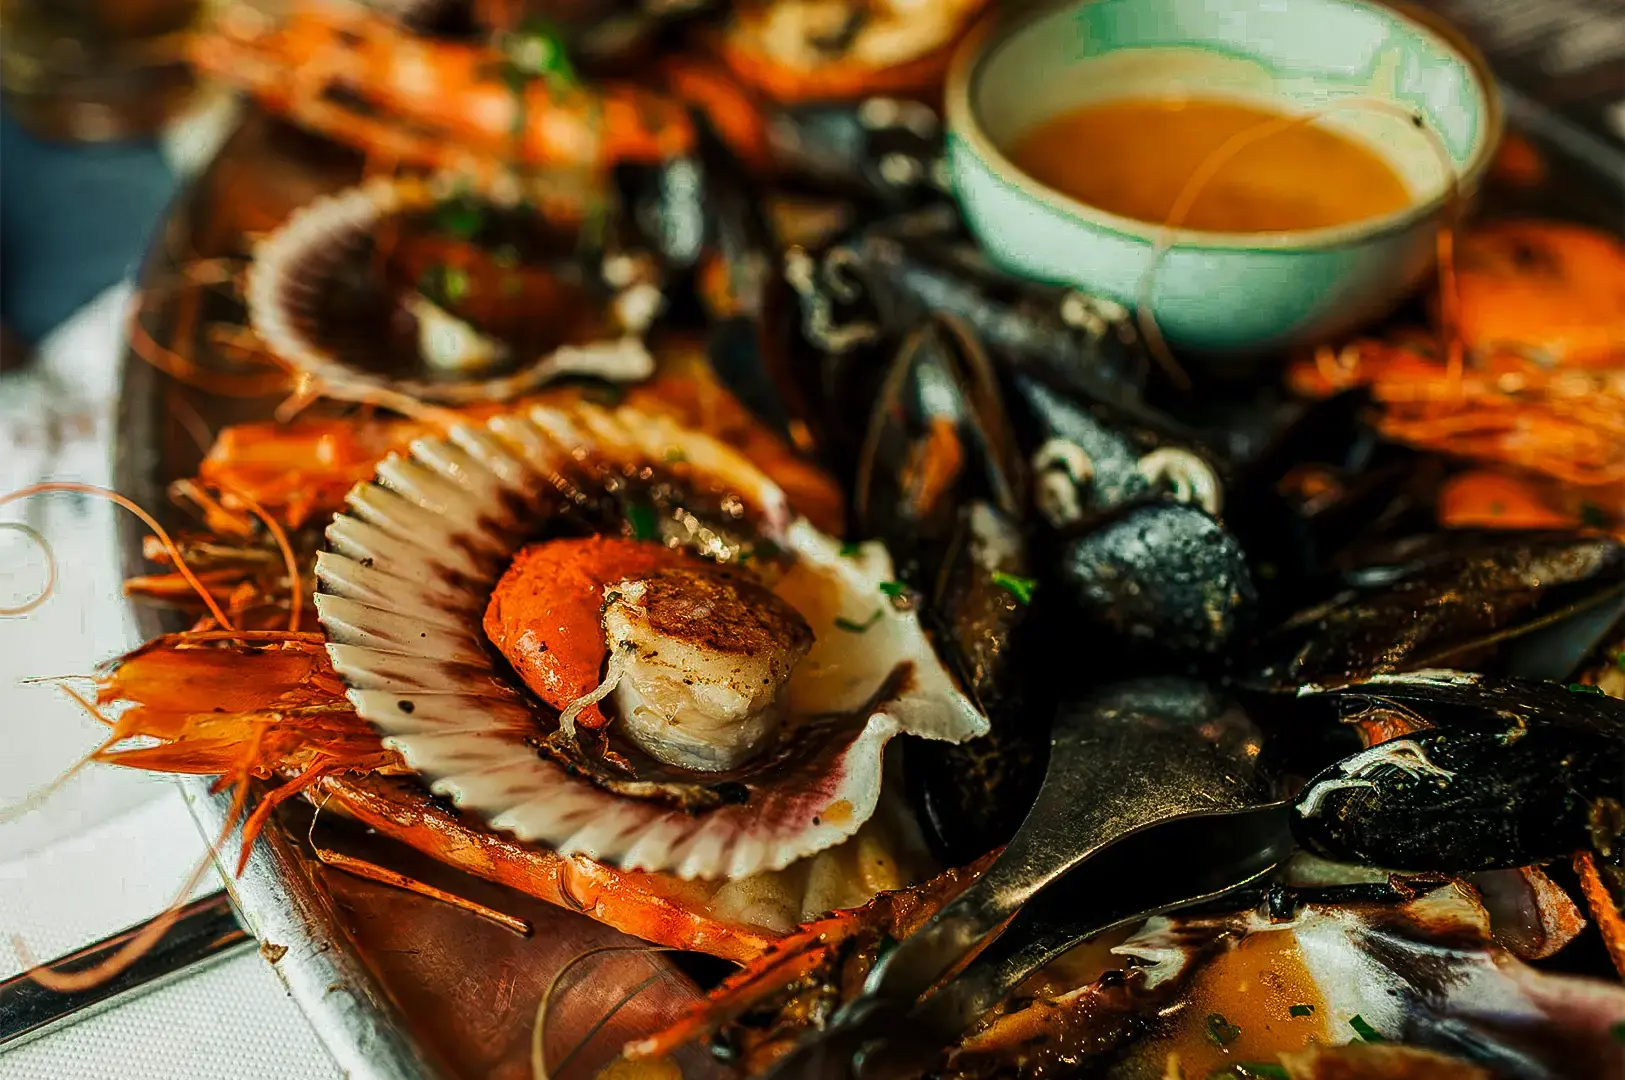
The crab is half gone now. Shells lie on a napkin. A last line of light rests along one claw, and the steam has long since lifted into the fan.
Photographing seafood isn’t only about making a plate look good. It’s about light, texture, timing, and the hands and tables around the food.
Whether you’re capturing Filipino seafood dishes, an Italian classic, or a salmon recipe fresh from the oven, notice how seasonings, a dab of horseradish, or a hot sauce catch the light.
Those small details can spark ideas for your next shot—and help preserve the memory of every bite.
The photographs that stay with you keep both the dish and the night it was served in.

Singapore Hidden Food Gems: Whispers from the Wok’s Night Kitchens
Sarah Teh | October 10, 2025
The city-state sleeps, but its heart still beats. Here at 3AM, Singapore transforms. The day’s relentless pace dissolves into a humid, quiet hum. The air, thick with the scent of night-blooming jasmine and rain-washed asphalt, carries a different kind of promise. This is when I begin my hunt, guided not by maps, but by whispers…
-
The Food Photographer Diet: What I Eat While Shooting Everyone Else’s Food
Sarah Teh | October 8, 2025
I once spent four hours on a food shoot for a twelve-course tasting menu. Each plate was a colorful masterpiece, carefully created through deliberate styling and composition. The client wanted photos that told a story. It was a symphony of culinary art that required all my attention and skills. What did I have for dinner…
-
Tokyo Late Night Ramen: A Guide to the Secret Shops After Dark
Sarah Teh | October 4, 2025
I’ll never forget my first real taste of Tokyo late night ramen. It was nearly 2 a.m., the last train was gone, and I was soaked from a sudden downpour. I ducked into a tiny, steamy shop marked only by a red lantern, squeezed onto a stool at the bar, and ordered. The bowl that…
-
Night and Day: Contrasting Techniques in Food Photography
Sarah Teh | October 3, 2025
In the world of food photography, light is our most crucial ingredient. Just as a chef carefully selects spices to enhance a dish, photographers must master light to bring culinary creations to life. My journey as a midnight food photographer has taught me that different lighting conditions don’t just change how we shoot-they transform what…
-
My Guide to Mastering Low-Light Food Photography
Sarah Teh | October 1, 2025
There’s a special kind of magic that I love to capture when photographing food after dark. The moody shadows, the soft glow from a single candle-it’s a world away from bright, airy daylight shots. But capturing that magic? That’s where the challenge of low light food photography comes in. I remember fighting my camera, wrestling…